Why Lawn Aeration Could Be the Most Important Thing You Do for Your Yard This Year
Lawn aeration is the process of creating small holes in your soil so that air, water, and nutrients can reach the roots of your grass — and it could be the single biggest difference between a lawn that struggles and one that thrives.
Quick answer: What is lawn aeration and why does it matter?
| Question | Quick Answer |
|---|---|
| What is it? | Pulling or poking small holes in your lawn to relieve compacted soil |
| Why do it? | Lets air, water, and nutrients reach grass roots |
| When to do it? | Early fall for cool-season grass; late spring for warm-season grass |
| How often? | Every 1–2 years for most lawns; annually for high-traffic or clay soil |
| Best method? | Core (plug) aeration — removes soil plugs rather than just poking holes |
| DIY or pro? | Both work; pros are faster and more thorough for larger properties |
Most homeowners in the Greater Boston area are doing everything right on the surface — mowing regularly, watering, fertilizing — and still ending up with a thin, patchy lawn. The problem is often invisible: compacted soil and thatch buildup underneath that quietly choke out your grass roots before your lawn ever gets a chance to look its best.
Aeration fixes that. And it doesn’t have to be complicated.
I’m Tim DiAngelis, owner of Lawn Care Plus, Inc., a full-service landscaping company serving residential and commercial clients throughout Greater Boston and Metro-West, where I’ve worked with hundreds of homeowners over the past decade to diagnose and restore lawns through lawn aeration and seasonal maintenance programs. If you want to know exactly what works — and what doesn’t — in New England’s demanding climate, you’re in the right place.
What is Lawn Aeration and Why Does Your Yard Need It?
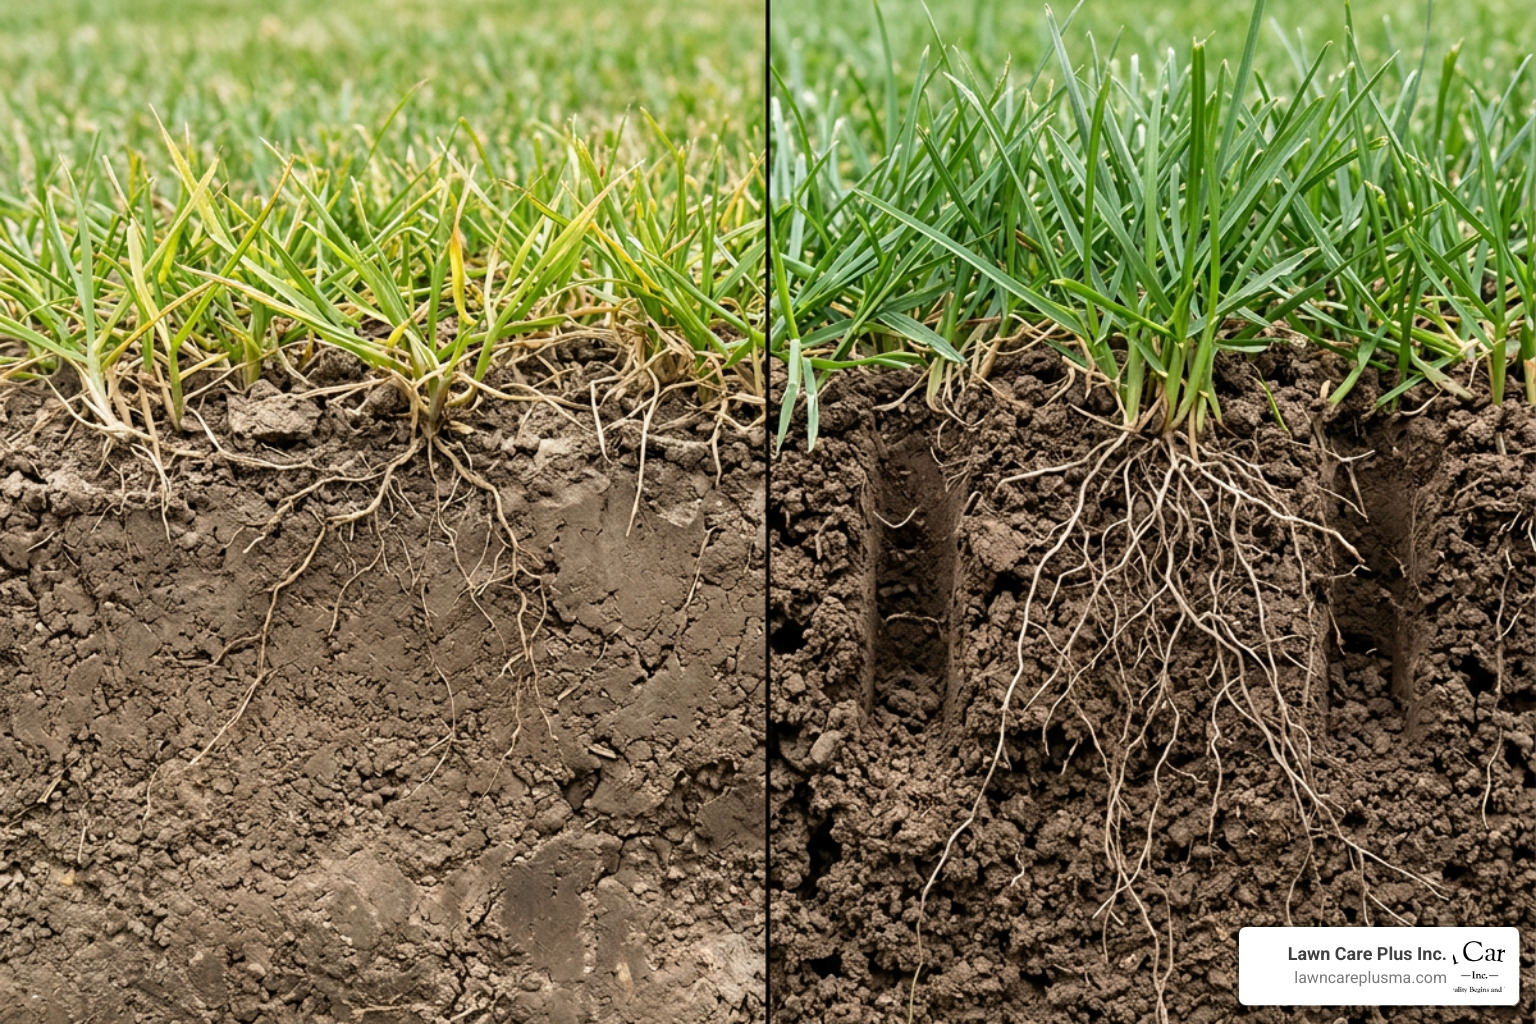
To understand lawn aeration, we first have to look at what is happening beneath the green blades of grass. Over time, the soil under your lawn naturally packs down. This is called soil compaction. When soil is compacted, the tiny air pockets within it are crushed.
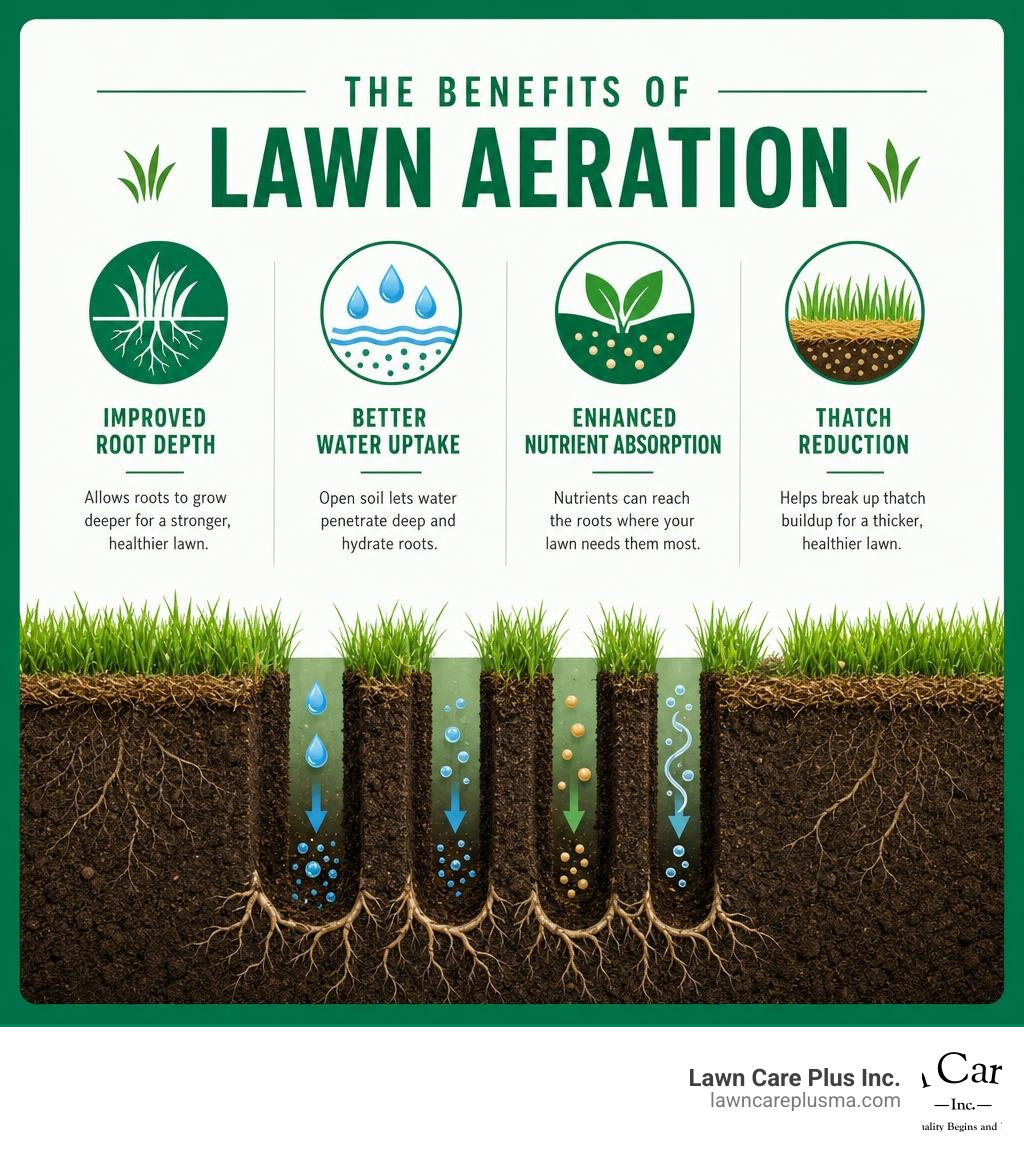
Without those pockets, your grass roots are starved of three essential elements: oxygen, water, and nutrients.
Additionally, lawns naturally develop a layer of thatch. Thatch is a tightly bound layer of living and dead organic matter—including grass clippings, rhizomes, stolons, and roots—that accumulates between the green vegetation and the soil surface. While a thin layer of thatch (under half an inch) can insulate your soil, anything thicker acts like a waterproof tarp, preventing water and fertilizer from ever sinking into the ground.
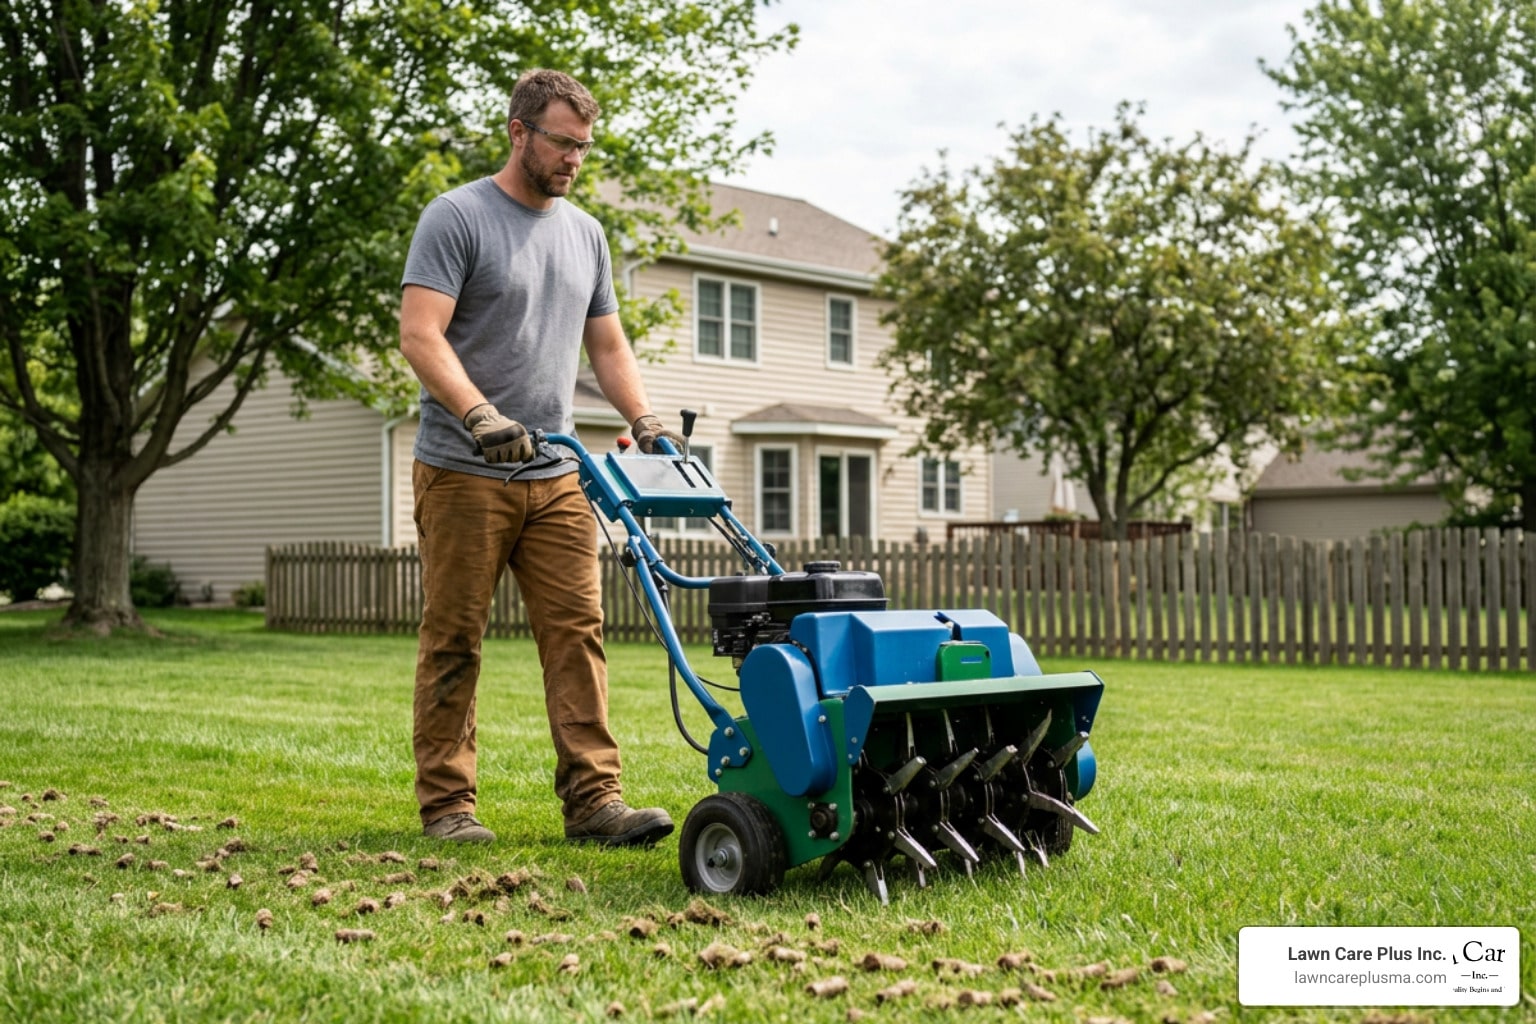
When we perform core aeration, we use specialized machinery to pull small plugs (or cores) of soil and thatch out of the ground. This instantly relieves soil compaction, breaks up the heavy thatch layer, and opens up direct channels.
According to a comprehensive Wisconsin Extension Study on Core Cultivation, regular core aeration significantly improves water infiltration, enhances oxygen exchange, and physically breaks down excessive thatch by introducing soil microorganisms back to the surface. It is the ultimate reset button for your turf’s root system, especially when integrated into our residential lawn care programs.
How to Tell If Your Soil is Compacted
How do you know if your lawn is suffering from soil compaction? You don’t need a degree in agronomy to find out. Here are the most common signs:
- The Screwdriver Test: This is a classic diagnostic tool. Take a standard flathead screwdriver and try to push it into your lawn’s soil when it is moist (ideally 24 to 48 hours after a good rain). If the screwdriver slides in easily up to 3 or 4 inches, your soil is in great shape. If you have to lean your full body weight onto it just to penetrate an inch, your soil is heavily compacted.
- Puddling Water: If you notice water pooling in low spots or running off sloped areas of your yard during a light rain, the soil is likely too dense to absorb it.
- Thinning Grass or Bare Spots: When roots can’t grow deep, the grass above ground begins to look tired, yellow, and thin.
- Heavy Foot Traffic: If your kids, dogs, or lawnmowers frequently travel across the same paths, those areas are guaranteed to be compacted.
- Heavy Clay Soil: Many properties in Greater Boston—from Belmont and Newton to Milton and Canton—suffer from heavy clay soils. Clay particles are incredibly small and flat, making them highly prone to packing tightly together and turning rock-hard during dry summer spells.
When is the Best Time for Lawn Aeration?
Timing is everything. You always want to aerate when your grass is in its peak active growth phase. This ensures that the grass can quickly recover from the temporary stress of having holes punched in it and fill in those open spaces with strong, new roots.
Because we are based in Massachusetts, our lawns consist almost entirely of cool-season grasses like Kentucky Bluegrass, Tall Fescue, and Perennial Ryegrass.
- Early Fall (Late August to October): This is the gold-standard window for cool-season lawns in New England. The soil is still warm, the autumn rains are returning, and the weed pressure is low. This is also the absolute best time to overseed your lawn, as the aeration holes act as perfect little germination chambers for new grass seed.
- Mid-to-Late Spring (Late April to May): This is a viable secondary window. However, we generally advise caution here. Aerating in the spring can disrupt pre-emergent crabgrass barriers and open up spots for weed seeds to take hold. If you must aerate in the spring, make sure to pair it with proper spring lawn care practices to keep weeds at bay.
- Warm-Season Grasses (Late Spring to Early Summer): If you happen to have warm-season grasses (like Zoysia, which occasionally pops up in warmer microclimates), they should be aerated between late May and July when they are growing most aggressively. Never aerate any lawn when it is dormant, waterlogged, or suffering from extreme summer heat stress.
Core Aeration vs. Spike Aeration
When researching how to aerate, you will run across two primary methods: core (or plug) aeration and spike aeration. It is incredibly important to understand the difference because one of these methods actually works, while the other can make your compaction problems worse.
| Feature | Core (Plug) Aeration | Spike Aeration |
|---|---|---|
| Mechanism | Hollow metal tines extract physical soil plugs | Solid metal spikes puncture holes by pushing soil aside |
| Compaction Relief | High (creates physical space for soil to expand) | Low (can actually increase compaction around the hole) |
| Thatch Control | High (physically breaks up thatch and pulls up microbes) | None |
| Best For | Clay soils, compacted lawns, large yards | Sandy, loose soils, very small spot treatments |
| Equipment | Walk-behind motorized aerators, tow-behind units | Hand spikes, aerator shoes, spike rollers |
As detailed in Martha Stewart’s Guide to Lawn Care, core aeration is widely considered the superior professional method. When you use solid spikes—like those cheap strap-on aerator shoes you see advertised online—you aren’t removing any soil. You are simply pushing the soil aside to make a hole. This lateral pressure compresses the soil surrounding the hole even further.
Core aeration, on the other hand, physically removes a plug that is typically 2 to 3 inches deep and 0.5 to 0.75 inches in diameter. This leaves a clean, open pocket that allows the surrounding soil to relax and expand inward, permanently relieving compaction. For more information on choosing the right approach, check out this comprehensive Lawn Aeration Guide.
Choosing the Right Equipment
Depending on the size of your property and your physical stamina, you have a few equipment options:
- Manual Hand Aerators: These are handheld tools with two hollow tines that you step on to extract plugs. They are fantastic for small yards (under 1,000 square feet) or for targeting specific high-traffic paths. They are very low-cost but require a lot of physical effort.
- Motorized Walk-Behind Aerators: These heavy-duty, gas-powered machines are what we use most frequently. They feature a drum or piston system that drives hollow tines into the ground. They are highly efficient but can be difficult to maneuver around tight corners, garden beds, and sloped terrain.
- Tow-Behind Core Aerators: If you own a lawn tractor and have a massive property (an acre or more), a tow-behind core aerator is an excellent option. A high-quality tow-behind unit can cover up to 3 acres of land per hour.
- Rental Options: Most local hardware stores in the Boston Metro-West area rent out walk-behind aerators for half-day or full-day rates. That these machines are incredibly heavy (often weighing over 200 pounds) and require a ramp and a truck or trailer to transport safely.
How to Prepare and Execute Aeration
Proper preparation is the secret to getting deep, clean soil plugs. If you try to run an aerator over bone-dry, hard-packed clay, the tines will barely scratch the surface. If you run it over soaking wet mud, you will tear up your turf and leave deep, unsightly ruts.
Pre-Aeration Checklist:
- Mow the Lawn: Cut your grass slightly lower than normal—around 1.5 to 2.5 inches—and bag the clippings. This gives the aerator tines clean, unobstructed access to the soil.
- Water the Lawn: Water your yard deeply 1 to 2 days before you plan to aerate. You want the soil to be moist but not muddy. This softens the ground, allowing the machine to pull maximum-depth plugs (ideally 3 inches deep).
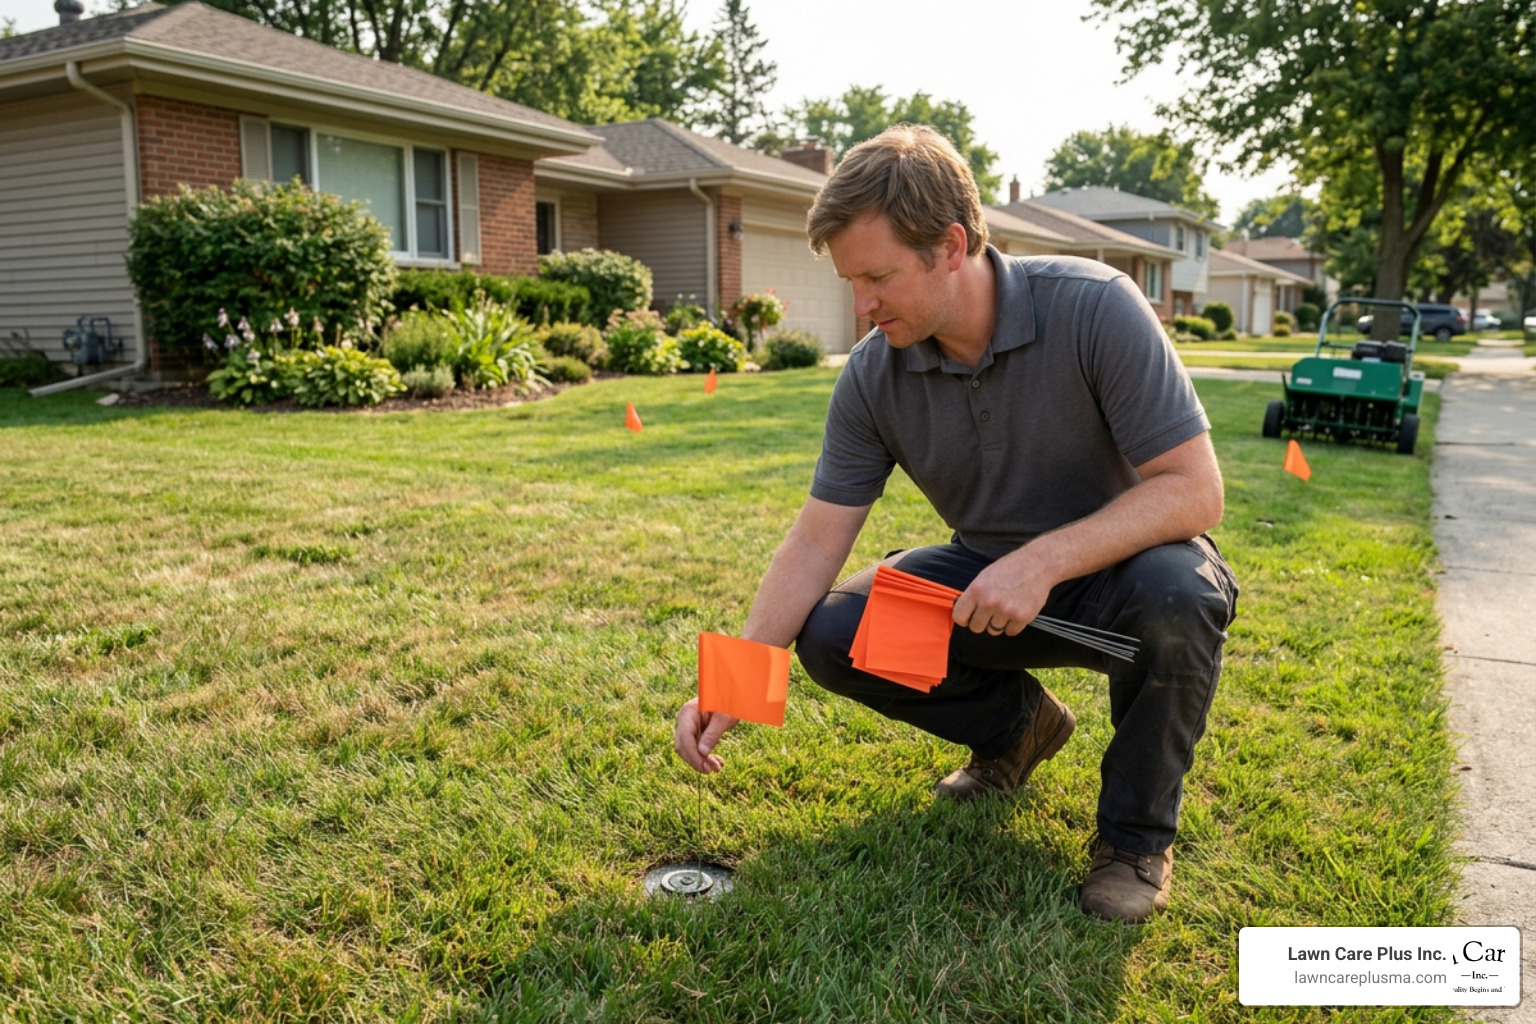
- Flag Obstacles: Walk your yard and mark any hidden obstacles with irrigation flags. This includes sprinkler heads, shallow utility lines, landscape lighting wires, and buried dog fences. Running a heavy aerator over a plastic sprinkler head will instantly shatter it.
Step-by-Step Guide to DIY Lawn Aeration
Once your yard is prepped and flagged, it is time to start the machine.
- Step 1: Make a Pass in One Direction. Start at one end of your lawn and run the aerator in straight, parallel lines, much like you would when mowing your grass.
- Step 2: Make a Second Pass Perpendicularly. To achieve the professional target of 20 to 40 holes per square foot, you must make a second pass at a 90-degree angle to your first pass. This crisscross pattern ensures complete, even coverage and breaks up stubborn compacted zones.
- Step 3: Go Over Trouble Spots Again. If you have areas with severe compaction—like the strip of grass along your driveway or the path leading to your backyard gate—go over them 3 or 4 times to maximize the soil relief.
- Step 4: Leave the Soil Plugs on the Lawn. When you are done, your yard will look like a family of geese decided to move in. Do not panic, and do not rake them up! These plugs are filled with valuable organic matter and active soil microbes. Within 1 to 3 weeks, they will naturally break down, acting as a free, nutrient-rich topdressing that feeds your lawn.
Post-Aeration Care: Maximizing Your Results
Aeration opens up a brief, magical window of opportunity. For about 48 hours after aerating, you have direct, unobstructed access to the root zone of your lawn. This is the absolute best time to feed, seed, and topdress.
- Overseeding: If your lawn is thin, patchy, or recovering from summer stress, throw down high-quality grass seed immediately after aerating. The seed will fall directly into the open aeration holes, ensuring excellent seed-to-soil contact and protecting the seeds from birds and drying winds. For tips on matching the right seed to your yard’s sun exposure, read our guide to choosing the best grass type.
- Apply Starter Fertilizer: Applying a high-quality starter fertilizer within 48 hours of aeration delivers nutrients directly to the root zone where they are needed most. The open holes allow the fertilizer to sink deep into the soil rather than washing away across the surface.
- Topdressing: If you want to take your lawn to the next level, apply a thin layer (1/4 to 1/2 inch) of finely screened organic compost immediately after aerating. Rake it gently so it fills the aeration holes. This introduces rich organic matter deep into clay soils, permanently modifying the soil structure for the better.
- Watering Schedule: If you overseeded, you must keep the soil consistently moist. Water lightly once or twice a day for the first 3 to 4 weeks until the new grass seeds germinate and establish. If you did not overseed, a deep watering every 2 to 3 days is sufficient to help the existing grass recover.
- Mowing: Avoid mowing your lawn for at least 2 weeks after overseeding to allow the delicate new grass shoots to establish without being crushed or cut. Keep up with your regular professional lawn maintenance services to keep the rest of your landscape looking pristine.
Professional vs. DIY: Costs and Considerations
Should you rent a machine and tackle this project over the weekend, or should you hire a professional team to handle it?
When listing average pricing based on online sources, we always note that these are average costs based on internet data and not actual costs for Lawn Care Plus. Across the United States, professional lawn aeration services generally range from $75 to $450+ per treatment, with the average cost sitting right around $139. The actual price depends heavily on the total square footage of your lawn, the complexity of your landscaping, and your location.
Let’s look at the breakdown of doing it yourself versus hiring our team:
- The DIY Route: Renting a commercial walk-behind aerator from a local Boston Metro-West hardware store typically costs between $70 and $120 for a half-day, plus a deposit. You also need a vehicle capable of hauling a 200+ pound machine, ramps, straps, and the physical strength to wrestle the machine across your yard. After factoring in the rental fee, fuel, grass seed, and fertilizer, the DIY route often costs nearly as much as hiring a professional—without even accounting for your valuable weekend time and physical labor.
- The Professional Route: When you work with us, you don’t have to worry about transporting heavy machinery, damaging your irrigation system, or pulling a muscle. We arrive with professional-grade stand-on and walk-behind core aerators that pull deep, consistent plugs. We can also handle the precise calculations for overseeding, starter fertilization, and compost topdressing in one seamless visit.
If you are looking for reliable lawn care companies near me in the Boston Metro-West region, our experienced team is here to help you get the job done right.
Frequently Asked Questions About Lawn Care
Should I remove the soil plugs after aerating?
No, you should absolutely leave the soil plugs on your lawn. While they can look a bit messy for a week or two, they are incredibly beneficial. As they dry out, they will naturally crumble and dissolve back into the lawn during regular mowing and watering. This process recycles valuable organic matter, nutrients, and beneficial soil microorganisms back into the thatch layer, helping to naturally decompose thatch over time.
How often should I aerate my lawn?
For most residential lawns in Massachusetts, aerating every other year (biennially) is sufficient to maintain excellent soil health. However, you should consider annual aeration if:
- Your lawn has heavy clay soil.
- You have kids, pets, or high-traffic areas that compress the soil quickly.
- You are trying to recover a thin, patchy lawn.
Conversely, if you have very sandy soil that naturally resists compaction, you can easily go 3 years between aeration treatments.
Can I aerate and fertilize at the same time?
Yes! In fact, aerating and fertilizing at the same time is highly recommended. The open aeration holes provide a direct highway for the fertilizer to reach the root zone. Just make sure to apply a slow-release starter fertilizer immediately after aerating, and water the lawn thoroughly afterward to help dissolve the nutrients and prevent any risk of burning the grass blades.
Conclusion
At Lawn Care Plus Inc., we believe that a beautiful, lush green lawn is built from the ground up. If your soil is compacted and choked by thatch, no amount of water or expensive fertilizer will give you the results you want. Lawn aeration is the essential key that unlocks your soil’s true potential.
We are proud to serve homeowners and businesses throughout the Boston Metro-West area, including:
- Belmont, MA
- Boston, MA
- Brighton, MA
- Brookline, MA
- Canton, MA
- Chestnut Hill, MA
- Dedham, MA
- Hyde Park, MA
- Jamaica Plain, MA
- Mattapan, MA
- Medfield, MA
- Milton, MA
- Needham, MA
- Newton, MA
- Norwood, MA
- Randolph, MA
- Readville, MA
- Roslindale, MA
- Walpole, MA
- Watertown, MA
Whether you need professional core aeration, overseeding, seasonal yard cleanups, or complete landscape installations, our dedicated team has the local expertise and professional equipment to deliver outstanding results.
Ready to breathe new life into your yard? Schedule your lawn care services today and let us help you build a thicker, healthier, greener lawn for years to come.