Find the Efficiency of Hydro Grass Seed
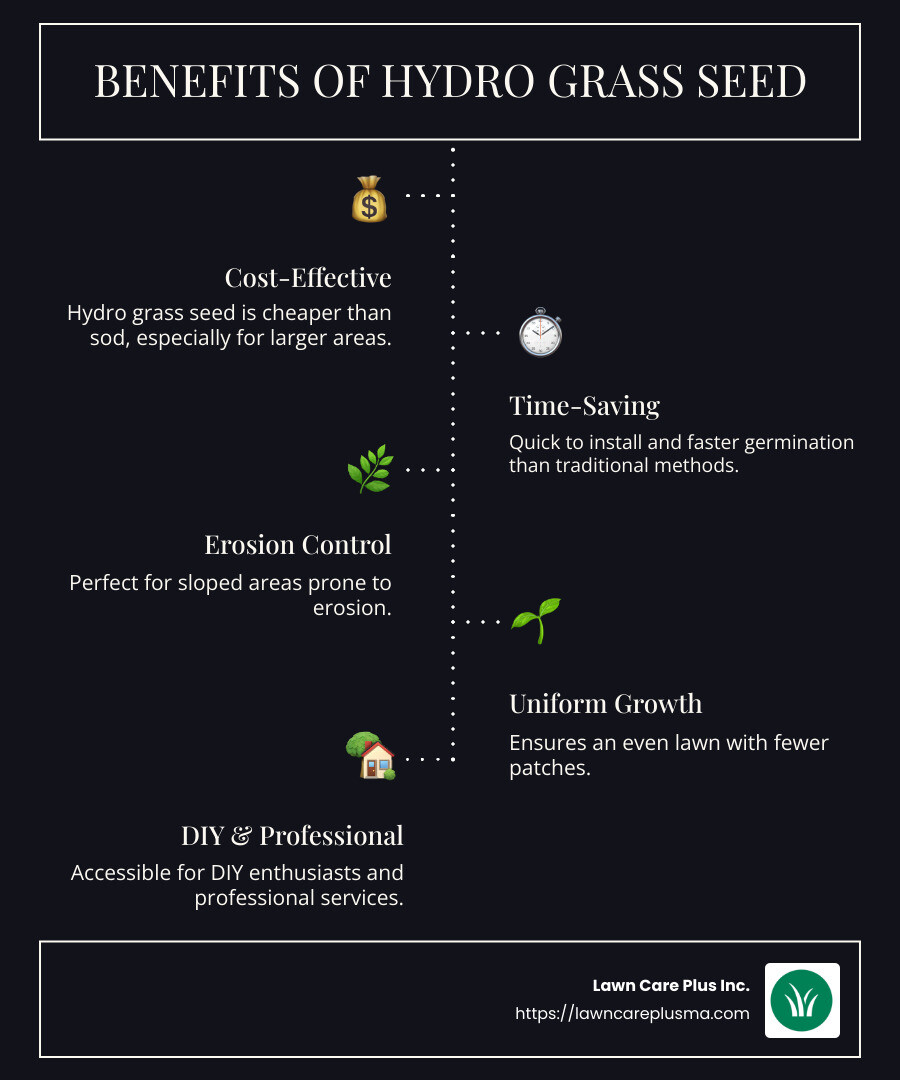
When it comes to hydro grass seed, many homeowners and property managers are recognizing it as a smart choice for achieving a lush, uniform lawn quickly and affordably. If you’re short on time but want a beautiful green space, here’s the essential info you need:
- Cost-Effective: Cheaper than sod, especially for larger areas.
- Time-Saving: Fast to install with quicker germination than traditional seeding.
- Erosion Control: Ideal for sloped areas that are prone to erosion.
- Uniform Growth: Creates an even lawn with fewer patches.
The growing interest in this innovative method—which combines seed, mulch, water, and nutrients into a slurry sprayed over the soil—has made it an accessible option for both DIY enthusiasts and those looking to hire professionals. By ensuring quick establishment and vibrant growth, it offers the best of both worlds: efficiency and effectiveness.
Hydro grass seed word roundup:
– hydroseeding cost
– what is hydroseeding
What is Hydro Grass Seed?
Hydro grass seed, also known as hydroseeding or hydromulching, is a modern and effective way to establish a lush lawn. It’s a process where a spray mixture of grass seed, mulch, water, and fertilizers is applied to the soil. This method is not only cost-effective but also time-saving, making it a popular choice for homeowners and landscapers alike.
Benefits of Hydro Grass Seed
The benefits of using hydro grass seed are numerous:
- Erosion Control: One of the standout advantages is its ability to control erosion. The slurry mix bonds with the soil, stabilizing it, which is especially useful for areas with steep slopes or loose soil.
- Fast Germination: Thanks to the nutrient-rich slurry, grass seeds germinate faster than with traditional seeding methods. This means you’ll see green shoots quicker, reducing the wait time for a full lawn.
- Uniform Growth: The even application of the slurry ensures that grass grows uniformly, reducing patchiness and creating a consistent, lush appearance.
How Hydro Grass Seed Works
The process begins with creating a slurry mix. This mix includes grass seed, mulch, water, and often fertilizers or other additives. The mulch acts as a protective layer, helping the seeds retain moisture and nutrients, which accelerates their growth.
- Application Process: The slurry is sprayed onto the prepared soil using specialized equipment. This ensures an even distribution of seeds and nutrients across the area.
- Seed Establishment: Once applied, the seeds quickly begin to germinate. The mulch keeps them in place and provides a conducive environment for growth, leading to a healthy and robust lawn.
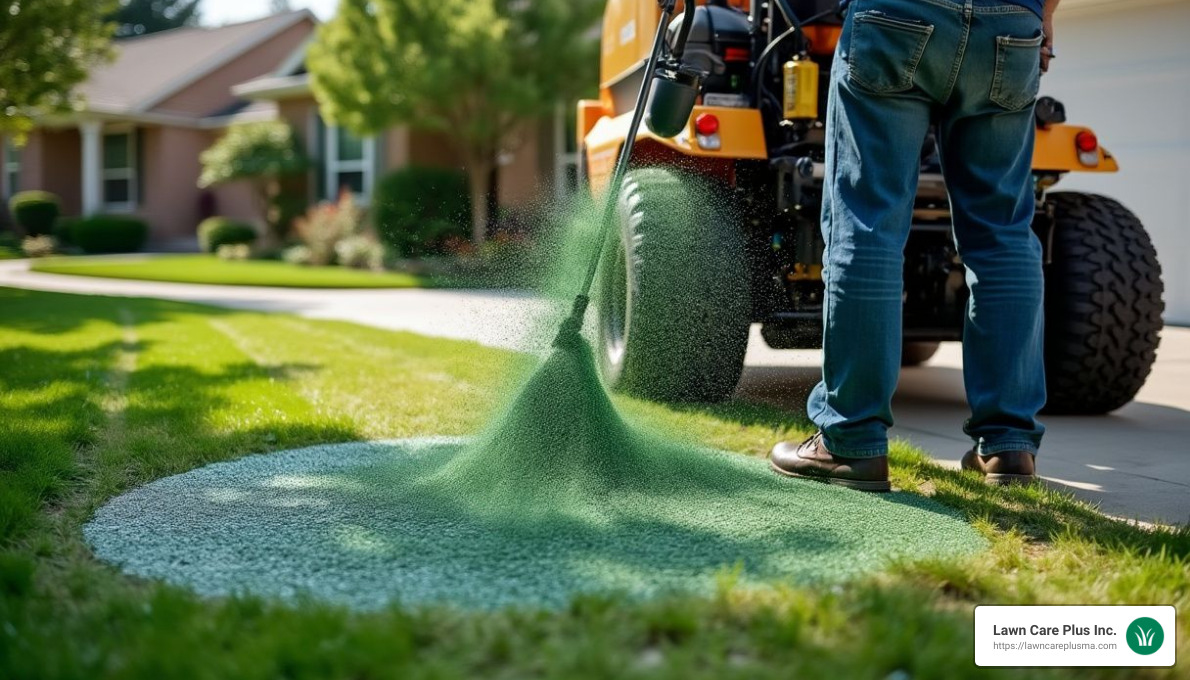
Hydro grass seed is a versatile and efficient choice for anyone looking to establish a new lawn. Its ability to control erosion, promote fast germination, and ensure uniform growth makes it a standout option in lawn care.
Comparing Lawn Seeding Methods
When it comes to establishing a lush, green lawn, homeowners often find themselves choosing between three main methods: hydro grass seed, traditional seeding, and sod installation. Each method has its unique advantages and drawbacks, and the best choice often depends on factors like budget, time, and desired outcome.
Hydro Grass Seed vs. Traditional Seeding
Cost Comparison: Traditional seeding is typically the least expensive option in terms of material costs. However, hydro grass seed offers a more comprehensive solution by combining seed, mulch, and fertilizer in one application. This can save money on additional products needed for traditional seeding.
Labor Intensity: Traditional seeding can be labor-intensive. It requires preparing the soil, spreading the seed evenly, and often applying mulch and fertilizer separately. In contrast, hydroseeding is less labor-intensive once the equipment is set up, as the slurry is sprayed in a single step.
Time Frames: Hydro grass seed has a clear advantage in terms of germination time. The nutrient-rich slurry helps seeds germinate faster compared to traditional seeding. This means you can expect to see green shoots more quickly, reducing the waiting period for a full lawn.
Hydro Grass Seed vs. Sod
Immediate Results: Sod offers the most immediate results, providing an instantly green lawn. However, this comes at a significantly higher cost, often up to four times more than hydroseeding.
Installation Complexity: Installing sod requires precise soil preparation and laying the sod pieces carefully to avoid seams. This can be complex and labor-intensive, often requiring professional help. Hydro grass seed, on the other hand, is simpler to apply, especially for large areas, and can be a DIY project if you have the right equipment.
Long-Term Health: While sod provides instant results, it requires careful watering and maintenance to ensure the roots establish well. Hydro grass seed promotes strong root development from the start, as the seeds grow directly in the soil where they are planted. This can lead to a healthier lawn in the long term.
When deciding between these methods, consider your budget, the size of the area, and how quickly you want results. Hydro grass seed strikes a balance between cost, ease of application, and long-term benefits, making it a popular choice for many homeowners looking to achieve a beautiful lawn.
Optimal Conditions for Hydro Grass Seed
To ensure your hydro grass seed thrives, it’s crucial to prepare your lawn properly and choose the right time for application. Let’s explore how you can set the stage for a successful hydroseeding experience.
Preparing Your Lawn for Hydroseeding
Soil Preparation: Start by clearing the area of weeds and debris. Grading the soil is essential for optimal drainage. Create a gentle slope away from your home to prevent water from pooling around your foundation. This step ensures that the hydro grass seed slurry settles evenly and doesn’t accumulate in unwanted areas.
Soil Testing: Before applying the slurry, conduct a soil test. This will help you understand the nutrient composition of your soil and what amendments it might need. Adding a layer of topsoil and compost can provide a nutrient-rich base for your new grass.
Area Measurement and Material Gathering: Measure the area you plan to hydroseed to determine how much seed, mulch, and other materials you’ll need. Gather all necessary supplies, including your rented hydroseeder, to ensure a smooth process.
Best Time to Apply Hydro Grass Seed
Climate Considerations: The effectiveness of hydro grass seed depends significantly on the climate. Different grass types thrive in different conditions, so choose your seed blend accordingly.
- Cool-season grasses like Kentucky bluegrass and fescue are best planted in late summer to early fall when temperatures are moderate.
- Warm-season grasses such as Bermuda and Zoysia should be seeded in late spring to early summer when the soil is warm.
Weather Conditions: Aim for a period with consistent mild weather. Avoid extreme heat or cold, as well as heavy rainfall, which can wash away the slurry before it sets.
Best Seasons: Generally, spring and fall are ideal for most regions. These seasons offer favorable conditions for seed germination and establishment, with moderate temperatures and adequate rainfall.
By preparing your lawn carefully and selecting the optimal time for application, you set the stage for your hydro grass seed to flourish. This thoughtful approach ensures a healthy, vibrant lawn that improves your outdoor space.
Step-by-Step Guide to Hydroseeding Your Lawn
Ready to transform your lawn with hydro grass seed? Let’s walk through the process step by step, focusing on the equipment you’ll need, how to mix the slurry, and the best spraying techniques.
DIY Hydroseeding Equipment
To start your hydroseeding journey, you’ll need the right equipment. Most importantly, a hydroseeder is essential for applying the slurry mix evenly across your lawn.
Rental Options: Renting a hydroseeder is a cost-effective option. It typically costs between $250 and $300 per day. Check local suppliers to find the best deal and ensure availability.
Machine Operation: Operating a hydroseeder isn’t overly complicated, but it does require some familiarity with heavy equipment. If you’re comfortable with machinery, you’ll find the controls intuitive. Before starting, ensure all parts are in good working order to avoid disruptions.
Maintenance Tips: Regular maintenance is key. Clean the machine thoroughly after each use to prevent clogging. Lubricate moving parts and check hoses for any signs of wear or leaks to ensure optimal performance.
Creating and Applying the Hydroseed Slurry
Now, let’s get into the nitty-gritty of creating the perfect slurry mix and applying it like a pro.
Mixing Instructions: The slurry mix is the heart of hydroseeding. Combine grass seed, mulch, water, fertilizer, and any additional additives like lime or tackifier if needed. The mulch acts as a protective layer, while the fertilizer provides essential nutrients for germination.
Consistency Adjustments: Aim for a consistency that is thick enough to adhere well to the soil but thin enough to flow smoothly through the hydroseeder. Adjust the water content as needed to achieve the right balance.
Application Tips: Begin spraying at one edge of your lawn and work systematically across the area. Overlap slightly with each pass to ensure even coverage. Maintain a consistent speed and pressure for uniform application. If you’re working on a slope, a tackifier can help the slurry adhere better and prevent erosion.
Using the right equipment and techniques will make your hydroseeding project a success. With careful planning and execution, your hydro grass seed will soon transform into a lush, vibrant lawn.
Next, we’ll explore how to care for your newly hydroseeded lawn to ensure it thrives.
Caring for Your Hydroseeded Lawn
Once you’ve successfully applied the hydro grass seed, the next crucial step is ensuring proper care for your new lawn. Let’s explore the initial care and long-term maintenance practices that will help your lawn flourish.
Initial Lawn Care Post-Hydroseeding
Watering Schedule: In the first days after hydroseeding, keeping the soil consistently moist is vital. Water the area two to three times a day for about 10-15 minutes each session. The goal is to maintain moisture without making the ground muddy. After the first month, you can gradually reduce the frequency as the grass becomes established.
Traffic Avoidance: It’s important to keep foot traffic, including pets, off the newly seeded area for at least two months. This ensures that the tender seedlings have the best chance to root deeply without being disturbed.
Germination Timeline: Depending on the grass type and weather conditions, germination can occur anywhere from 5 to 21 days. For instance, perennial ryegrass may sprout in just 5-10 days, while Kentucky bluegrass typically takes 14-30 days.

Long-Term Maintenance of Hydroseeded Lawn
Mowing Guidelines: Once your grass reaches about 3-4 inches tall, it’s time for the first mow. Make sure the grass is dry, and your mower blades are sharp to avoid tearing the young grass. Follow the one-third rule—never cut more than one-third of the grass blade at a time.
Fertilization Schedule: Although your initial slurry mix included fertilizer, ongoing fertilization is key to maintaining a healthy lawn. Generally, fertilize every six to eight weeks during the growing season. Adjust based on your grass type and local climate conditions.
Ongoing Care: Regular maintenance will keep your lawn looking its best. This includes consistent watering, especially during dry spells, and monitoring for pests or diseases. Aerate the soil annually to improve root growth and nutrient absorption. Consider soil testing periodically to ensure your lawn is getting the nutrients it needs.
By following these steps, your hydroseeded lawn will not only establish quickly but will also remain lush and vibrant for years to come. Next, we’ll discuss the optimal conditions for applying hydro grass seed to achieve the best results.
Conclusion
Why Choose Lawn Care Plus Inc. for Hydroseeding
When it comes to creating a thriving, lush lawn, Lawn Care Plus Inc. stands out as the go-to choice for hydroseeding in the Boston Metro-West area. Our commitment to sustainable landscaping ensures that your lawn not only looks beautiful but also contributes positively to the environment.
Environmental Benefits: Hydroseeding is a green alternative to traditional methods. It offers excellent erosion control, which is particularly beneficial for properties with slopes. By using a nutrient-rich slurry mix, hydroseeding promotes healthy soil and reduces the need for chemical interventions. This aligns with our dedication to eco-friendly practices.
Experienced Team: Our team brings a wealth of experience and expertise to every project. We know the ins and outs of hydroseeding, from selecting the right grass seed for your climate to ensuring optimal soil preparation. Our professionals are equipped with the latest tools and techniques to deliver exceptional results.
Comprehensive Services: At Lawn Care Plus Inc., we offer a wide range of services beyond hydroseeding. From landscape installations to hardscaping and yard cleanups, we provide everything you need to maintain a stunning outdoor space. Our comprehensive approach means you can rely on us for all your lawn care needs.
Local Expertise: As a local company, we understand the unique challenges and conditions of the Massachusetts climate. This local knowledge allows us to tailor our hydroseeding services to best suit your lawn’s specific needs. We take pride in serving our community and helping homeowners achieve the lawns of their dreams.
Choosing Lawn Care Plus Inc. for your hydroseeding project means choosing quality, sustainability, and a team dedicated to your lawn’s success. Ready to transform your outdoor space? Contact us today to get started with our expert lawn care services.