Transform Your Outdoor Space with Stamped Concrete
How to install a stamped concrete patio involves preparing the ground, pouring concrete, stamping a pattern while it’s workable, and then curing and sealing the surface. The result is a high-end look for 50-70% less than natural stone.
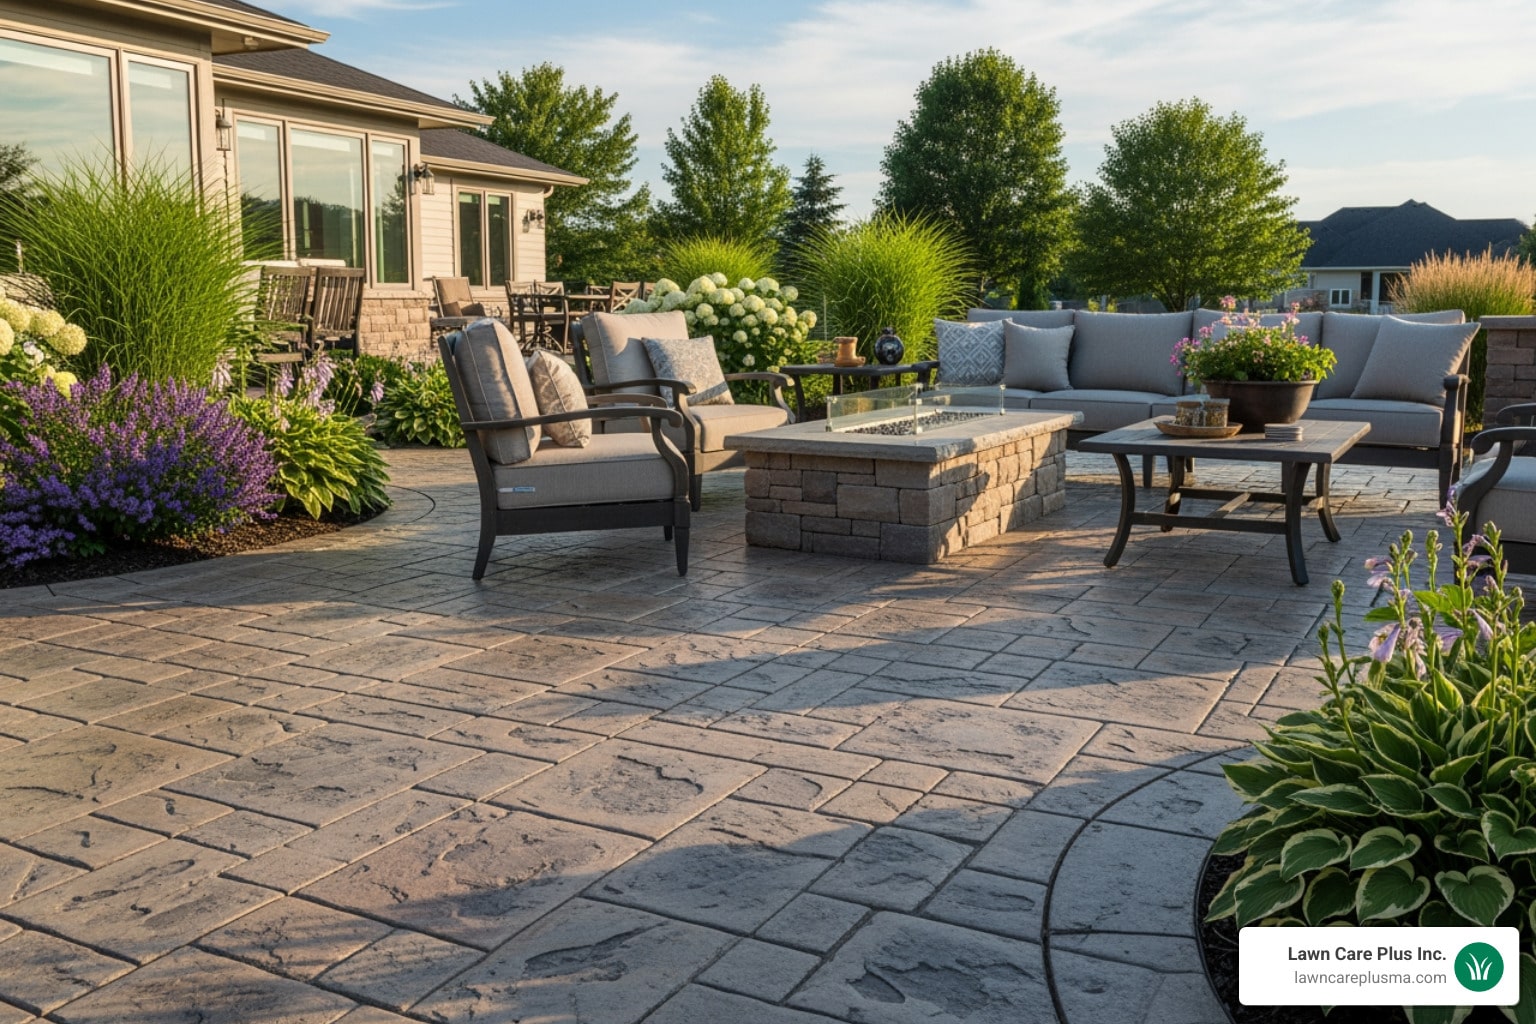
Stamped concrete transforms an ordinary slab into a surface that realistically mimics stone, brick, or even wood. The process involves pressing textured mats into freshly poured concrete, creating patterns so convincing they often require a second look. Beyond its beauty, stamped concrete offers exceptional durability. When properly installed and maintained, these patios can last 25-30 years or more, withstanding harsh weather cycles that can damage other materials.
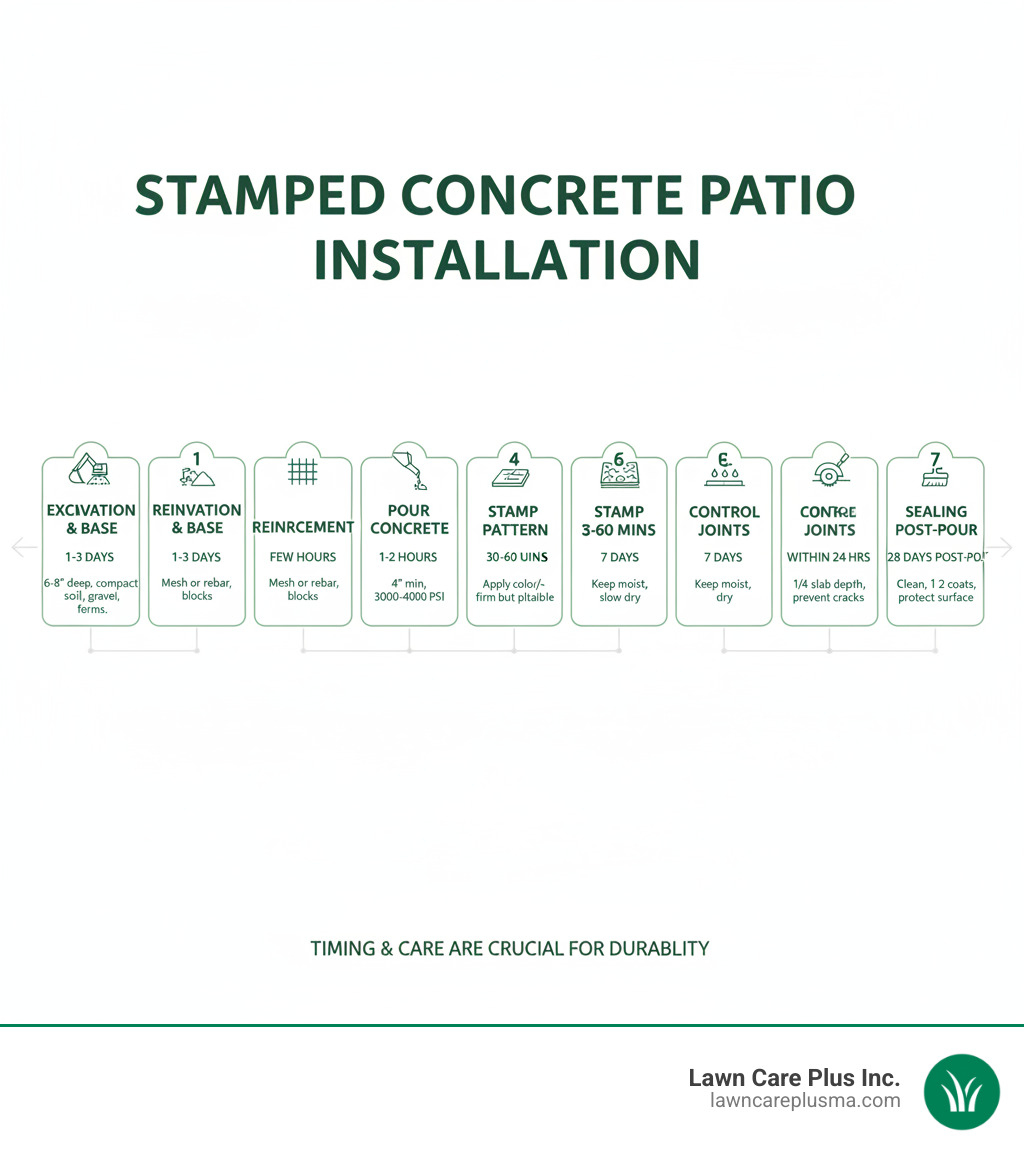
The key to a successful installation is timing. The concrete sets quickly, giving you less than 60 minutes to apply the pattern once it’s poured. This tight window makes it a challenging project that requires careful planning and a team of at least 2-3 people working in sync.
This guide will walk you through the essential steps, from site prep to final sealing, helping you understand the process whether you’re a determined DIYer or a homeowner evaluating professional options.
How to install a stamped concrete patio terms at a glance:
- cost to have stamped concrete patio installed
- stamped concrete patio installers near me
- concrete patio price per square foot installed
Why Choose a Stamped Concrete Patio?
A stamped concrete patio offers the perfect blend of beauty, durability, and value. It transforms ordinary concrete into a surface that looks remarkably like natural stone, brick, or wood, but at a fraction of the cost. Here’s why it’s a popular choice:
- Durability: Properly installed stamped concrete lasts 25-30 years or more. It stands up to harsh New England winters and freeze-thaw cycles better than many alternatives.
- Design Versatility: With countless patterns, textures, and colors, you can create a look that perfectly matches your home’s style, from rustic brick to modern slate.
- Cost-Effectiveness: Stamped concrete typically costs 50-70% less than natural stone, allowing you to achieve a premium look on a budget. A well-designed patio also adds significant value to your home. For more on this, see The Benefits of Adding a Patio to Your Outdoor Space.
- Low Maintenance: The seamless surface has fewer joints than pavers, meaning less opportunity for weed growth. Cleaning is as simple as sweeping and occasional rinsing.
Stamped Concrete vs. Other Materials
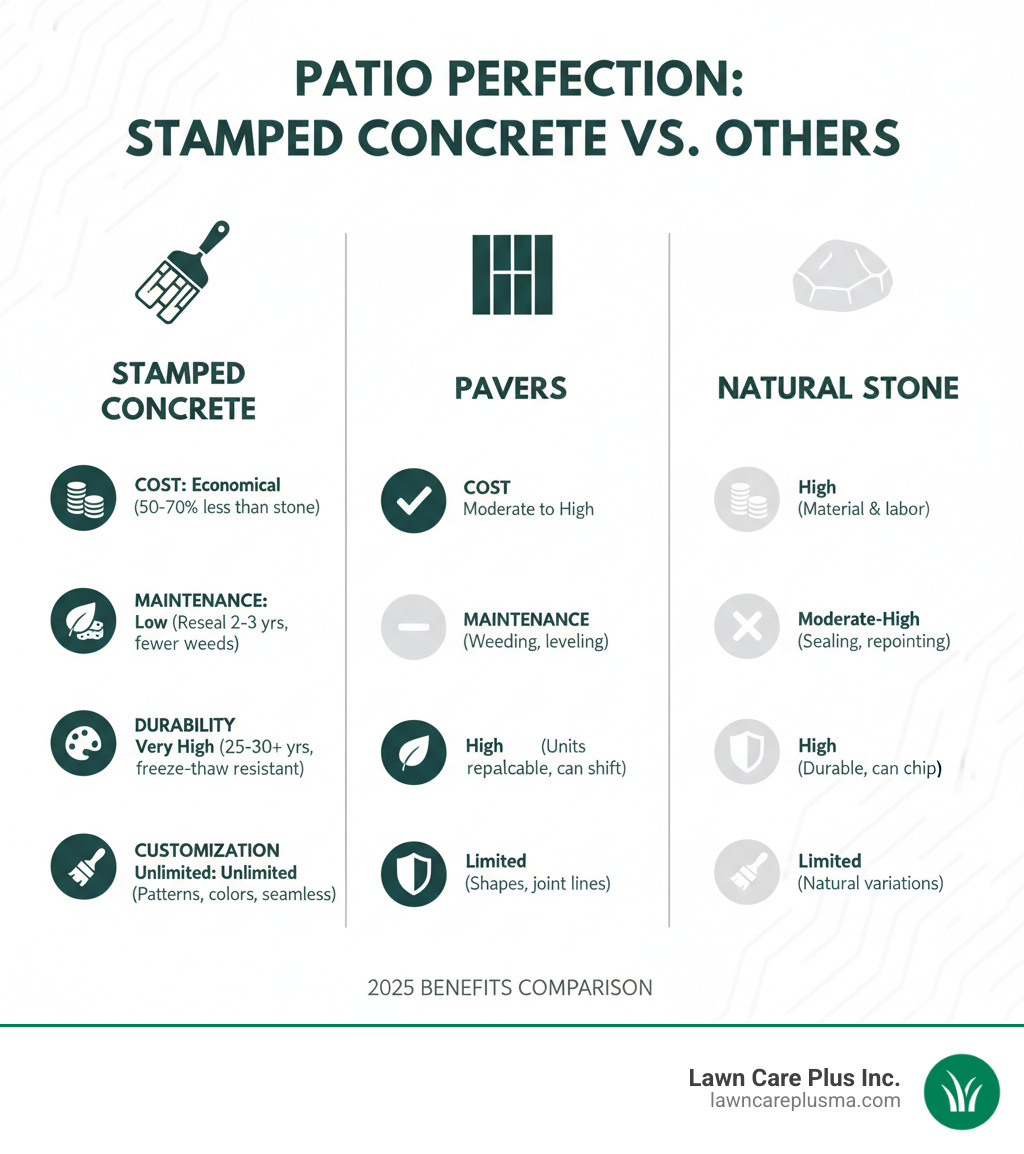
How does stamped concrete compare to other popular patio materials? This table breaks it down.
| Feature | Stamped Concrete | Pavers | Natural Stone |
|---|---|---|---|
| Cost | Economical, often 50-70% less than natural stone. | Moderate to high, depending on material. | High, due to material and labor costs. |
| Maintenance | Low; regular cleaning and resealing every 2-3 years. Fewer joints mean less weed growth. | Moderate; requires weeding between joints, occasional leveling, and cleaning. | Moderate to high; requires sealing, occasional repointing, and specialized cleaning. |
| Durability | Very high; withstands freeze-thaw cycles, lasts 25-30+ years. | High; individual units can be replaced, but can settle or shift over time. | High; very durable, but can chip or crack if not properly installed/maintained. |
| Customization | Unlimited patterns, textures, and colors; seamless surfaces. | Limited by individual paver shapes and colors; joint lines are inherent to the design. | Unique natural variations, but limited in pattern and color choice. |
Stamped concrete offers the high-end look of natural stone and the design flexibility of pavers but with superior durability, lower maintenance, and a significantly lower price point.
Understanding the Costs
While stamped concrete is more affordable than natural stone, the final price for your project will depend on several factors. Any average costs you see online are based on national data and are not a quote for your specific project.
Key factors that influence cost include:
- Size and Complexity: Larger patios or those with curves, multiple levels, or intricate patterns require more labor and materials.
- Design Choices: A single-color, single-pattern design is most economical. Multiple colors, custom borders, and hand-tooled details increase the cost.
- Site Preparation: A level, accessible site costs less to prepare than one requiring extensive excavation, grading, or drainage solutions.
- Concrete and Reinforcement: Higher-strength concrete (4000 PSI is recommended) and reinforcement like rebar add to the cost but are crucial for longevity.
For a deeper dive, visit our page on the Cost to Have Stamped Concrete Patio Installed. The only way to get an accurate price is to get a personalized estimate based on your specific site and design vision.
Planning Your Project: Tools, Materials, and Preparation
Installing a stamped concrete patio is an intermediate-level project that requires careful planning. If you’re new to concrete, consider starting with a smaller project first. The entire process takes about 3 days, but the stamping phase is a race against the clock.
- Team Size: This is not a solo job. A team of 2-3 people is essential to manage the pour and stamping process effectively.
- Weather: The ideal temperature for pouring concrete is between 60°F and 80°F. Avoid rainy days or temperatures below 40°F, which can compromise the concrete’s strength and finish.
- Design: Plan your layout before you begin. Consider traffic flow, sun exposure, and how the patio will integrate with your home and landscape. For inspiration, check out our Patio Design Ideas.
Essential Tools and Materials
Gathering all your tools and materials beforehand is critical. Once the concrete is poured, you can’t stop.
- Preparation Tools: Shovel, wheelbarrow, measuring tape, string line, and a hand tamper or plate compactor (highly recommended for proper compaction).
- Forming & Pouring Tools: 2×4 or 2×6 lumber for forms, stakes, a screed board, a bull float, hand floats, and an edging tool.
- Stamping Tools: Concrete stamps (patterned or seamless skins), a stamp tamper, and flexible stamps for edges.
- Safety Gear: Heavy-duty gloves, safety glasses, a respirator mask (for powdered agents), and waterproof boots are non-negotiable.
- Materials: Gravel or crushed stone base, concrete mix, reinforcement (rebar or wire mesh), form release oil, color hardener (optional), release agent (powder or liquid), and concrete sealer.
For more foundational knowledge, see A Beginners Guide to Installing a Patio.
Choosing Your Concrete and Stamps
The right materials are key to a lasting patio. For stamped concrete, use a mix with a strength of 3000-4000 PSI and a 4-inch slump (a measure of consistency). This mix is stiff enough to hold a pattern but workable enough to finish.
Crucially, do not add extra water to the mix. A proper water-to-cement ratio is vital for the concrete’s final strength. Excess water creates a weaker slab that is prone to cracking, especially in freeze-thaw climates.
When choosing stamps, you have endless options, from an Ashlar Cut Slate Stamp to a classic Herringbone Used Brick pattern. For beginners, seamless texture skins are more forgiving as they don’t require perfect alignment. You’ll need both rigid stamps for the main area and flexible stamps for edges and corners. Renting stamps is a cost-effective option for a one-time project.
Your Step-by-Step Guide on How to Install a Stamped Concrete Patio
Installing a stamped concrete patio is a process where timing and teamwork are everything. Follow these phases carefully for a successful outcome.
Phase 1: Essential Preparation for How to Install a Stamped Concrete Patio
Proper preparation is the most critical phase; it prevents the majority of future problems like cracking and settling.
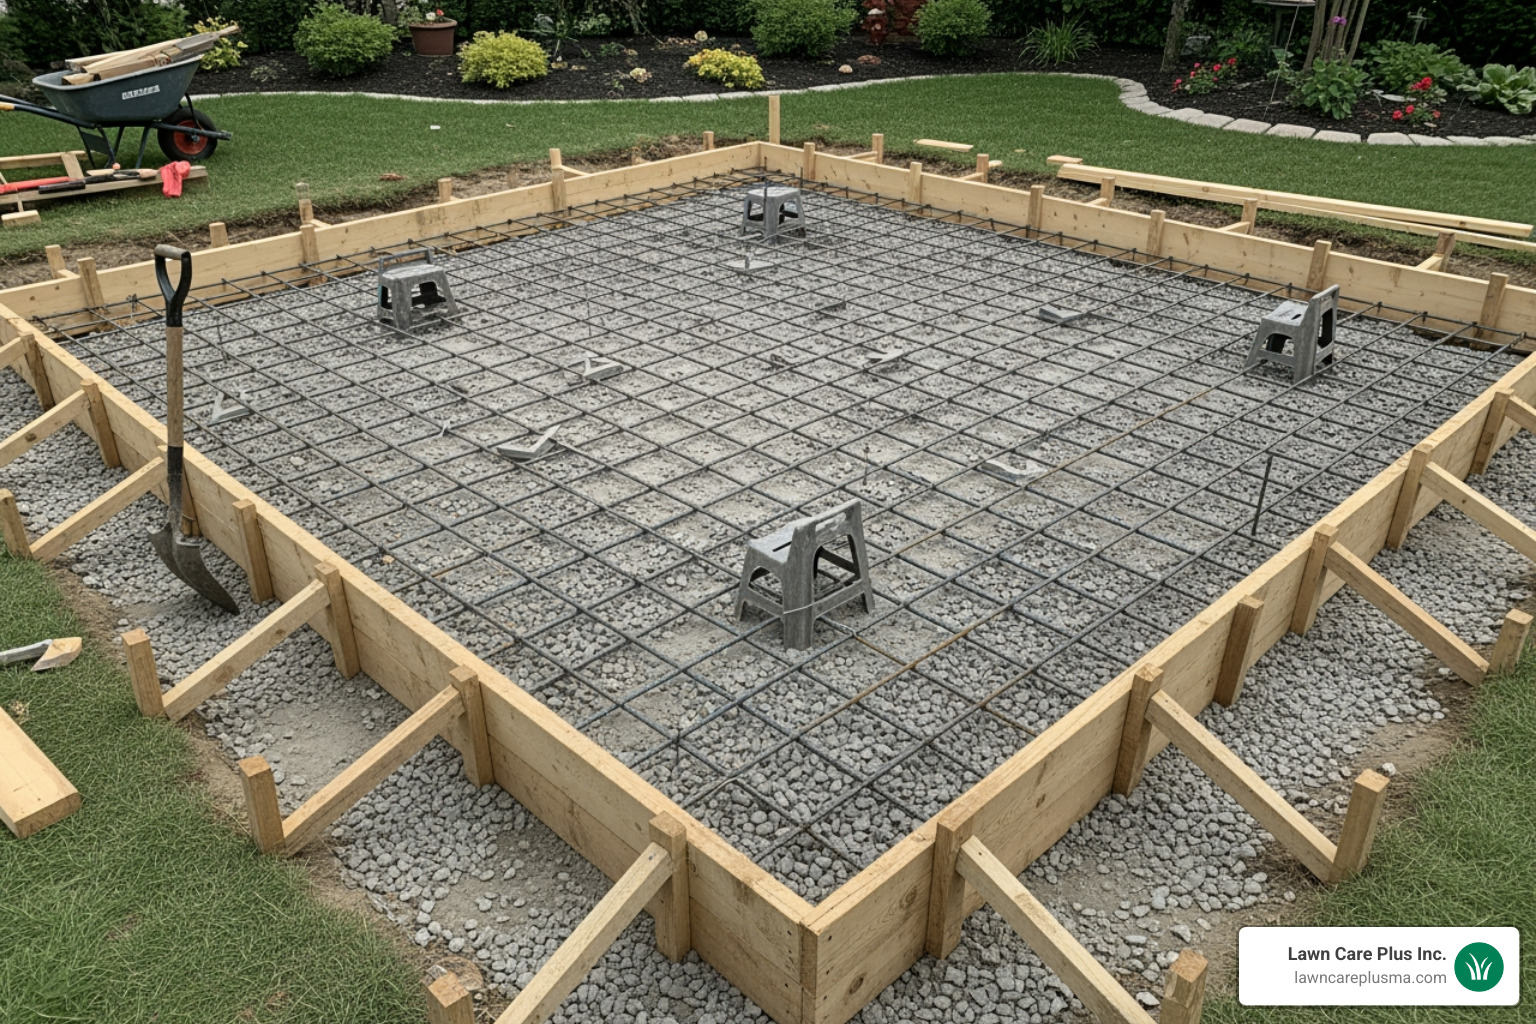
- Excavate: Clear the area and dig down 6-8 inches to allow for a 4-inch gravel base and a 4-inch concrete slab.
- Compact: Use a plate compactor to create a solid, compacted subgrade and gravel base. This is essential to prevent the patio from settling.
- Set Forms: Build a perimeter with 2×4 or 2×6 lumber, staked securely. Ensure the forms have a slight slope (1/8 to 1/4 inch per foot) away from your house for proper drainage.
- Install Reinforcement: Place rebar or welded wire mesh in the middle of the slab’s height to add strength and control cracking. Use this concrete calculator to estimate how much concrete you’ll need.
Phase 2: Pouring and Finishing the Concrete
With your prep work done, it’s time to pour. For any patio of significant size, ordering ready-mix concrete is highly recommended. Request a 4-inch slump, 3000-4000 PSI mix suitable for stamping.

- Pour the Slab: Spread the concrete evenly throughout the forms, ensuring a minimum 4-inch thickness everywhere.
- Screed the Surface: Use a long, straight screed board to level the concrete, dragging it across the top of the forms.
- Float the Surface: Immediately after screeding, use a bull float to smooth the surface and bring the fine cement paste to the top.
- Edge the Slab: Run an edging tool along the perimeter to create a clean, rounded edge that resists chipping.
Our team has perfected this process for Concrete Patio Installation projects across the Boston Metro-West area.
Phase 3: The Stamping Process – How to Install a Stamped Concrete Patio Texture
This is the most time-sensitive step. You have a short window—often less than an hour—when the concrete is in its “plastic” state, firm enough to support weight but soft enough to take an impression.
- Test for Readiness: Press your thumb into the concrete. It’s ready when it leaves a clean 1/4-inch deep impression.
- Apply Color and Release: If using a color hardener, broadcast it evenly and float it into the surface. Next, apply a release agent (liquid is cleaner and easier for DIYers) over the entire surface to prevent stamps from sticking and to add a secondary accent color.
- Stamp the Concrete: Start in a corner and place your first stamp. Use a tamper to press it firmly and evenly into the concrete. Lift the stamp straight up and place the next one, overlapping slightly (1-2 inches for patterns, 4-6 inches for seamless skins) to ensure a continuous pattern. Use flexible stamps for edges and corners.
Once you start stamping, you cannot stop. This is why a coordinated team is essential. For a visual guide, see this video on How To Form, Pour, And Stamp A Concrete Patio Slab – YouTube.
Phase 4: Curing and Cutting Control Joints
After stamping, the concrete must cure properly to gain its full strength. Curing involves keeping the surface moist for 3 to 7 days to allow the chemical hydration process to complete. You can use curing blankets or mist the surface with water several times a day.
Concrete naturally shrinks as it cures, which causes cracking. Control joints are shallow cuts that encourage cracks to form in straight, predictable lines.
- When to Cut: Cut joints within 24 hours of pouring (or 6-12 hours in hot weather).
- How to Cut: Use a concrete saw to cut a depth of at least one-quarter of the slab’s thickness (e.g., 1-inch deep for a 4-inch slab).
- Where to Cut: Space joints every 8 to 10 feet. Whenever possible, hide the cuts within the stamped pattern’s grout lines to make them nearly invisible.
Finishing Touches: Coloring, Sealing, and Maintenance
With the hard work of installation done, the final steps are to improve the patio’s color and protect it for the long term.
After a day or two of curing, wash off any excess powdered release agent with a pressure washer (around 1200 PSI) or a stiff brush and water. For added depth, you can apply antiquing agents or stains. Stains come in acid-based or water-based formulas and can create unique, translucent color variations, but acid stains require waiting the full 28-day cure period before application.
Sealing Your Stamped Concrete Patio
Sealing is not an optional step; it’s essential for protecting your investment. A quality sealer provides a protective barrier that:
- Prevents stains from dirt, oil, and leaves.
- Guards against moisture damage and freeze-thaw cycles.
- Protects against color fading from UV rays.
- Improves color depth and vibrancy.
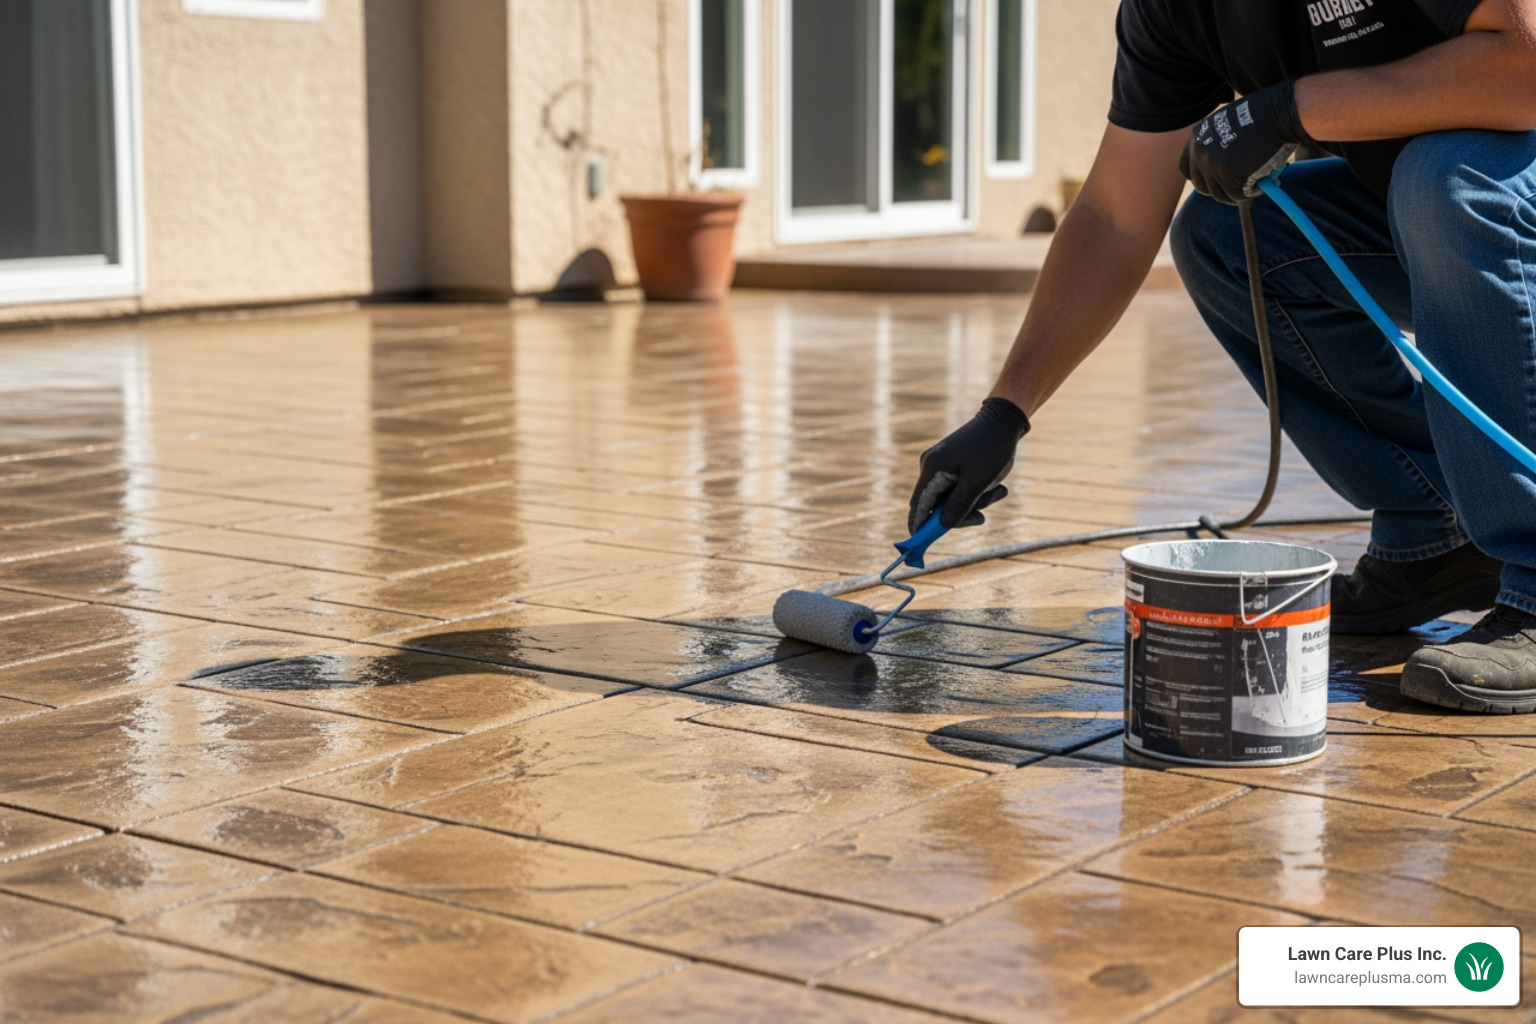
Wait a full 28 days for the concrete to cure completely before sealing. Applying sealer too early traps moisture and can cause a cloudy or peeling finish. For the application, start with a clean, dry surface. Apply a high-quality acrylic or polyurethane sealer in two thin, even coats using a roller, ensuring the temperature is above 50°F. Plan to clean and re-seal your patio every 2-3 years to maintain its appearance and protection.
Long-Term Care and Maintenance
Stamped concrete is remarkably low-maintenance. Follow these simple tips to keep it looking great:
- Routine Cleaning: Sweep away debris regularly. Wash the patio a few times a year with mild soap and water.
- Stain Removal: Clean up spills as soon as possible to prevent them from setting.
- Winter Care: Use a plastic shovel to remove snow. Never use rock salt or de-icing chemicals, as they can damage the concrete and sealer. Use sand for traction instead.
- Protection: Use furniture pads under the legs of heavy items like grills and tables to prevent scratches.
Our Patio Construction services include full guidance on how to care for your new installation for years to come.
Frequently Asked Questions about Stamped Concrete Installation
Here are answers to some of the most common questions homeowners have about installing a stamped concrete patio.
Can I install a stamped concrete patio myself?
Yes, a skilled DIYer can install a stamped concrete patio, but it is an intermediate-level project. It is not a one-person job—you need a team of at least 2-3 people to handle the time-sensitive pouring and stamping stages. Mistakes in concrete are permanent and costly to fix, often requiring a complete replacement of the slab. If you want a guaranteed professional result without the stress, consider hiring experienced installers. For those in our service area, we have stamped concrete patio installers near me ready to help.
What are the most common mistakes to avoid?
Knowing what not to do is as important as knowing the steps. The most common and costly mistakes include:
- Poor Subgrade Preparation: Failing to properly compact the base soil and gravel leads to settling and cracking.
- Incorrect Concrete Mix: Using a mix that is too wet, too dry, or not strong enough will result in a weak, porous slab.
- Bad Stamping Timing: Stamping too early creates a mushy pattern; stamping too late results in a faint or non-existent impression.
- Improper Curing: Letting the concrete dry out too quickly prevents it from reaching its full design strength.
- Sealer Application Errors: Applying sealer too soon or too thickly can cause clouding, bubbling, and peeling.
Can you stamp over an existing concrete patio?
Yes, you can apply a stampable overlay to an existing concrete surface. However, this is only an option if the existing concrete is structurally sound, without major cracks or settling issues. The process requires meticulous surface preparation—including cleaning and grinding—to ensure the overlay bonds properly. Stampable overlays also tend to set faster than new concrete, making the stamping window even more challenging. Given the technical skill required, applying an overlay is often a job best left to professional concrete patio installers.
Get a Flawless Finish for Your Outdoor Oasis
You’ve learned how to install a stamped concrete patio—a project that adds incredible beauty and value to your home by combining the durability of concrete with the look of high-end materials. It offers endless design possibilities to complement any home style.
However, this is not a forgiving DIY project. The narrow 60-minute window for stamping leaves no room for error, and mistakes are permanent. One misstep in preparation, timing, or technique can compromise the entire patio.
This is where professional expertise makes all the difference. At Lawn Care Plus Inc., we have installed countless stamped concrete patios throughout the Boston Metro-West area. Our experienced team understands how to manage the process flawlessly, steer challenges like weather and site conditions, and deliver a perfect, long-lasting result every time.
We proudly serve Belmont, Boston, Brighton, Brookline, Canton, Chestnut Hill, Dedham, Hyde Park, Jamaica Plain, Mattapan, Medfield, Milton, Needham, Newton, Norwood, Randolph, Readville, Roslindale, Walpole, Watertown, and surrounding communities. We build patios designed to withstand the local New England climate.
If you prefer the peace of mind that comes with professional installation, we’re here to help. Explore our hardscaping services to see how we can transform your outdoor space into the oasis you’ve been dreaming about.