When considering hydro grass seeding near me, many homeowners and property managers are searching for a reliable, aesthetically pleasing solution to lawn care that won’t break the bank. Here’s what you need to know right away:
- Hydroseeding is both effective and quick, offering lush grass growth within a couple of weeks.
- Cost-effective compared to traditional sod: Hydroseeding can provide a beautiful lawn without the higher costs associated with sodding.
- DIY or Professional: People can choose between doing it themselves with rental equipment or hiring a professional service for optimal results.
Hydroseeding is a modern, efficient method to create a vibrant, healthy lawn and is especially popular in urban and suburban areas like the Boston Metro-West area. It involves spraying a mixture of seeds, mulch, and other beneficial components onto prepared soil, creating an ideal environment for grass to grow. This method is not only cost-effective but also allows for customized seed blends custom to your specific climate and soil conditions.
For those considering DIY options, while it might save money on labor costs, weigh the time, equipment rental, and potential learning curve involved. Professional hydroseeding services, on the other hand, promise precision and expertise, often leading to a more reliable outcome without the homeowner needing to lift a finger.

Quick hydro grass seeding near me terms:
– hydroseeding cost
– what is hydroseeding
What is Hydro Grass Seeding?
Hydro grass seeding, often referred to simply as hydroseeding, is a modern lawn planting technique that combines seed, mulch, water, and fertilizer into a slurry. This mixture is then sprayed evenly across the prepared soil using specialized equipment.
The Process
Here’s how it works:
- Preparation: The soil is first prepped by removing rocks, debris, and other obstructions. This ensures the slurry can adhere properly and the seeds can take root.
- Mixing: A combination of grass seed, mulch, fertilizer, and water is mixed into a slurry. This blend often includes a tackifier, which helps the mixture stick to the soil, preventing erosion.
- Application: The slurry is sprayed over the soil using a high-pressure hose. This even distribution ensures that seeds are planted uniformly, leading to consistent growth.
- Growth: Within a week, you’ll typically see the first signs of grass sprouting. In two to three weeks, the lawn is ready for its first mowing.
Benefits of Hydro Grass Seeding
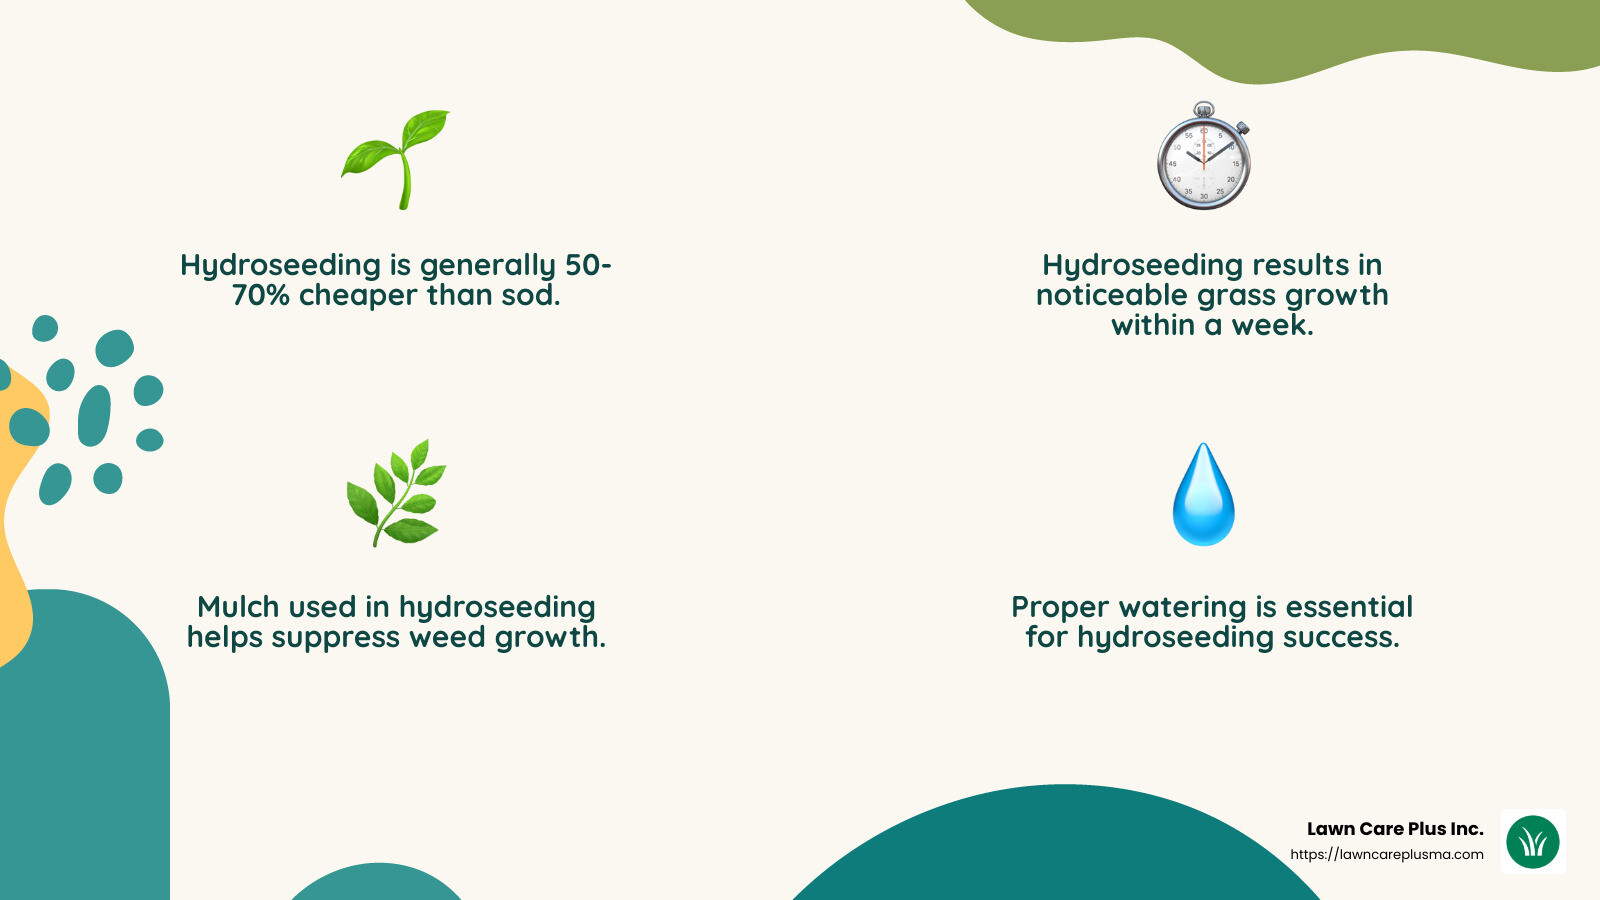
- Cost-Effective: Compared to sodding, hydroseeding is more affordable. It’s less expensive than laying sod, yet more effective than traditional seeding methods.
- Quick Results: Grass begins to grow within days, and within a few weeks, you can have a lush, green lawn.
- Erosion Control: The mulch in the slurry helps prevent soil erosion, making it ideal for sloped areas or newly graded land.
- Customizable: You can choose seed blends custom to your specific climate and soil conditions. This ensures the grass is well-suited to thrive in your environment.
- Better Germination: The slurry provides a protective layer that retains moisture, leading to higher seed germination rates.
Hydroseeding is an excellent choice for those seeking a cost-effective and efficient method to establish a healthy, vibrant lawn. Whether you choose to hire professionals or explore DIY options, hydroseeding offers flexibility and fast results, making it a popular choice for both homeowners and commercial properties.
Best Time to Hydroseed
Optimal Seasons for Hydroseeding
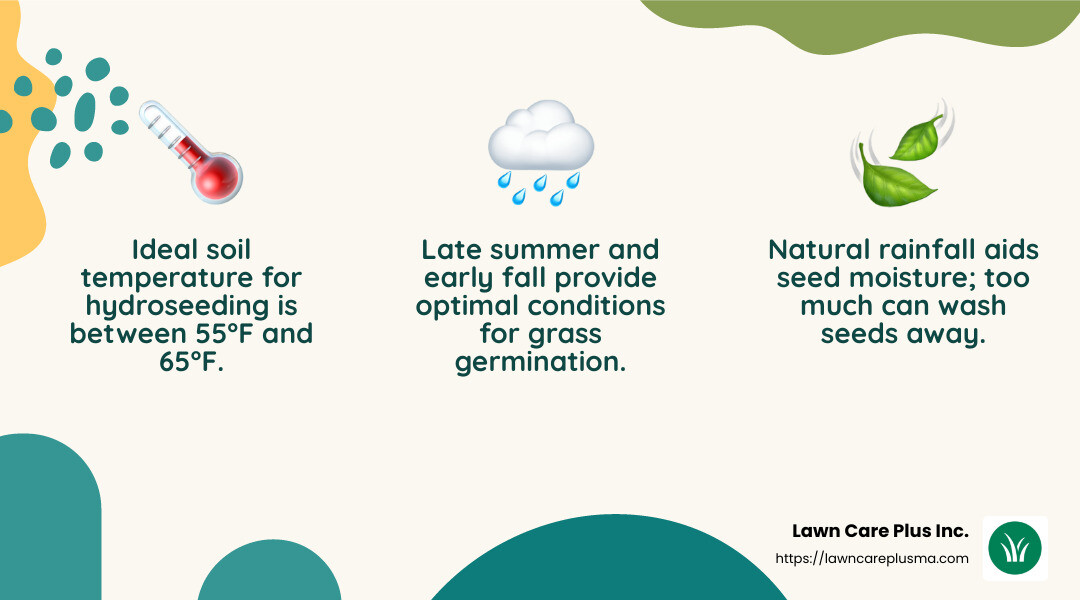
When it comes to hydroseeding, timing is crucial for success. Late summer and early fall are generally considered the best times to hydroseed. During these periods, the soil is still warm from summer but the air is cooler, creating optimal conditions for grass seed germination.
- Late Summer: This period allows the grass to establish roots before the cooler fall temperatures set in. The warm soil speeds up germination, while cooler air reduces stress on the young seedlings.
- Early Fall: Early fall offers a perfect balance of warm soil and cooler air, along with increased rainfall, which helps keep the seeds hydrated without extra effort.
These seasons provide a longer growing period before winter dormancy, giving your new lawn the best chance to thrive.
Climate Considerations
Climate plays a significant role in determining the ideal time for hydroseeding. Here are a few key factors to consider:
- Temperature: The ideal soil temperature for hydroseeding is between 55°F and 65°F. This range encourages rapid germination and root development.
- Precipitation: Natural rainfall can aid in keeping the seeds moist, reducing the need for additional watering. However, too much rain can wash away seeds, especially on sloped areas. In regions with heavy fall rains, late summer might be a better choice to avoid this risk.
Understanding your local climate conditions will help you choose the best time to start your hydroseeding project. The goal is to provide the seeds with warmth, moisture, and time to establish before the onset of harsh weather conditions.
Hydro Grass Seeding Near Me: Costs and Considerations
When considering hydro grass seeding near me, it’s important to understand the various costs and considerations involved. Let’s break down the key factors that affect the cost of hydroseeding and how it compares to other lawn establishment methods like sod and traditional seeding.
Cost Factors for Hydroseeding
- Labor Costs:
Professional hydroseeding involves skilled labor, which can drive up costs. The process requires experts who know how to mix the seed slurry and apply it evenly. In Atlanta, GA, for example, professional hydroseeding services often include a free consultation and estimate to provide accurate pricing based on your lawn’s specific conditions. - Materials:
The materials used in hydroseeding include grass seed, mulch, fertilizers, and water. The choice of seed type, such as Bermuda or Fescue, can influence the price. Additionally, the quality of mulch and other additives can impact both cost and the success of the seeding. - Lawn Size:
Naturally, larger lawns require more materials and labor, increasing the overall cost. However, hydroseeding is generally more cost-effective for larger areas compared to sod, as the material and labor costs are distributed over a greater area.
Comparing Hydroseeding, Sod, and Traditional Seeding
When choosing between hydroseeding, sod, and traditional seeding, it’s crucial to consider cost, timeframes, and results.
Cost Comparison:
– Hydroseeding: Generally less expensive than sod but more costly than traditional seeding. It offers a middle ground in terms of price and is ideal for those looking to balance cost with quality.
– Sod: The most expensive option due to the labor-intensive process of laying pre-grown grass. It provides instant results but can cost up to four times more than hydroseeding.
– Traditional Seeding: The cheapest method upfront but requires more time and care to establish a lush lawn.
Timeframes:
– Hydroseeding: Expect noticeable grass growth within a week and a fully established lawn in about three weeks.
– Sod: Offers immediate results but requires careful watering and maintenance to ensure the roots establish properly.
– Traditional Seeding: Takes the longest time to establish, often several weeks to months, depending on conditions.
Results:
– Hydroseeding: Provides a uniform and lush lawn with fewer weeds due to the mulch layer that suppresses weed growth.
– Sod: Delivers an instant, fully green lawn but can suffer from transplant shock if not properly cared for.
– Traditional Seeding: The results can be patchy and require overseeding to achieve full coverage.
Understanding these factors can help you make an informed decision about the best method for establishing your lawn. Whether you’re looking for hydro grass seeding near me or exploring other options, consider your budget, the size of your lawn, and how quickly you want to see results.
How to Prepare Your Lawn for Hydroseeding
Preparing your lawn for hydroseeding is a crucial step to ensure the best results. Here’s how you can get your lawn ready for this efficient and effective seeding method.
Site Preparation
Before hydroseeding, it’s important to prepare the site properly. This involves clearing the area of any debris that might interfere with the process. Remove rocks, sticks, and any other obstructions to create a smooth, even surface. This will help the seed slurry adhere evenly to the soil.
Soil Testing
Testing your soil is a smart move before hydroseeding. A soil test can reveal the pH level and nutrient content, helping you understand what amendments might be necessary. Adding the right nutrients can significantly improve the success of your hydroseeded lawn. Consider incorporating organic compost to improve soil structure and nutrient levels.
Obstruction Removal
Ensure the area is free from any obstacles that could hinder the hydroseeding process. This includes not only natural debris but also manmade items like toys or garden decorations. Clearing these obstructions beforehand will allow for a more uniform application and reduce the risk of uneven growth.
By taking these preparatory steps, you set the stage for a successful hydroseeding project. Proper preparation ensures that the seed slurry can make contact with the soil, leading to better germination and a healthier lawn. Next, we’ll explore whether DIY hydroseeding is a viable option for you.
DIY Hydroseeding: Is It Right for You?
Thinking about DIY hydroseeding? Let’s break down what you need to know about equipment, costs, and skills.
Equipment Rental
To start, you’ll need a hydroseeding machine. Renting one typically costs between $250 to $500. These machines mix seed, water, fertilizer, and mulch into a slurry that you spray over your lawn. Rental fees can add up, especially if you’re new to operating such equipment and need extra time to get it right.
Material Costs
Beyond the machine, you’ll need to purchase seeds, mulch, and fertilizer. The cost of these materials can vary based on your lawn’s size and the type of grass you choose. For example, specialized grass seeds or high-quality mulch might increase your expenses. Research and plan your materials carefully to avoid overspending.
Skill Level
Hydroseeding might sound simple, but it requires a fair amount of skill. Mixing the slurry correctly is crucial. If the proportions are off, your lawn might not grow as lush as you’d like. Experience in lawn care is a plus, but if you’re a beginner, be prepared to spend time learning and potentially dealing with trial and error.
DIY hydroseeding can be a rewarding project if you’re up for the challenge. However, it demands time, patience, and a willingness to learn. If you’re uncertain about your skills or the costs seem too high, hiring a professional might be a better option.
Next, let’s look at how to maintain your newly hydroseeded lawn for long-term success.
Maintaining Your Hydroseeded Lawn
Once you’ve successfully completed hydro grass seeding, it’s crucial to focus on maintenance to ensure your lawn thrives. Here’s a straightforward guide on what to do next.
Initial Care Post-Hydroseeding
Watering
Right after hydroseeding, watering is your top priority. The soil needs to stay consistently moist to help seeds germinate. Aim for light watering two to three times a day, but avoid puddles. This routine is especially important during the first two weeks.
First Mowing
You’ll notice grass growth in about a week. Wait until the grass reaches about 3 inches tall before mowing it for the first time. This usually takes two to three weeks. Use a sharp mower blade to avoid tearing the young grass.
Long-Term Maintenance
Fertilizing
Fertilization supports healthy growth. Start with a balanced, slow-release fertilizer about a month after seeding. Follow up with regular applications every six to eight weeks during the growing season.
Aeration
Aeration helps your lawn “breathe” by reducing soil compaction. It allows water and nutrients to reach the roots more effectively. Consider aerating your lawn once or twice a year, ideally in the spring and fall.
Dethatching
Thatch is a layer of dead grass and roots that can build up over time. It can block water and nutrients if it gets too thick. Use a dethatching rake or machine to remove it. This is best done in mid-spring for most grass types.
By following these steps, your hydroseeded lawn will stay lush and vibrant. Consistent care leads to a beautiful lawn that complements your home.
Next, we’ll dive into some frequently asked questions about hydro grass seeding to clear up any lingering doubts.
Frequently Asked Questions about Hydro Grass Seeding
What is the average cost per acre for hydroseeding?
Hydroseeding is often more cost-effective than laying sod, especially for larger areas. On average, the cost per acre for hydroseeding ranges from $2,000 to $4,000. This price can vary based on factors like the type of grass seed, soil preparation, and regional labor costs. For smaller areas, prices might be higher per square foot due to setup and equipment costs. While hydroseeding might cost more upfront than traditional seeding, it often results in a more uniform and quicker lawn establishment.
How does weather affect hydroseeding success?
Weather plays a crucial role in the success of hydroseeding. Ideally, hydroseeding should be done in late summer or early fall when temperatures are moderate and rainfall is more consistent. These conditions help seeds germinate quickly and establish roots before winter. However, extreme weather conditions like heavy rain, drought, or high winds can hinder growth. Rain can wash away seeds, while drought can prevent germination. In windy areas, the slurry might not adhere well to the soil. Always check the weather forecast before scheduling your hydroseeding to ensure the best results.
Can hydroseeding be done over an existing lawn?
Hydroseeding over an existing lawn is generally not recommended. The process works best on bare soil, where the slurry can make direct contact with the ground. If you have an existing lawn, it’s advisable to remove the old grass or till the area to create a suitable seedbed. This ensures that the new seeds have the best chance to germinate and grow. However, in some cases where only patchy areas need reseeding, hydroseeding can be used to fill in those spots after proper preparation.
These FAQs should help clarify some common concerns about hydro grass seeding, ensuring you’re well-prepared for a successful lawn change. Next, we’ll explore how to choose the best hydroseeding service near you.
Conclusion
Changing your lawn into a lush and vibrant landscape doesn’t have to be a daunting task. At Lawn Care Plus Inc., we specialize in hydro grass seeding and are committed to providing top-notch service to help you achieve the lawn of your dreams. Our team of experienced professionals understands the importance of using the right techniques and materials to ensure successful grass growth.
Choosing hydro grass seeding near me can significantly improve the appearance and health of your lawn. With our custom approach, we assess your specific needs, taking into account factors such as lawn size, soil condition, and desired grass type. This personalized service ensures optimal results, providing you with a lawn that is not only beautiful but also sustainable.
One of the key advantages of working with us is our comprehensive service offering. From the initial consultation to the final touches, we handle every aspect of the hydroseeding process. Our goal is to make the experience as seamless and stress-free as possible for you. Plus, our local expertise means we understand the unique climate and soil conditions of the Boston Metro-West area, allowing us to deliver the best results for your lawn.
We invite you to explore our lawn care services and see how we can assist you in achieving a lush, green lawn. Whether you’re starting from scratch or looking to revitalize an existing area, Lawn Care Plus Inc. is here to help. Contact us today to get started on your journey to a healthier, more beautiful lawn.
