To build retaining walls, you need to understand both their function and the beauty they can bring to your landscape. At their core, retaining walls are essential structures designed to control soil erosion and transform sloped landscapes into usable outdoor spaces. They allow homeowners to combat the challenges of hilly terrain while adding aesthetic appeal to any property. Whether you’re looking to create terraced garden beds or define your driveway with structured flower borders, retaining walls are a versatile solution.
Here’s a quick rundown to help you get started:
- Purpose: Control soil erosion, create usable space, improve landscape design.
- Materials: Choose from concrete blocks, natural stones, or interlocking blocks.
- DIY Consideration: Low walls can be DIY; taller walls may need professionals.
If you’re ready to tackle this project, our guide will equip you with the necessary know-how to transform your yard into a stunning, functional landscape. Retaining walls do more than hold back soil—they create opportunities for planting, reduce lawn maintenance, and boost your property’s aesthetic value.

Build retaining walls terms to know:
– retaining walls and landscaping
– landscape wall
– concrete block retaining wall
Planning Your Retaining Wall
When you’re ready to build retaining walls as a DIY project, a bit of planning goes a long way. Here’s what you need to consider:
DIY Project
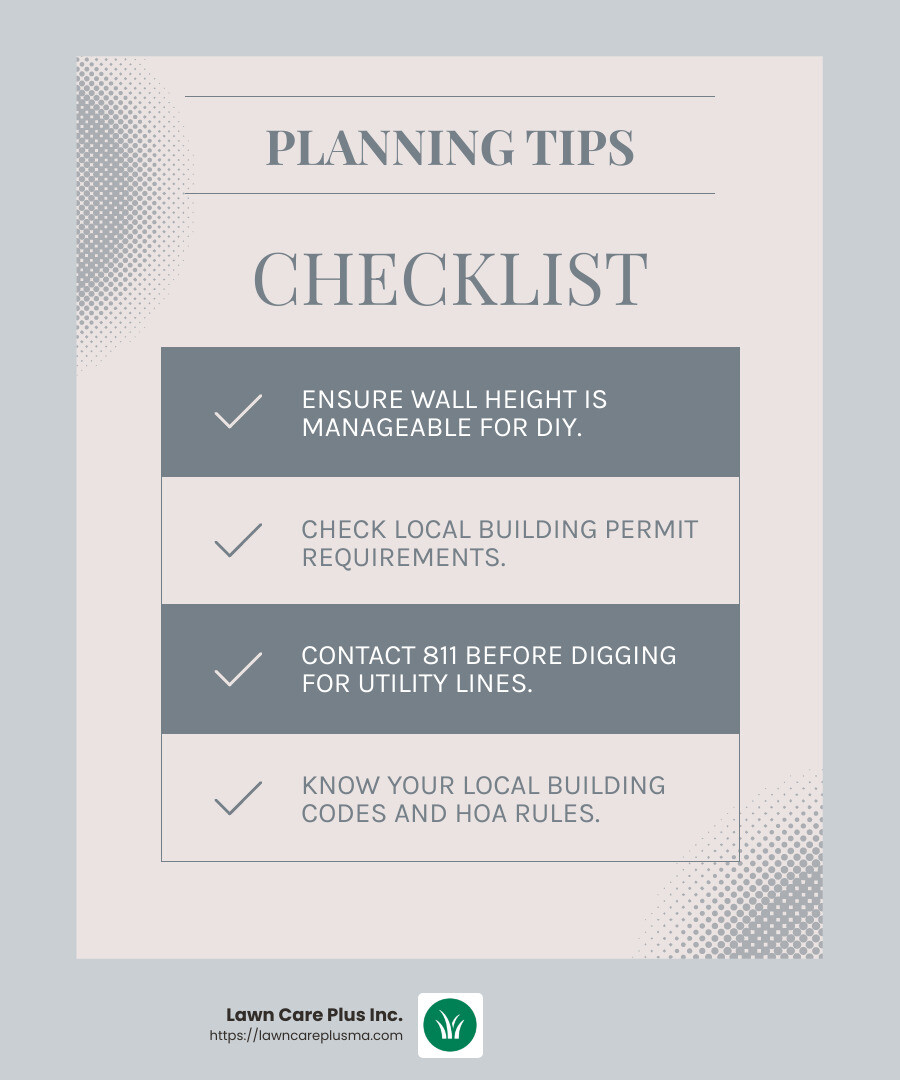
Starting a retaining wall project can be a rewarding endeavor, especially if you’re a hands-on homeowner. If your wall is 3 feet tall or less, it’s often manageable with average DIY skills. But remember, anything taller might require professional assistance due to the complexities involved, like understanding local building codes and ensuring structural integrity.
Building Permit
Before you start digging, check if you need a building permit. Requirements can vary greatly depending on your location. Some areas mandate permits for walls above a certain height or for those that significantly alter the landscape. It’s always better to be safe than sorry, so a quick call to your local building authority can save you from potential headaches later.
Utility Lines
Safety first! Dial 811 before you dig. This free service will help you locate underground utility lines, ensuring you don’t accidentally cut through anything important. It’s a crucial step to avoid service disruptions and potential hazards.
Building Codes
Familiarize yourself with your local building codes. These codes ensure that your wall is safe and compliant with regional standards. They can dictate everything from wall height limits to drainage requirements. Also, check with your homeowner’s association (HOA) for any additional restrictions or guidelines they may have.
Key Considerations
- Timing: Plan your build after a dry spell to make soil easier to work with.
- Materials: Opt for DIY-friendly materials like interlocking concrete blocks for easier assembly.
- Drainage: Proper drainage is vital to prevent pressure build-up behind the wall. Even for shorter walls, consider using gravel backfill to aid water flow.
By planning carefully, you set the stage for a successful project that not only meets your needs but also improves your landscape’s functionality and beauty. Let’s move on to choosing the right materials for your retaining wall masterpiece.
Choosing the Right Materials
Selecting the right materials is crucial when you’re ready to build retaining walls. Your choice will affect not only the wall’s appearance but also its durability and ease of construction. Let’s explore some popular options:
Concrete Blocks
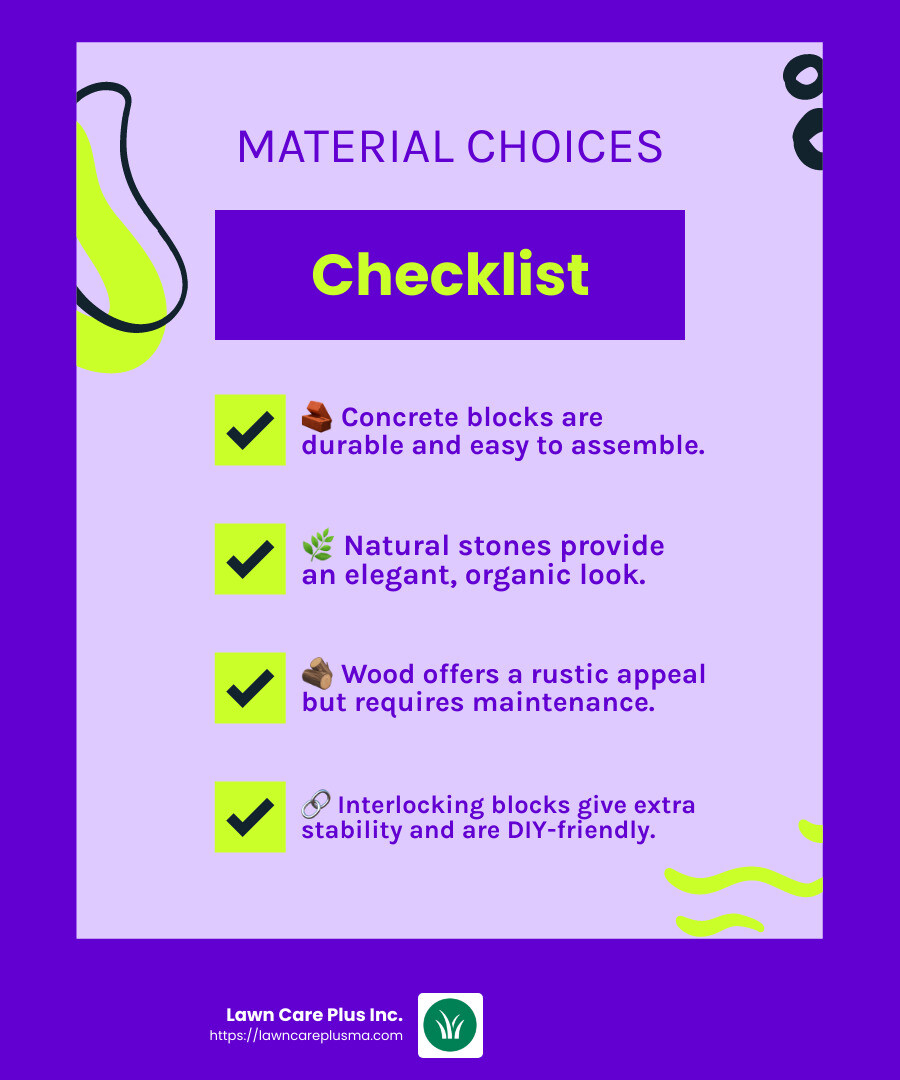
Concrete blocks are a top choice for many DIY enthusiasts. They’re sturdy, durable, and come in various sizes and shapes. Interlocking concrete blocks are particularly DIY-friendly. They fit together like puzzle pieces, making assembly straightforward and adding extra stability to your wall. Plus, many home improvement stores offer calculators that help you determine how many blocks you’ll need based on your wall’s dimensions.
Natural Stones
For a more organic look, natural stones like slate or limestone are excellent. They add a touch of elegance and blend seamlessly with the landscape. However, working with these stones can be labor-intensive. Each stone is unique, requiring careful selection and placement to ensure a stable structure.
Wood
Wood, such as pressure-treated pine or reclaimed railroad ties, offers a rustic appeal. It’s relatively easy to work with and can be a cost-effective option. However, wood is prone to rot over time, especially in moist environments. Proper treatment and maintenance are essential to extend its lifespan.
Interlocking Blocks
Interlocking blocks are a game-changer for DIY projects. These blocks come with a lip or groove that helps them lock into place, providing additional strength and stability. They’re available in various materials, including concrete and stone, offering flexibility in design and appearance. The ease of use makes them a favorite for both beginners and seasoned builders.
When choosing materials, consider the climate, soil type, and the wall’s purpose. Each material has its pros and cons, and the right choice will depend on your specific needs and preferences. With the right materials in hand, you’re one step closer to creating a beautiful and functional retaining wall.
Now that you know what materials to consider, let’s move on to the actual building process. We’ll guide you through creating a solid base, ensuring proper drainage, and more.
How to Build Retaining Walls
Building a retaining wall might seem daunting, but with the right approach, you can create a strong, durable structure that stands the test of time. Let’s explore the essential steps to build retaining walls effectively:
Solid Base
A solid base is the foundation of any successful retaining wall. Here’s how to set it up:
- Excavate the Area: Start by digging a trench. The depth should be at least half the height of your first course of blocks plus 3 inches for the paver base. This usually means 4 to 8 inches deep.
- Add Gravel: Pour a 6-inch layer of gravel into the trench. Use ¾” minus road gravel for the best results. Spread it evenly and compact it with a hand tamper or a plate compactor.
- Ensure Leveling: Use a long level to check that the base is even. This step is crucial because any unevenness can lead to instability.
Drainage
Proper drainage is key to preventing water buildup, which can weaken your wall over time.
- Install Perforated Pipe: Place a perforated pipe at the back of the trench. Ensure it’s sloped to allow water to flow away from the wall. This helps manage water runoff, especially in rainy areas.
- Filter Fabric: Lay filter fabric over the gravel and pipe. This prevents soil from clogging the drainage system while allowing water to pass through.
Backfill
Backfilling supports the wall and adds stability.
- Use Gravel: After laying each course of blocks, fill the space behind the wall with gravel. This helps with drainage and adds weight to counteract the soil pressure.
- Compact Regularly: Compact the gravel as you go. This prevents settling, which could destabilize the wall over time.
Compacting
Compacting is a critical step to ensure the longevity of your wall.
- Multiple Lifts: Compact the gravel in layers, or “lifts.” For best results, compact every 2 inches of gravel added. This ensures the base remains stable and level.
- Check Stability: Regularly check the stability of the wall as you build. If any blocks seem loose, adjust them before moving on.
By following these steps, you’ll create a retaining wall that’s not only functional but also improves your landscape’s beauty. With a solid base, effective drainage, and proper backfilling, your wall will stand strong for years to come.
Next, let’s explore a step-by-step guide to laying blocks and adding capstones, ensuring your retaining wall is both sturdy and visually appealing.
Step-by-Step Guide to Building Retaining Walls
In this section, we’ll walk you through the practical steps to build retaining walls effectively. From trench digging to adding the finishing capstones, each step is crucial to creating a strong and visually appealing structure.
Trench Digging
The first step in building your retaining wall is digging the trench. This trench is the backbone of your wall, so precision is key.
- Measure and Mark: Use ground-marking spray paint to outline where your wall will go. Ensure the trench is twice as wide as the blocks you’ll use.
- Dig Deep: The trench should be deep enough to accommodate the base material and at least half the height of the first course of blocks. Typically, this means digging 4 to 8 inches deep, depending on your blocks.
- Level the Trench: Use a long level to make sure the bottom of the trench is even. A level trench prevents your wall from tipping over time.
Leveling
Before laying any blocks, it’s crucial to ensure everything is perfectly level.
- Compact the Base: Use a hand tamper or a vibrating plate compactor to compact the soil at the bottom of the trench.
- Add and Level Base Material: Pour in a layer of paver base or crushed stone and compact it. Use a 4 or 6-foot level to check that the base is even.
- Verify Slope: If your wall is on a slope, make sure the trench accounts for this. The top of the wall should be level, even if the base steps up or down.
Block Laying
Now that your base is ready, it’s time to lay the blocks.
- Start at the Lowest Point: Begin at the lowest point of your trench. This ensures that each course will remain level as you build up.
- Check Each Block: Use a torpedo level to check each block front to back and side to side. Adjust as needed by adding or removing base material.
- Lay in a Staggered Pattern: Stagger the blocks so that the seams do not line up vertically. This adds strength to your wall.
- Fill and Compact: After completing each course of blocks, fill the space behind the wall with gravel and compact it. This adds support and ensures proper drainage.
Capstones
Capstones are the final touch, adding both stability and a finished look to your wall.
- Select Your Capstones: Choose capstones that complement your wall blocks. They should be slightly wider than the wall itself for a decorative overhang.
- Secure the Capstones: Use a construction adhesive suitable for outdoor use to secure the capstones in place. This prevents them from shifting over time.
- Align and Level: As with the blocks, ensure each capstone is level and lines up neatly with the others.
By following these steps, you’ll build a retaining wall that is not only functional but also improves the beauty of your landscape. Next, we’ll address some frequently asked questions about building retaining walls, helping you troubleshoot common issues and make informed decisions.
Frequently Asked Questions about Building Retaining Walls
What is the cheapest retaining wall to build?
When considering cost-effective options for building retaining walls, materials play a significant role. Pressure-treated pine is often the most affordable choice for a retaining wall. It’s lightweight, easy to work with, and provides a natural look. However, it may not last as long as other materials due to potential rotting, especially in damp climates.
Another budget-friendly option is poured concrete. While it requires more labor initially, its durability can save you money on repairs and replacements in the long run. For those seeking a more natural aesthetic, granite is a durable option, but it tends to be more expensive than wood or concrete.
Can I build a retaining wall myself?
Yes, you can! Many homeowners take on the challenge of building a retaining wall as a DIY project, especially if the wall is less than 4 feet tall. For walls of this height, you typically won’t need engineering expertise or a building permit. Just remember, the key to a successful DIY project is careful planning and adherence to local building codes.
However, for walls taller than 4 feet, professional help might be necessary. Taller walls require precise engineering to ensure stability and safety. Professionals have the experience and knowledge to handle these complexities, including understanding soil types and proper drainage systems.
Does a retaining wall need drainage?
Proper drainage is critical for the longevity of your retaining wall. Without it, water can accumulate behind the wall, leading to pressure buildup and potential failure. Generally, retaining walls 4 feet or higher should have a drainage system in place.
A drainage pipe is often used to direct water away from the wall. The soil type in your area will determine the extent of drainage needed. Clay-heavy soils, for example, retain more water, necessitating a more robust drainage system. On the other hand, sandy soils drain more naturally.
Additionally, consider any nearby water sources such as downspouts or natural runoff that might increase water flow toward your wall. Ensuring good drainage will help maintain the structural integrity and appearance of your retaining wall.
Next, we’ll explore how Lawn Care Plus Inc. can assist you with all your landscaping needs in the Boston Metro-West area.
Conclusion
Building a retaining wall can transform your outdoor space, adding both functionality and beauty. But while DIY projects can be rewarding, they often come with challenges—especially when it comes to ensuring proper drainage and structural integrity. This is where Lawn Care Plus Inc. comes in.
Based in Massachusetts, Lawn Care Plus Inc. serves the Boston Metro-West area with a wide range of landscaping and hardscaping services. Our experienced team is ready to assist with everything from lawn installations to intricate retaining wall designs. Whether you’re looking to improve your backyard with a new wall or need help maintaining your landscape, we’ve got you covered.
Our comprehensive services include:
- Landscape Installations: Transform your yard with our expert touch.
- Hardscaping: From patios to walkways, we bring your outdoor vision to life.
- Yard Cleanups: Keep your property looking pristine all year round.
By choosing Lawn Care Plus Inc., you ensure that your project is not only beautifully executed but also compliant with local building codes. Plus, a professionally installed retaining wall can improve your property’s value, offering a lasting investment in your home.
Ready to lift your landscape? Contact us today to discuss your project and find how we can help you build retaining walls that stand the test of time and add charm to your property.
