Flagstone walkway installation is a fantastic way to add natural charm and functionality to your outdoor spaces, especially for homeowners or property managers in the Boston Metro-West area. Here’s a quick overview of what you’ll need to do:
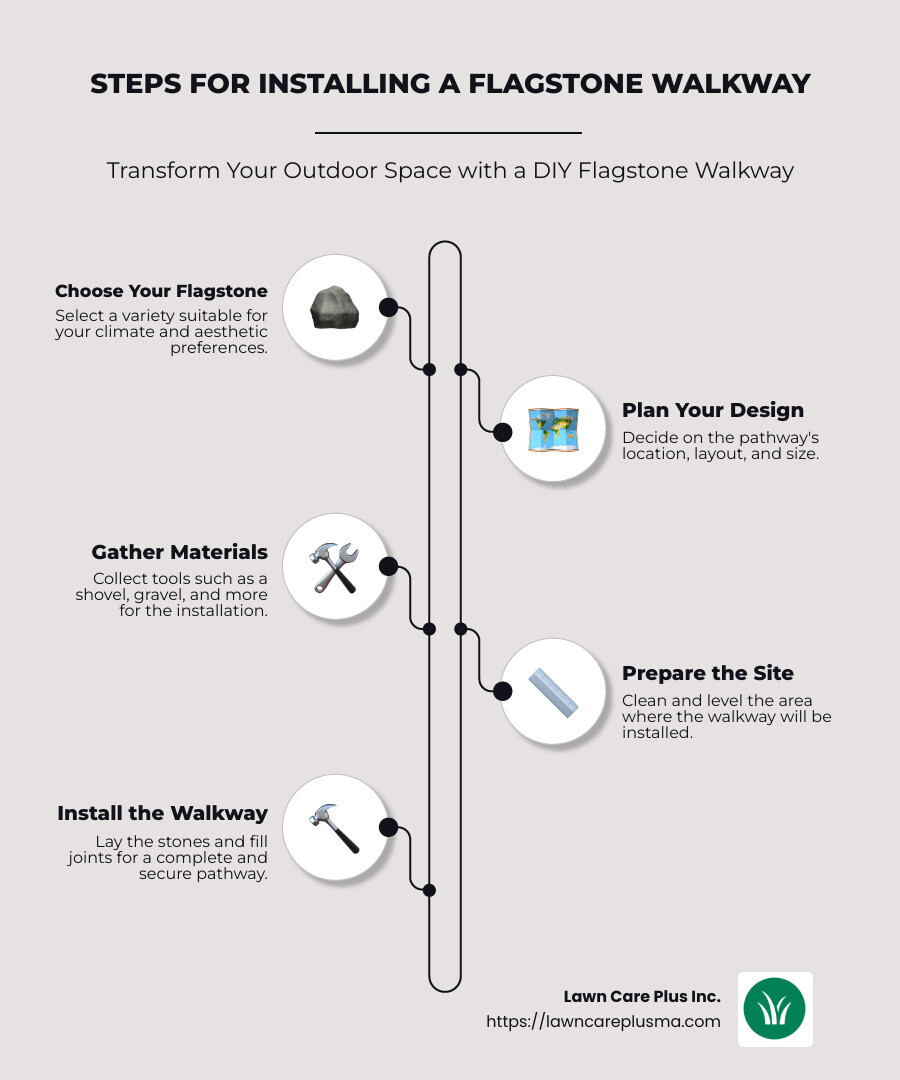
- Choose your flagstone: Pick a variety that suits your climate and aesthetic preferences.
- Plan your design: Decide on the pathway’s location, layout, and size.
- Gather materials: You’ll need tools like a wheelbarrow, shovel, and gravel.
- Prepare the site: Clean and level the area where you’ll install the walkway.
Flagstone comes with numerous benefits. Its natural aesthetics effortlessly blend with outdoor environments, creating a rustic and welcoming path. Each stone’s unique texture and color add a touch of elegance that concrete or asphalt simply can’t match.
Moreover, installing a flagstone walkway can often be tackled as a DIY project. While you’ll need to invest time and effort, it’s a rewarding way to improve your property without a professional’s price tag. Just imagine guiding your guests through a stunning, natural path you built yourself—or showing off your latest project to your Boston neighborhood!
Overall, with durability, style flexibility, and an increase in property value, a flagstone walkway is an attractive choice for budget-conscious property owners looking to lift their outdoor appeal.
Relevant articles related to flagstone walkway installation:
– bluestone walkway installation
– installing a paver walkway
– walkway installation near me
Essential Tools and Materials for Flagstone Walkway Installation
Creating a flagstone walkway is a rewarding project that can transform your outdoor space. To get started, you’ll need some essential tools and materials. Let’s break it down:
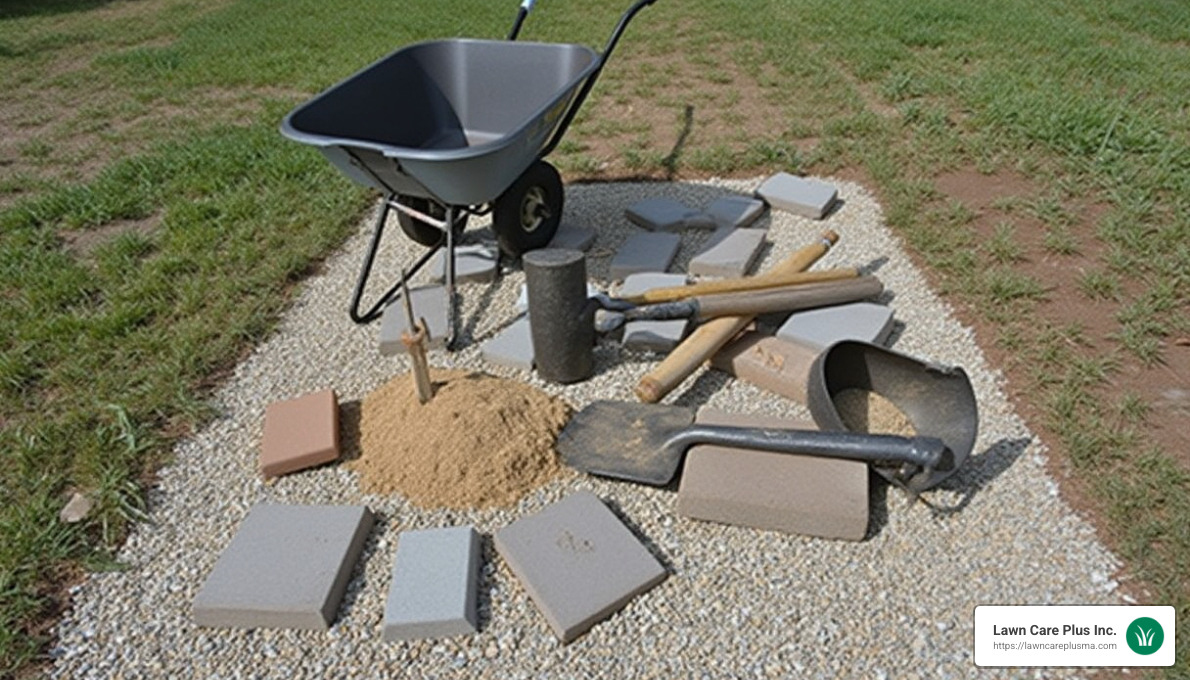
Tools You’ll Need
- Wheelbarrow: This is your go-to for moving heavy materials like sand, gravel, and flagstones. A sturdy wheelbarrow saves time and energy.
- Shovel: You’ll use a shovel for digging and moving soil. It’s also handy for spreading sand and gravel.
- Rake: A rake helps to level the base materials. It’s essential for creating a smooth foundation for your walkway.
- Hammer: A hammer is useful for installing any edging that might be needed to keep your flagstones in place. It can also help in adjusting the stones.
Materials You’ll Need
- Sand: Sand is used to create a smooth, level base for the flagstones. It helps with drainage and keeps the stones in place.
- Gravel: Gravel forms the foundation layer. A 4-inch layer of crushed stone is recommended to ensure stability and drainage.
- Flagstone: The star of the project! Choose flagstones with a flat surface to prevent tripping. Each piece is unique, adding character to your walkway.
Putting It All Together
With these tools and materials, you’re ready to start your flagstone walkway installation. Begin by preparing the site and laying a stable base of gravel and sand. Carefully place each flagstone, adjusting as needed to maintain an even surface.
A well-planned installation not only improves the beauty of your property but also boosts its value. Plus, tackling this as a DIY project can be both cost-effective and satisfying, especially when you see the final result.
Next up, we’ll guide you through planning your flagstone walkway, including tips on layout and design options.
Planning Your Flagstone Walkway
Before you start digging, it’s crucial to plan your flagstone walkway installation. A well-thought-out plan ensures that your walkway is both functional and beautiful.
Layout Planning
First, decide where your walkway will go. Will it lead to your garden, front door, or perhaps connect different areas of your yard? The location will influence the design and materials you choose. Consider the natural flow of traffic and how the path will integrate with your existing landscape.
Measurement
Once you’ve pinpointed the location, measure the area. Accurate measurements are vital to determine how much material you’ll need. A comfortable width for a single-person path is about three feet. However, if you expect more foot traffic, consider widening it for ease of use.
Design Options
Next, think about the design. Do you want a straight path for a formal look, or a meandering one for a more natural feel? Curved paths can add a sense of mystery and findy, leading the eye through the landscape.
Flagstone comes in various colors and textures, allowing you to match your home’s exterior. Shades of gray, blue, brown, red, and green are popular choices. Choose a color that complements your house and garden.
Pathway Plotting
To visualize your walkway, use a garden hose or rope to outline the path. This flexible method allows you to adjust the layout until you’re satisfied with the design. Once finalized, mark the edges with landscaping spray paint or stakes and twine.
Planning is the key to a successful flagstone walkway installation. With a clear plan in hand, you can proceed with confidence, knowing that your path will improve your outdoor space beautifully.
Now that your plan is set, it’s time to dive into the step-by-step installation process. We’ll cover excavation, base preparation, and more in the next section.
Step-by-Step Guide to Installing a Flagstone Walkway
Now that you have your plan ready, let’s jump into the hands-on part of your flagstone walkway installation. This guide will walk you through excavation, preparing the base, laying the flagstones, and filling the joints.
Preparing the Base
- Excavate the Area
Start by digging out the path area to a depth of about 6 to 8 inches. This depth allows room for the base layers and the flagstones. Make sure the excavated area is slightly wider than your planned path to accommodate edging.
- Base Preparation
- Crushed Gravel Layer: Spread a layer of crushed gravel about 3 to 4 inches thick. This layer provides a solid foundation and aids in drainage. Use a rake to level the gravel evenly.
- Compaction: Compact the gravel with a tamper to create a stable base. Proper compaction prevents the stones from shifting over time.
- Sand Layer: Add a 1-inch layer of sand on top of the gravel. This layer helps in leveling and setting the flagstones securely.
Laying the Flagstones
- Dry Fitting
Before permanently placing the stones, lay them out on the sand to find the best fit. This step allows you to experiment with different patterns and adjust for the best appearance.
- Adjusting Levels
Use a level to ensure each flagstone is even with its neighbors. Adjust the sand under each stone as needed to achieve a flat surface. This prevents water pooling and reduces tripping hazards.
- Pattern Creativity
Flagstones come in various shapes and sizes. You can lay them in a random pattern for a natural look or align them for a more structured design. Let your creativity guide you!
Filling the Joints
- Choose Your Filler
- Sand: Basic sand is a simple and affordable option to fill the spaces between stones. It compacts well but may require occasional replenishing.
- Polymeric Sand: This special sand contains additives that bind the grains together, reducing weed growth and erosion.
- Pebbles: For a decorative touch, fill the joints with small pebbles. They offer a unique look but may shift more easily than sand.
- Filling Process
Sweep your chosen filler into the joints, making sure to fill them completely. Lightly spray the surface with water to help the filler settle and compact.
With these steps, your flagstone walkway will be not only beautiful but also durable and functional. Next, we’ll explore how to maintain your walkway to keep it looking great for years to come.
Maintaining Your Flagstone Walkway
Once your flagstone walkway installation is complete, maintaining it will ensure it stays beautiful and functional for years. Here’s how to keep your walkway in top shape:
Cleaning Techniques
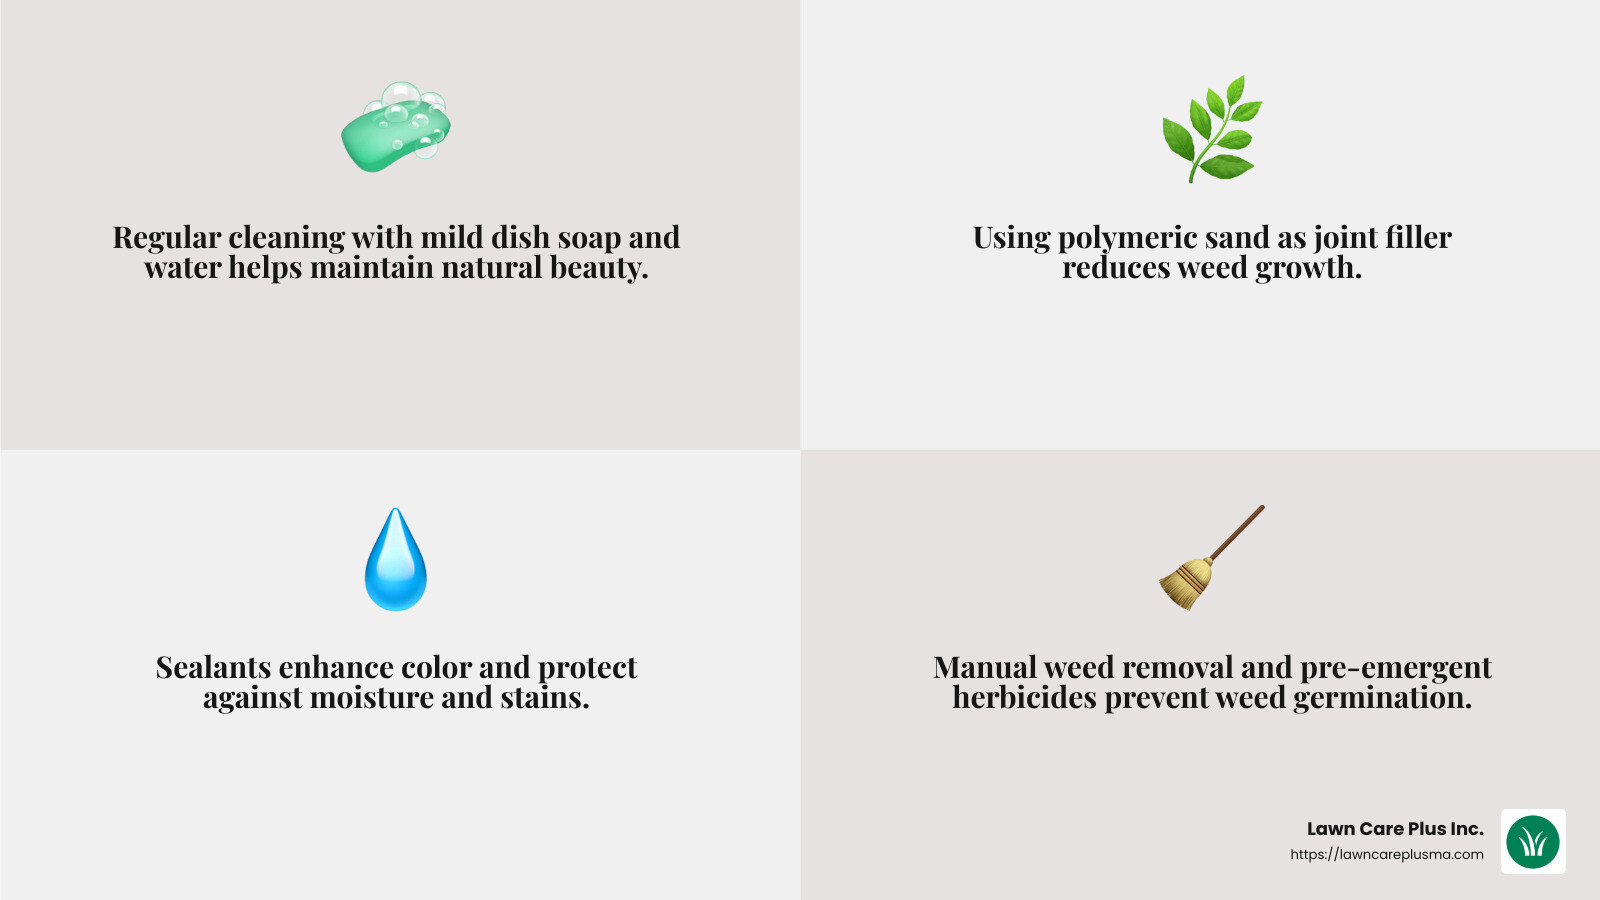
Regular cleaning is essential to maintain the natural beauty of your flagstone walkway. A simple way to clean is by using a garden hose to wash away dirt and debris. For more stubborn stains, a solution of water and mild dish soap can be used. Gently scrub the area with a soft brush to avoid scratching the stone.
For deeper cleaning, especially if you notice mildew or algae, you might consider pressure washing. However, be cautious with the pressure setting to prevent damage to the stones.
Weed Prevention
Weeds can be a common nuisance in the joints of flagstone pathways. To minimize weed growth, consider using polymeric sand as a joint filler. This type of sand hardens when wet, making it difficult for weeds to take root.
Additionally, regularly inspect your walkway and manually remove any weeds that appear. Applying a pre-emergent herbicide in early spring can also help prevent weed seeds from germinating.
Sealants
Applying a sealant is an optional but beneficial step to protect your flagstone walkway from the elements. A quality stone sealant will improve the stone’s natural color and provide a protective barrier against moisture and stains.
To apply, pour the sealant into a paint tray and use a roller to apply a thin layer over the walkway. Allow it to dry according to the manufacturer’s instructions before applying a second coat. For best results, let the sealant cure for at least 24 hours before using the walkway.
By following these simple maintenance steps, your flagstone walkway will continue to improve your outdoor space with its natural charm. Next, we’ll address some frequently asked questions about flagstone walkway installation.
Frequently Asked Questions about Flagstone Walkway Installation
What is the best base for a flagstone walkway?
For a strong and long-lasting flagstone walkway installation, a well-prepared base is crucial. The best base typically consists of two layers:
- Crushed Gravel: Start with a layer of crushed gravel, about 3 to 4 inches thick. This provides a stable foundation and excellent drainage. Compact the gravel thoroughly to create a firm surface.
- Sand Layer: On top of the gravel, add a 1 to 2-inch layer of sand. Sand helps level the surface and makes it easier to adjust the flagstones during installation.
These layers work together to prevent shifting and settling, keeping your walkway stable over time.
Can you put flagstone directly on dirt?
While it might be tempting to lay flagstone directly on dirt, it’s not the best practice. Dirt alone doesn’t provide the stability needed for a durable walkway. Without a proper base, flagstones can shift, settle, or crack over time.
Using a base of crushed gravel and sand, as mentioned earlier, ensures your walkway remains level and secure. This is especially important in areas with freeze-thaw cycles or heavy rainfall, which can cause the ground to shift.
What do you put between flagstones on a walkway?
The material you choose to fill the joints between flagstones can affect both the appearance and functionality of your walkway. Here are some popular options:
- Sand: Simple and effective, sand is easy to apply and provides a natural look. However, it may need occasional replenishing as it can wash away over time.
- Polymeric Sand: This special type of sand contains additives that harden when wet, helping to lock the stones in place and prevent weed growth. It’s a great choice for low-maintenance pathways.
- Pebbles: For a more decorative touch, consider using small pebbles or gravel. This option adds texture and visual interest to your walkway.
Choose the filler that best suits your aesthetic preference and maintenance needs. Each option offers a unique way to complete your flagstone walkway and improve your outdoor space.
Conclusion
Installing a flagstone walkway is a fantastic way to improve the beauty and functionality of your outdoor space. One of the key benefits of a flagstone pathway is its longevity. With proper installation and maintenance, a flagstone walkway can last for decades. Natural flagstone is highly durable, resistant to weather, and less likely to crack or chip compared to other materials like concrete.
Value addition is another significant advantage of a flagstone walkway. Not only does it improve the aesthetic appeal of your home, but it can also increase property value. According to Forbes, a well-made flagstone patio or walkway can offer a return on investment of 30% to 70%. This makes it a smart choice for homeowners looking to boost curb appeal and potentially increase resale value.
At Lawn Care Plus Inc., we pride ourselves on offering comprehensive landscaping and hardscaping services, including expert flagstone walkway installation. Our experienced team is dedicated to creating beautiful and lasting outdoor spaces for our clients in the Boston Metro-West area. Whether you’re looking to add a new walkway, patio, or any other hardscaping feature, we are here to help.
For more information on our services or to get started on your project, visit our Stairs & Walkways Installations page. We look forward to helping you transform your outdoor space into something truly special.
