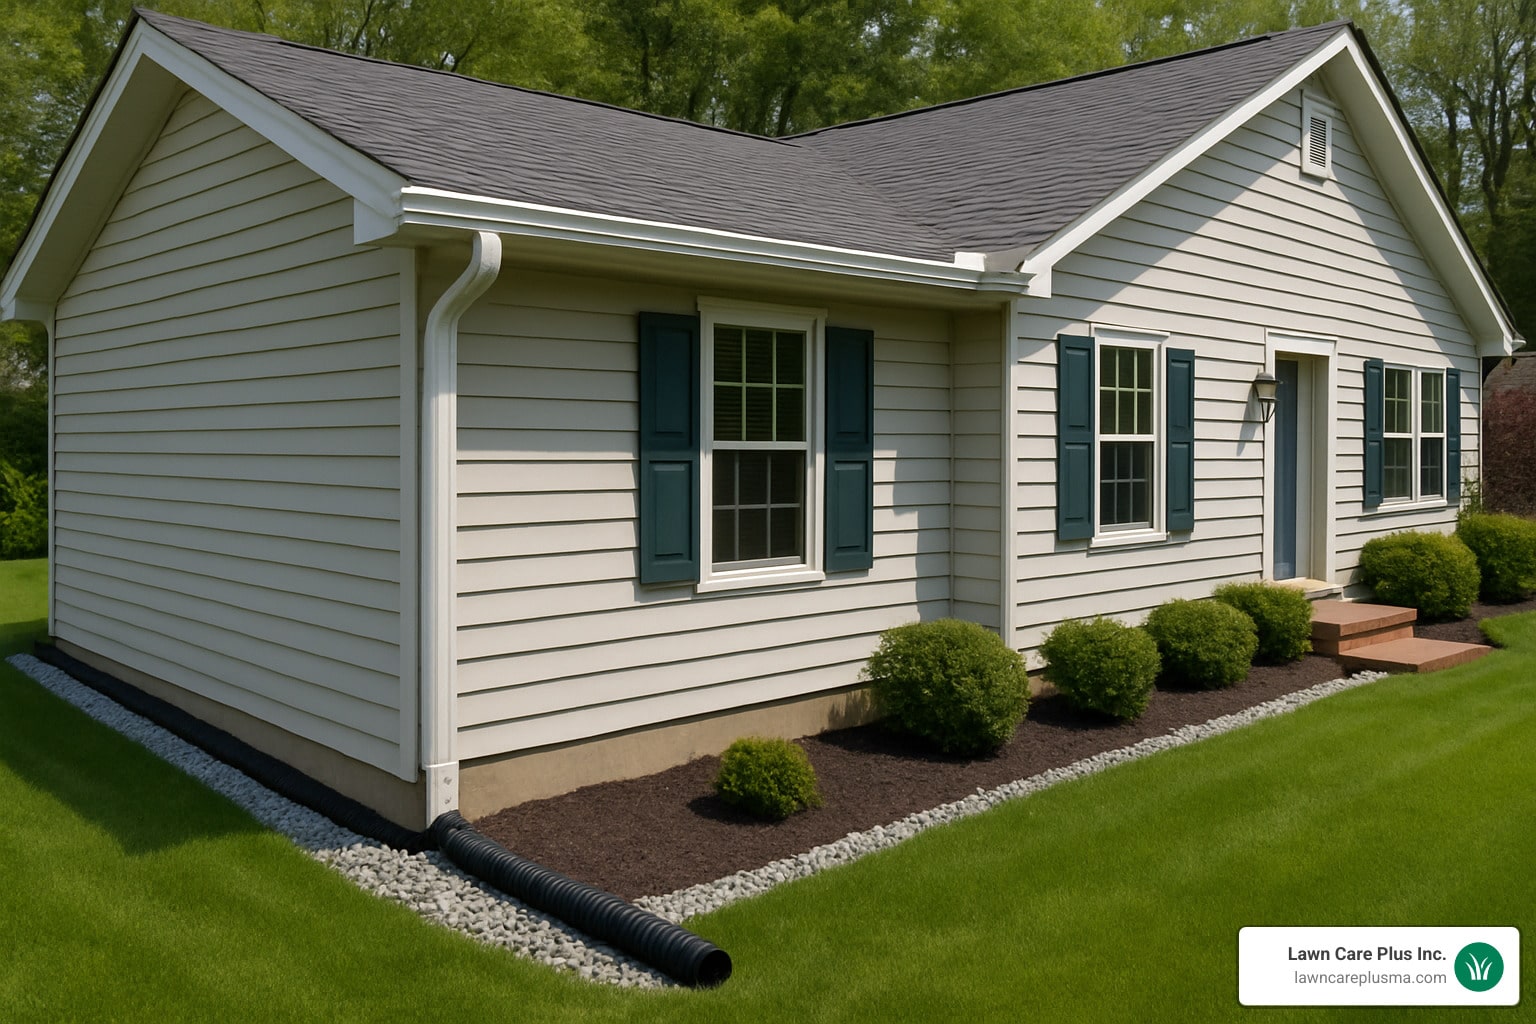
Why Small French Drains Matter for Your Property
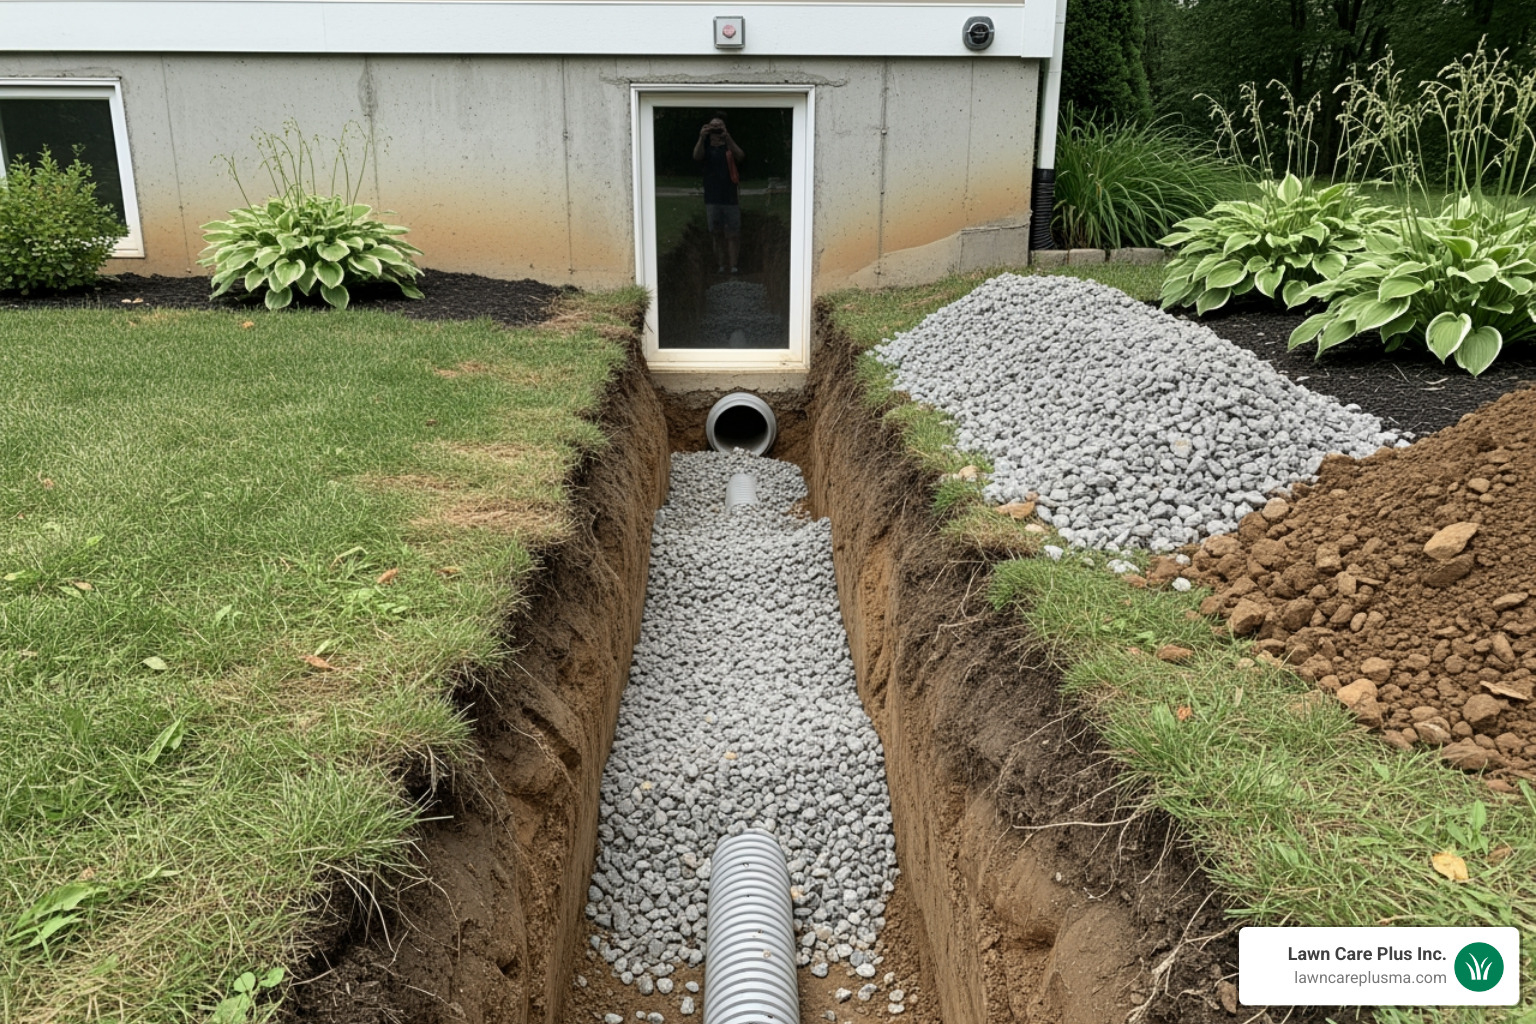
A small french drain is a simple underground drainage system that solves common water problems in your yard. If you’re dealing with soggy lawns, standing water near your foundation, or moisture in your basement, a small french drain can redirect that water away from your property before it causes damage.
Quick Answer: What is a Small French Drain?
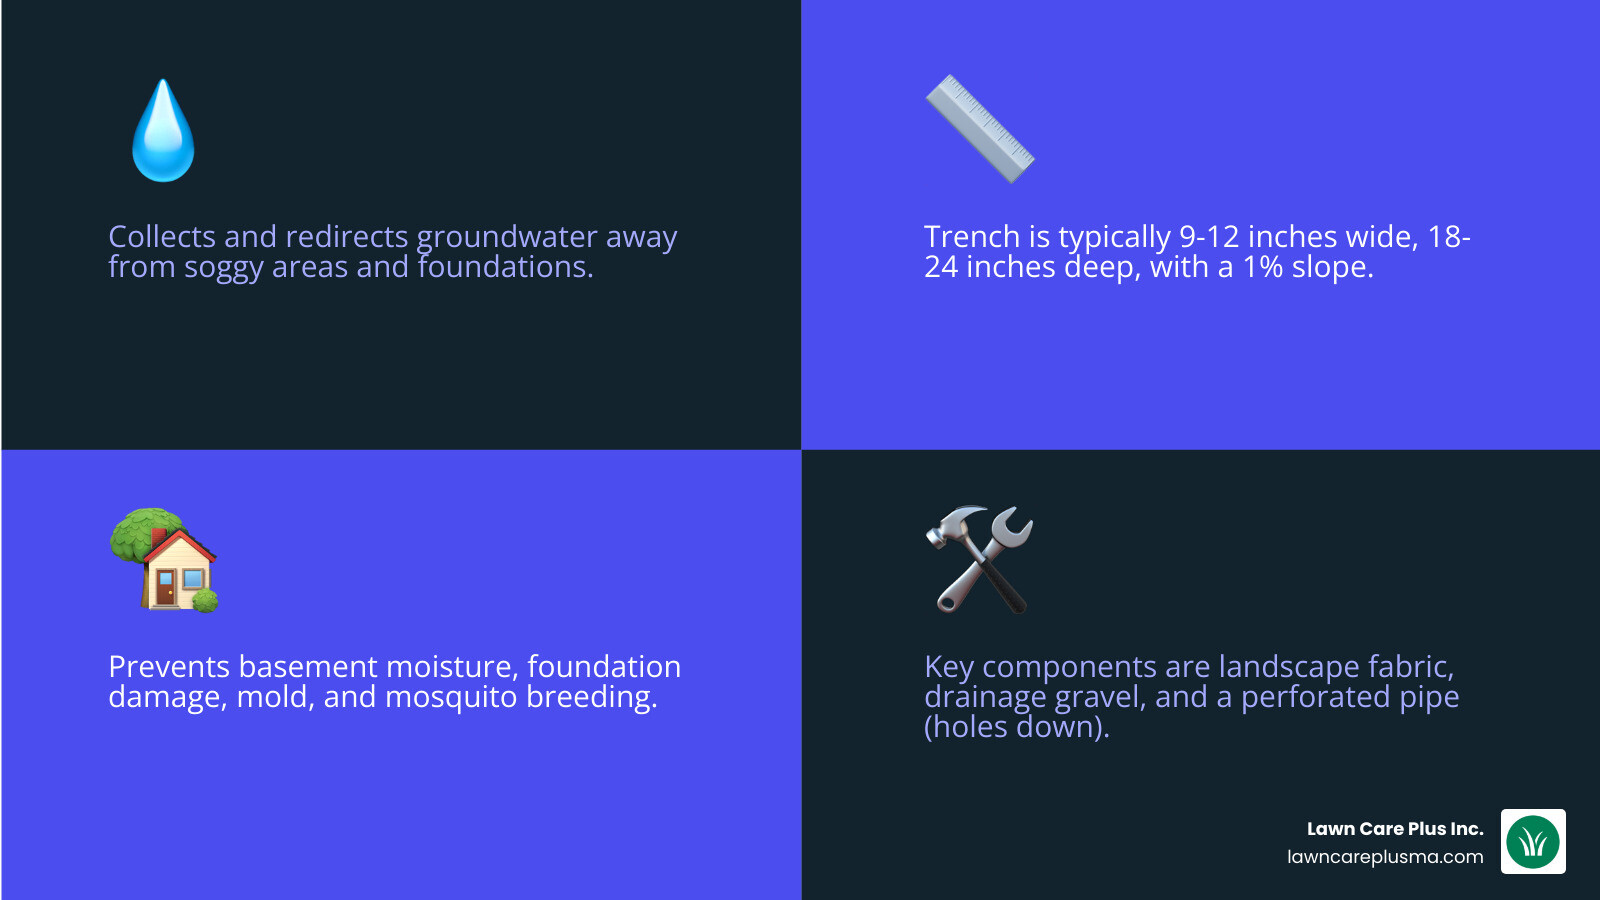
- What it is: A narrow trench (9-12 inches wide, 18-24 inches deep) filled with gravel and a perforated pipe
- What it does: Collects and redirects groundwater away from problem areas
- Best for: Wet spots in yards, basement moisture, foundation protection, patio drainage
- Key components: Landscape fabric, drainage gravel, perforated pipe with holes facing down
- Typical slope: 1 inch drop per 10 feet of pipe length
- Installation: Manageable DIY project for most homeowners in 1-2 days
Standing water from heavy rain isn’t just unsightly; it can kill your lawn, breed mosquitoes, and seep into your basement or crawl space. Over time, this excess moisture can lead to mold, wood rot, foundation cracks, and even structural damage.
A small french drain uses gravity to solve these problems. Water takes the path of least resistance, and a gravel-filled trench with a perforated pipe offers an easy route. The gravel collects and filters water, while the pipe carries it to a safe discharge point.
A small french drain addresses water issues before they become expensive disasters. Instead of reacting to a flooded basement or a soggy yard, you’re proactively managing water flow. Homeowners often report dramatic improvements, like idle sump pumps and yards that dry in hours instead of days.
I’m Tim DiAngelis, owner of Lawn Care Plus, Inc., and over the past decade, I’ve helped countless Boston Metro-West homeowners solve drainage problems including designing and installing small french drain systems that protect foundations and reclaim yard space. Whether you’re planning a DIY installation or need professional guidance, understanding how these systems work is the first step toward a drier, healthier property.
Key terms for small french drain:
Understanding the Basics: What is a Small French Drain?
At its core, a small french drain is an underground drainage system designed to manage both groundwater and surface water issues. Think of it as an invisible gutter for your yard, quietly working beneath the surface to divert unwanted water away from vulnerable areas. This simple yet ingenious solution has been used for centuries to protect properties from water damage.
In the Boston Metro-West area, many homeowners face soggy lawns, puddles near the foundation, or basement seepage after rain. These are classic signs that a small french drain could be the solution. These drains resolve groundwater and surface-water issues that lead to mold, wood rot, and structural damage. By intercepting water before it causes trouble, a small french drain prevents flooding of basements, walkways, and patios, keeping your property dry. For more detailed information on managing water in your landscape, check out our guide on Land Drainage System.
The benefits go beyond preventing damage. A dry yard is a usable yard. A small french drain can reclaim a soggy patch for a garden or play area, turning wet spots into functional, enjoyable spaces by moving water away from your home. As the experts at the Washington Post noted, a French drain can effectively “Stop basement leaks with a French drain .”
Types of French Drains
While the basic principle remains the same, French drains come in various forms, each suited to different water management needs:
- Shallow Curtain Drains: These are typically shallower and designed to intercept surface water or shallow groundwater flow across a wider area. They act like a “curtain” to prevent water from reaching a specific spot.
- Deep Footing Drains: Often installed around the perimeter of a house’s foundation, these drains are deeper, usually below the finished floor or slab level of a basement. Their primary goal is to relieve hydrostatic pressure against basement walls and prevent water intrusion. If you’re struggling with water in your basement, explore our insights on Inside Basement Drainage Systems.
- Interior Basement Drains: These are installed inside the basement along the perimeter walls, usually in conjunction with a sump pump, to collect water that has already entered the basement. This is a different approach than an exterior small french drain, which aims to stop water before it gets inside.
- Gravel-Free Systems: Innovations in drainage technology have introduced gravel-free French drain systems. These often use pre-assembled bundles of lightweight, engineered materials (like expanded polystyrene aggregate) wrapped in geotextile fabric. They can offer increased void space and better flow rates compared to traditional gravel and pipe systems, often reducing installation time and effort by eliminating the need to haul large amounts of stone.
For a small french drain project, we’re generally focusing on shallow curtain drains or smaller footing drains designed to tackle localized wet spots or protect specific areas of a foundation.
Alternatives to French Drains
While French drains are incredibly versatile, they aren’t the only solution for managing yard water. Depending on your specific situation, we might consider other options:
- Dry Wells: These are underground structures designed to temporarily store and slowly release stormwater runoff into the surrounding soil. They’re excellent for managing water from downspouts or small paved areas where a French drain might not have a suitable discharge point.
- Rain Gardens: These are depressed landscape areas planted with native vegetation that can tolerate both wet and dry conditions. They’re designed to collect stormwater runoff from impervious surfaces, allowing it to soak into the ground naturally, reducing runoff and providing aesthetic benefits.
- Swales: These are shallow, vegetated channels designed to slow down and direct stormwater runoff across a landscape. Swales can be a beautiful and effective way to manage surface water, especially on gently sloping land, preventing erosion and guiding water to a desired location.
- Channel Drains: These are linear surface drains, often seen in driveways or patios, designed to quickly collect and remove surface water from hardscaped areas. They work well for quick water removal from specific points. For more information on this type of solution, refer to our guide on Channel Drainage System.
The best solution often depends on the type of water problem, the soil conditions, the slope of your land, and your aesthetic preferences. Sometimes, a combination of these methods provides the most effective and sustainable water management strategy.
Planning Your Small French Drain Project
Before we even think about digging, meticulous planning is crucial for a successful small french drain installation. A well-planned drainage system not only works effectively but also avoids costly mistakes and potential headaches down the line.
Safety First: Call 811 Before You Dig!
This is paramount. Before any excavation, you must contact your local utility locating service. In Massachusetts, we use DigSafe. Dial 811 or visit their website: Call 811 before you dig. They will mark the location of underground utility lines (gas, electric, water, sewer, communication) on your property, preventing accidental damage that could be dangerous, expensive, and disruptive. Seriously, don’t skip this step!
Local Regulations and Permits
Be mindful of local building codes, zoning laws, and HOA regulations in the Boston Metro-West area. Some towns require permits for drainage work, especially near property lines. Always check with local authorities and ensure your redirected water doesn’t negatively impact a neighbor’s property, adhering to “No Adverse Impact” principles.
Choosing a Discharge Point
Where will all that collected water go? This is a critical question. The end of your small french drain needs to “daylight” or discharge to a safe, lower point on your property. This could be:
- An open area far from your home where water can safely soak into the ground.
- A storm drain (if permitted by local codes).
- A dry well.
- A natural swale or ditch.
Crucially, never direct water onto a neighbor’s property, as this can lead to disputes and legal issues. We want to solve your water problem, not create one for someone else!
Mapping the Route and Calculating Slope
Now for the fun part: designing the path!
- Identify the Problem Area: Start by pinpointing exactly where the water is collecting or causing issues. This is the starting point of your small french drain.
- Determine the Destination: Identify the lowest point on your property where the water can be safely discharged. This is your end point.
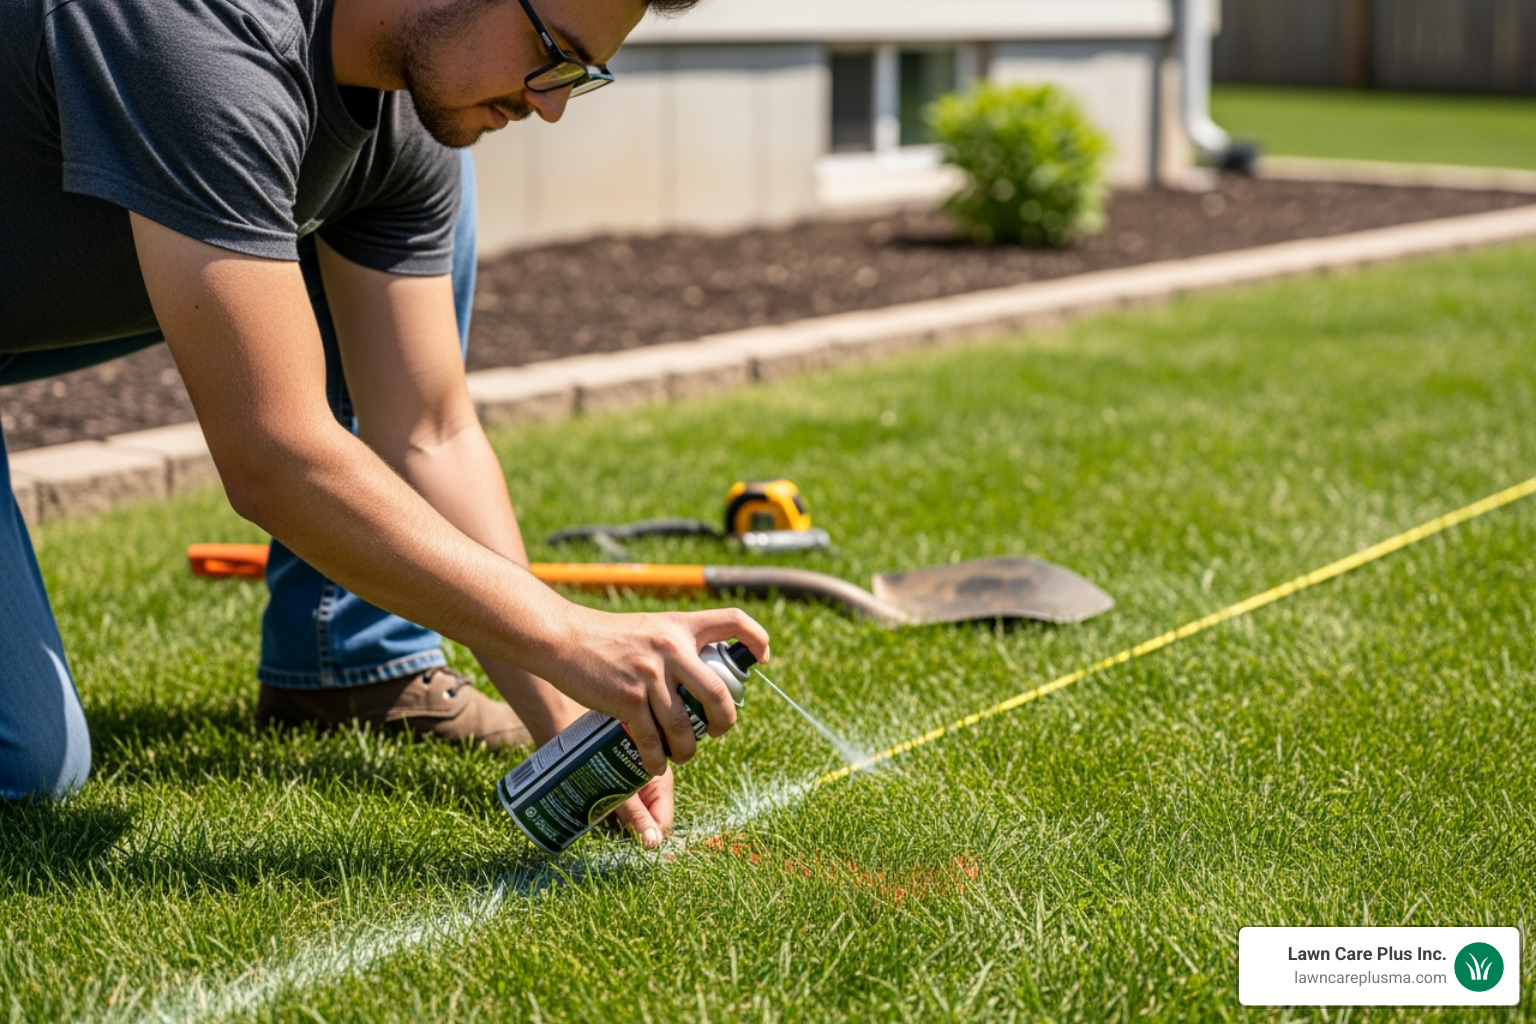
- Plot the Path: Mark out the proposed route of your drain with landscaping paint or string. Gravity is our best friend here. The drain must follow a continuous downhill path, moving away from the problem area. Avoid obstacles like large trees (roots can be a major issue, as discussed in our Roots in French Drain guide) and existing utility lines.
- Calculate the Slope: For a small french drain to function effectively, it needs a consistent downward slope. The ideal grade is at least 1%, which translates to a drop of 0.125 inches for every 1 foot of pipe, or approximately 1 inch for every 10 feet of pipe. This ensures that water flows freely and doesn’t sit in the pipe. We can achieve this precision by using stakes and a Level to accurately measure the grade along your marked route.
[LIST] of Essential Tools and Materials
For your DIY small french drain project, here’s what you’ll need:
- Digging Tools:
- A sturdy Spade or trenching shovel (a duckbill shovel or square point spade works wonders).
- Pickaxe (for tough soil or roots).
- Wheelbarrow (for moving excavated soil and gravel).
- Measuring & Marking Tools:
- Drainage Components:
- Perforated drain pipe (typically 3-inch or 4-inch, rigid PVC with two rows of holes is often preferred).
- Water-permeable landscape fabric (heavy-duty, non-woven geotextile fabric).
- Drainage gravel (washed, rounded or slightly angular, size of large grapes).
- Catch basin (if collecting surface water at the start of the drain).
- Pipe fittings (connectors, elbows, end caps, a drain emitter for the discharge end).
- Optional: A downspout catch to connect gutters.
Step-by-Step Installation Guide
Ready to get your hands dirty? Installing a small french drain is a rewarding DIY project that can significantly improve your property’s drainage. Here’s how we do it:
Step 1: Digging the Trench
This is arguably the most labor-intensive part, but it’s where the magic begins!
- Dimensions: For a small french drain, the trench should typically be 9 to 12 inches wide and 18 to 24 inches deep. These dimensions are usually sufficient to capture most water movement through the upper soil layers.
- Maintaining the Slope: As you dig, constantly check your slope using your string line and level. Crucial 1-inch drop for every 10 feet of length. Consistency is key! Any dips or high spots can create standing water within the pipe, compromising its efficiency.
- Flat Trench Bottom: Ensure the bottom of your trench is flat and even. This provides a stable base for your gravel and pipe. If you’re dealing with water issues around retaining walls, proper drainage here is essential. Learn more about it in our article on Retaining Wall Drainage.
- Managing Soil: Use a wheelbarrow or tarps to contain the excavated soil. You’ll reuse some of it later, but having it neatly organized will save you a lot of cleanup time.
Step 2: Installing Landscape Fabric and Gravel for a small french drain
This step is vital for the drain’s longevity.
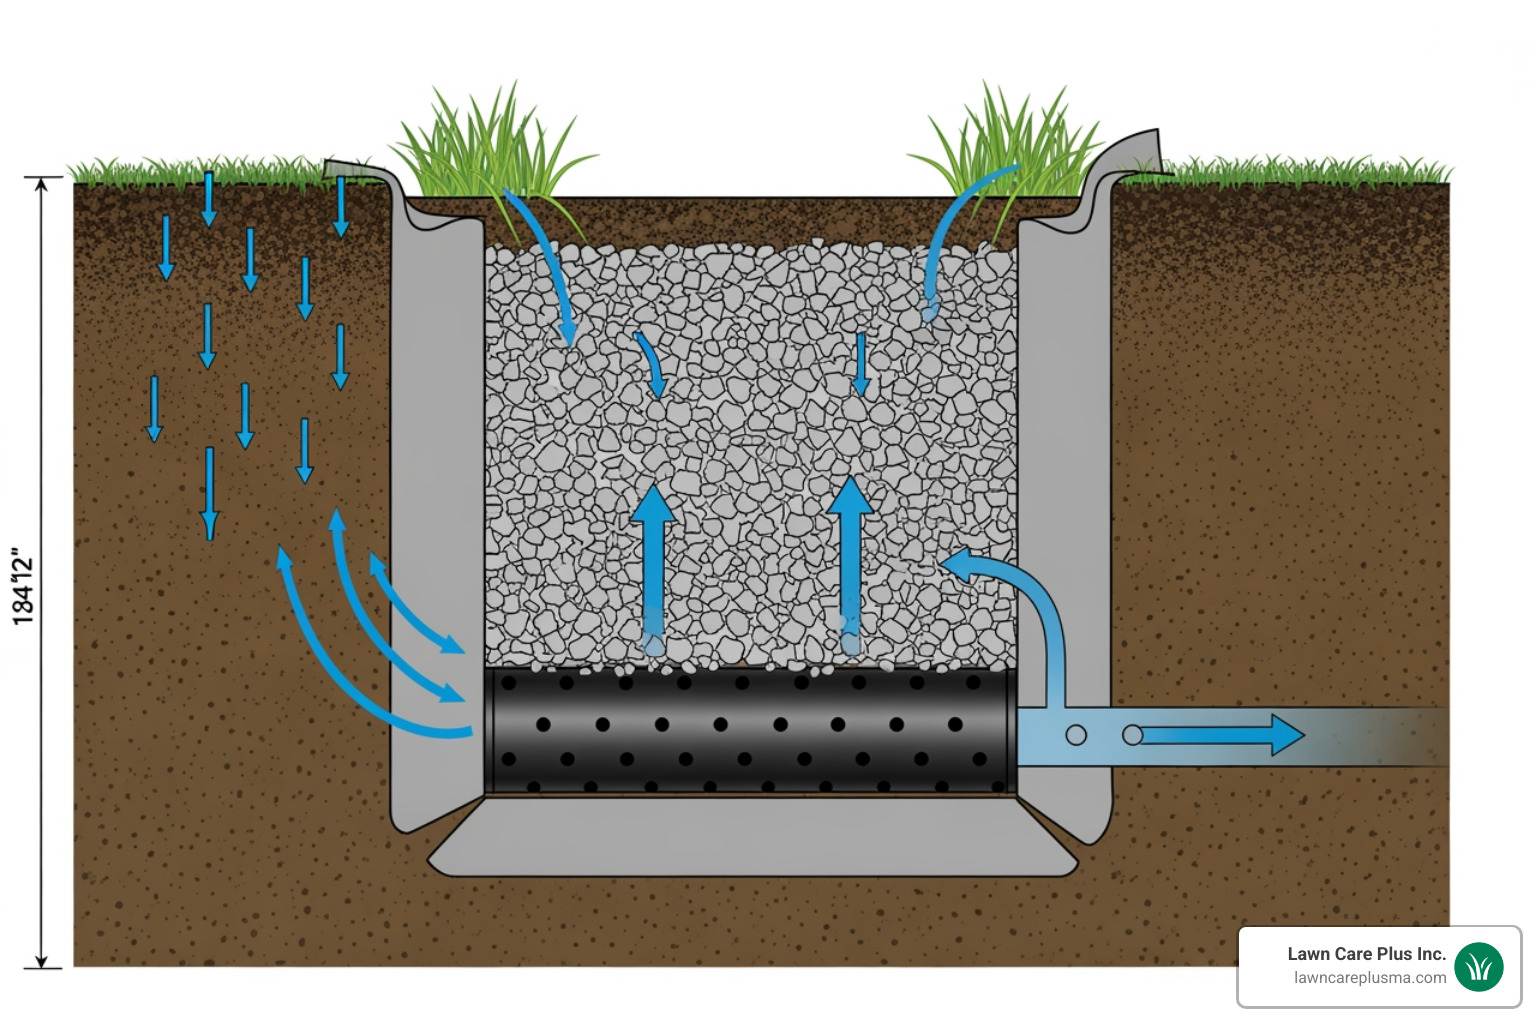
- Lining the Trench: Roll out your water-permeable landscape fabric along the entire trench, pressing it down to conform to the contours. The fabric should extend at least 10 inches up each side with plenty of overlap. Use landscape fabric pins or stones to hold it in place temporarily.
- Purpose of Fabric: This fabric acts as a filter, preventing soil and silt from migrating into the gravel and pipe, which would cause clogs. Without it, your drain’s lifespan would be significantly shortened. For a deeper dive into this material, check out our guide on Geotextile for French Drain.
- Adding a Gravel Base: Shovel about 3 inches of clean, coarse drainage gravel onto the bottom of the fabric-lined trench. We recommend using rounded or slightly angular gravel, roughly the size of large grapes. “Washed gravel” is preferred as it contains less fine sand or clay that could still cause clogging. This gravel layer provides a stable, permeable base for your pipe.
Step 3: Laying the Pipe and Backfilling
With the trench lined and graveled, it’s time for the pipe.
- Placing the Pipe: Lay your perforated plastic drain pipe on top of the 3-inch gravel base. Crucially, the pipe’s perforations (holes) must face downward (ideally at the 4 and 7 o’clock positions). Water collects at the bottom of the trench, so downward-facing holes capture it most effectively and are less prone to clogging from debris than upward-facing holes.
- Connecting to Catch Basin/Discharge: If you’re starting your drain with a catch basin, connect the pipe securely. If you’re tying into a downspout, our guide on Installing a French Drain for Gutters can provide more specific instructions. Ensure all connections are snug.
- Covering Pipe with Gravel: Once the pipe is in place, carefully add another 3 to 5 inches of coarse drainage gravel to cover the pipe completely. This layer of gravel allows water to easily percolate down to the pipe.
- Folding Fabric Over: Now, take the excess landscape fabric from the sides of the trench and fold it over the top of the gravel, creating an overlap. This completely encloses the gravel and pipe, forming a protective “burrito” that keeps soil out while allowing water in.
Step 4: Finishing and Testing Your small french drain
This final stage ensures your drain works and integrates into your landscape.
- Testing with a Hose: Before backfilling completely, run a garden hose into the drain’s starting point. Watch the discharge point to ensure water flows freely. If it pools, recheck your slope for obstructions.
- Finishing Options: Once tested and confirmed functional, you have several options for finishing the trench:
- Topsoil and Sod: The most common approach is to fill the remainder of the trench with your excavated topsoil, then reseed with grass or lay sod. This allows the drain to disappear almost entirely into your lawn, restoring its natural appearance.
- Decorative Rocks: For a more aesthetic finish, especially in garden beds or along paths, you can fill the trench with decorative rocks or river stones. This can create a visually appealing dry stream bed effect that also serves a functional purpose.
- Native Soil: You can also simply backfill with the native soil you dug up, ensuring it’s compacted gently to prevent future settling.
- Integrating into Landscape: A well-designed small french drain should blend seamlessly with your property. Whether you choose grass or decorative stones, the goal is to make it an invisible worker or an attractive landscape feature. For more ideas on how to make your drainage solutions beautiful, explore our options for Garden Land Drainage Solutions.
Maintenance, Repairs, and Common Mistakes
A small french drain requires some maintenance to ensure its longevity and effectiveness.
Essential Maintenance
Regular maintenance is key to keeping your small french drain flowing freely.
- Annual Inspection: We recommend inspecting your French drain system annually, ideally in early spring or after heavy rainfall. Look for signs of standing water, soggy ground above the drain, or areas where water isn’t draining as expected.
- Cleaning Catch Basins: If your system includes catch basins, regularly clear them of leaves, debris, and sediment. This is often the easiest point for clogs to start.
- Flushing the System: If your drain has cleanout ports (which we highly recommend adding during installation!), you can periodically flush the system with a high-pressure hose to clear out any accumulated silt or debris.
- Checking for Roots: Tree and shrub roots are notorious for seeking out moisture and can infiltrate drainage pipes, causing significant clogs. If you suspect roots in French drain issues, it may require professional snaking or even excavation.
- System Lifespan: French drains aren’t immortal. Due to material deterioration and shifting landscapes, a system may need significant repairs or reinstallation every 5-7 years, depending on soil, roots, and ground movement.
Common Installation Mistakes to Avoid
Even seasoned DIYers can stumble. Here are some common pitfalls we see with small french drain installations:
- Incorrect Slope: This is the most critical mistake. Without a consistent downward slope, water won’t flow, and your drain will become a stagnant trench, not a functional system. Always measure and double-check your grade.
- Forgetting Landscape Fabric (or using the wrong kind): Skipping the fabric or using a flimsy, non-permeable type is a recipe for disaster. Soil will quickly infiltrate the gravel and pipe, leading to premature clogging. Always use heavy-duty, water-permeable geotextile fabric.
- Pipe Holes Facing Up: As we discussed, the holes in the perforated pipe must face down. If they’re facing up, they’re less effective at collecting water from the saturated soil below and more likely to get clogged by gravel or debris falling into them.
- Wrong Gravel Type: Using unwashed gravel with fine particles or gravel that’s too small can lead to clogging. Always opt for clean, coarse, washed drainage gravel.
- Not Calling 811: Digging without knowing utility locations is extremely dangerous and illegal.
- Improper Discharge Point: Directing water to an area that causes erosion, floods a neighbor’s property, or simply creates a new wet spot on your own property defeats the purpose of the drain. Plan your discharge point carefully.
- Placing Heavy Objects: Avoid placing heavy machinery, vehicles, or livestock directly on top of your French drain. This can crush the pipe or compact the gravel, impairing its function.
Frequently Asked Questions about Small French Drains
We hear these questions often, and we’re happy to share our expertise.
Why do the perforated pipe holes need to face down?
This is a common and important question. The holes face down because groundwater rises from the bottom up when soil becomes saturated. Downward-facing holes are positioned to collect this rising water at the lowest point, making the drain more efficient. This position also prevents gravel and sediment from falling into the pipe and causing clogs, which maximizes collection efficiency and minimizes maintenance.
Can I connect my gutter downspouts to a French drain?
Absolutely, and it’s a very common and effective practice! Connecting your gutter downspouts to a small french drain is an excellent way to manage a significant source of surface water runoff from your roof. However, there are a few considerations:
- Volume: Ensure your French drain system is adequately sized to handle the increased volume of water from your downspouts, especially during heavy rains.
- Connection: You’ll typically use solid, non-perforated pipe to carry water from the downspout to the perforated section of the French drain. This prevents water from soaking into the soil too close to your foundation. You can use a dedicated downspout catch or a simple adapter to connect the downspout to the underground pipe.
- Filter: Consider adding a leaf filter or screen to your downspout to prevent debris from entering and clogging your underground system.
By integrating your downspouts, you’re creating a comprehensive drainage solution that tackles water from both above and below ground.
How deep should a small French drain be?
For most common yard drainage issues in the Boston Metro-West area, a small french drain that is 18 to 24 inches deep is usually sufficient. This depth is effective because the majority of groundwater movement through soil typically occurs within the top 12 to 24 inches. The air content in soil is highest in these upper layers, providing more pathways for water to move. Going much deeper isn’t always necessary for residential applications and significantly increases the labor involved. The goal is to intercept the water where it’s flowing most actively, not to dig to the center of the earth!
Conclusion: Reclaim Your Yard with Proper Drainage
A small french drain is a powerful tool against water damage. It prevents basement leaks, protects foundations, and eliminates soggy patches to expand your usable yard space. While a manageable DIY project for many, it requires careful planning, adherence to best practices, and some elbow grease.
Here at Lawn Care Plus Inc., we believe every property in Belmont, Boston, Brighton, Brookline, Canton, Chestnut Hill, Dedham, Hyde Park, Jamaica Plain, Mattapan, Medfield, Milton, Needham, Newton, Norwood, Randolph, Readville, Roslindale, Walpole, Watertown, Wellesley, and Westwood deserves to be dry, healthy, and beautiful. If you’re facing complex drainage issues, have a particularly challenging landscape, or simply prefer the peace of mind that comes with professional installation, our experienced team is ready to help. We can assess your specific needs, design a customized drainage solution, and ensure a lasting installation that protects your property for years to come.
Don’t let tiny water troubles turn into big, expensive headaches. Reclaim your yard and protect your investment with proper drainage. For more information on how we can transform your outdoor living spaces, including comprehensive hardscaping and landscaping solutions, explore our services: More info about our hardscape and landscape services.