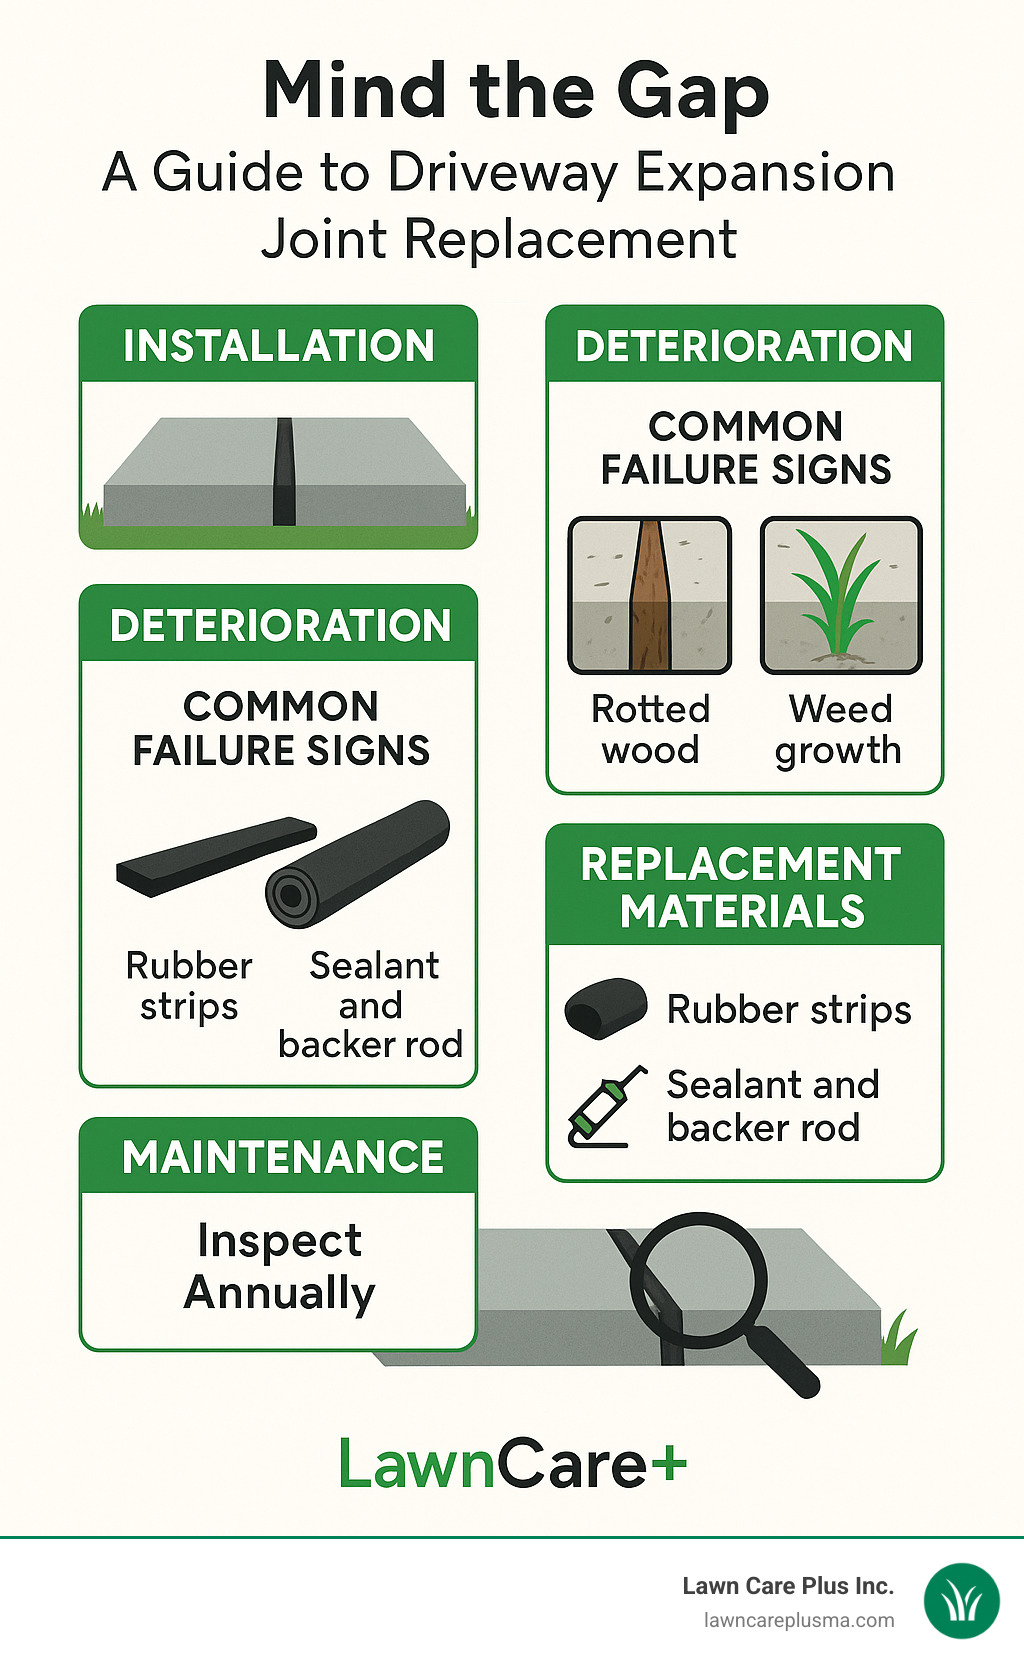
Why Your Driveway’s Expansion Joints Need Attention
Driveway expansion joint replacement is a critical maintenance task that prevents costly concrete damage and improves your property’s safety and appearance. When the material between your concrete slabs deteriorates, it can lead to cracking, water damage, and unsightly weed growth.
Quick Answer for Driveway Expansion Joint Replacement:
- Remove old material – Scrape out rotted wood, crumbling caulk, or failed sealant
- Clean the joint – Use a wire brush and vacuum to remove all debris
- Choose replacement material – Rubber strips, foam backer rod with sealant, or vinyl inserts
- Install new filler – Press-fit strips or apply sealant over backer rod
- Allow proper curing – Wait 24-48 hours before driving on sealed joints
Think of expansion joints as the shock absorbers for your driveway. Just like the joints in your body allow movement without breaking, these gaps between concrete slabs let your driveway expand and contract with temperature changes without cracking.
When concrete heats up in summer, it expands. When winter cold hits, it contracts. Without proper expansion joints, this constant movement creates stress that leads to ugly cracks running through your entire driveway.
Most driveways over 20 feet long require expansion joints, and concrete expansion joints should be inspected annually according to industry standards. Signs you need replacement include rotted wood strips, crumbling sealant, weeds growing through gaps, or water pooling near joints.
Simple guide to driveway expansion joint replacement:
– driveway crack repair
– repair concrete driveway
– concrete driveway removal and replacement
Why Expansion Joints Matter in Concrete Driveways
Your driveway’s expansion joints might look like simple gaps, but they’re actually working overtime to protect your investment. These stress-relief heroes absorb all the pushing and pulling that happens when concrete expands in summer heat and shrinks during winter cold snaps.
Without proper expansion joints, your driveway would be like a person trying to stretch without bending their knees – something’s got to give. That “something” would be ugly, random cracks zigzagging across your concrete.
The magic happens through crack prevention. When temperatures swing from Massachusetts winter lows to summer highs, concrete can move quite a bit. Expansion joints act like built-in flex zones, letting your driveway “breathe” without breaking.
Load transfer is another key benefit. When you drive over expansion joints, they help distribute your vehicle’s weight evenly between concrete slabs, preventing settling issues that create bumps and dips.
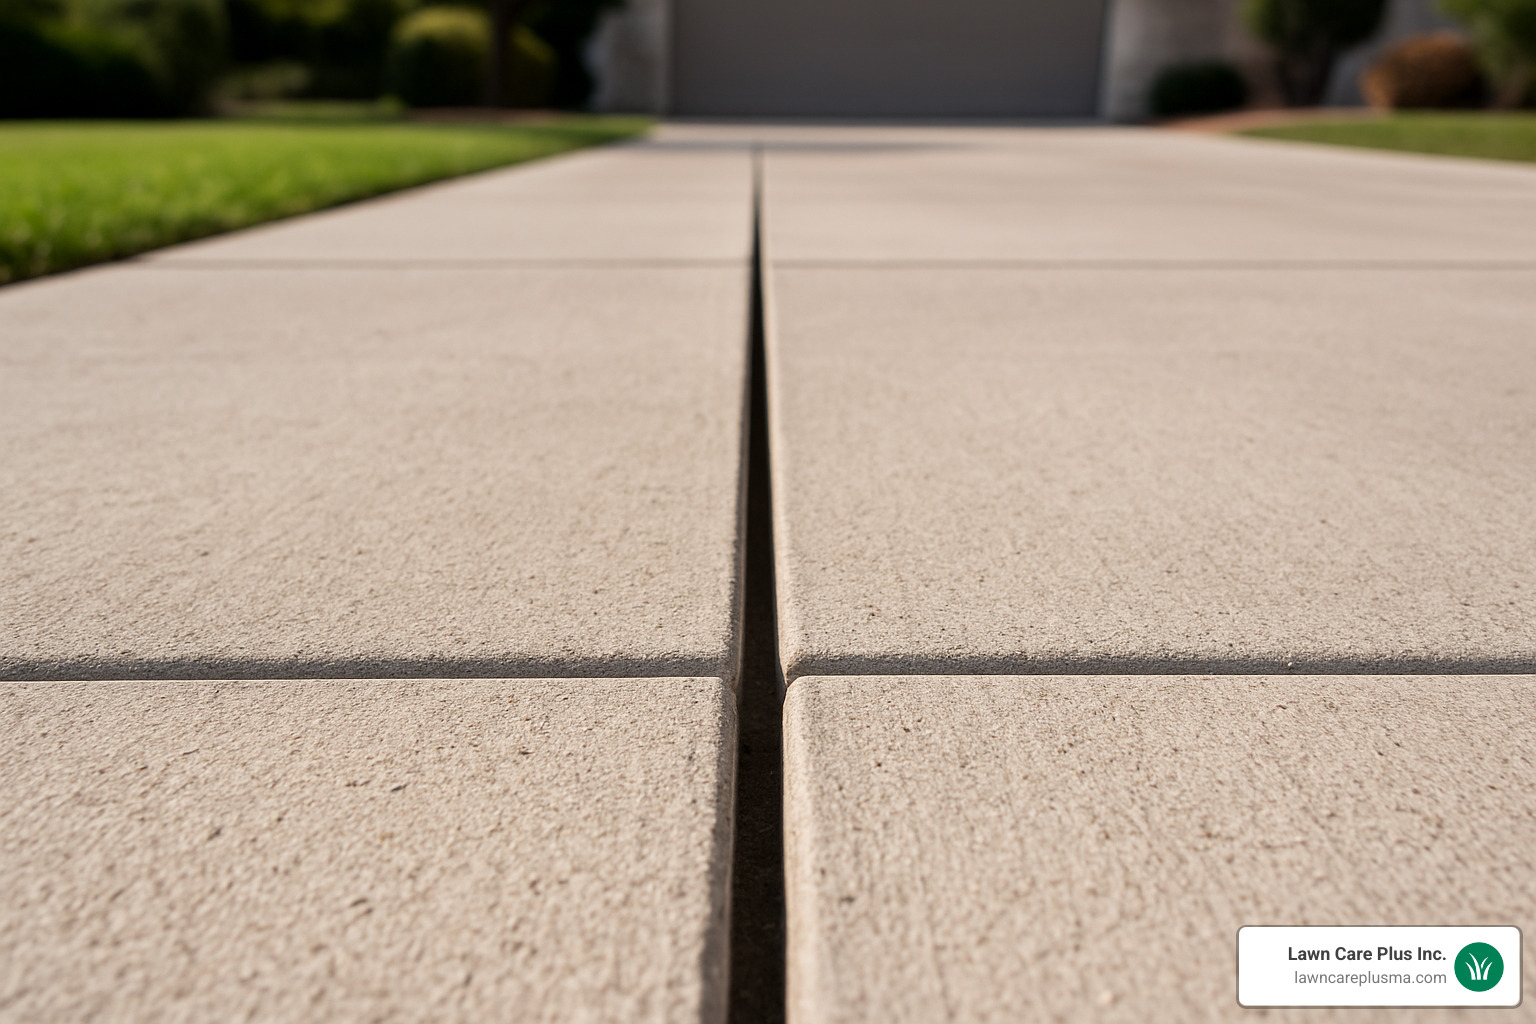
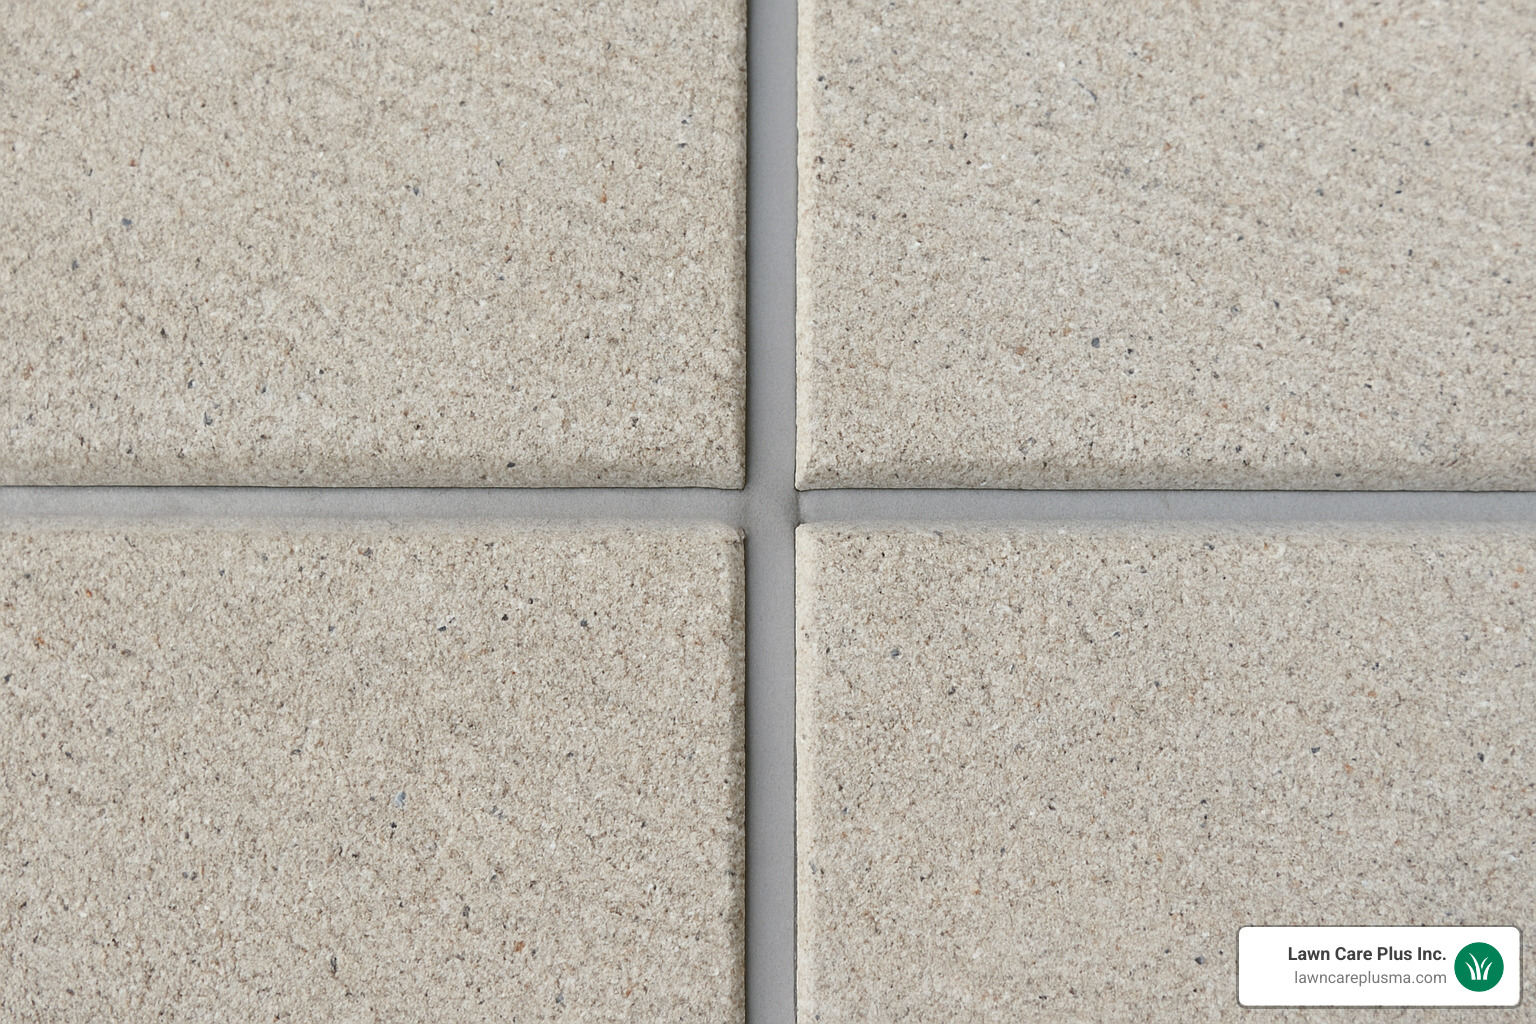
What Is a Driveway Expansion Joint?
Think of an expansion joint as a gap between slabs filled with flexible material – it’s essentially a planned weak spot that prevents unplanned weak spots from appearing elsewhere. The joint works as a shock absorber for your driveway.
Most expansion joints are about 3/4 to 1 inch wide and run the full depth of your concrete slab. According to scientific research on concrete expansion, a 100-foot section of concrete can move over half an inch between winter and summer temperatures.
How Climate & Weather Accelerate Joint Failure
Massachusetts weather is tough on expansion joints. Our dramatic freeze-thaw cycles hit joints especially hard. When water seeps into a joint and freezes, it expands with incredible force – enough to push joint materials apart.
De-icers make the situation worse by creating a more corrosive environment, while summer brings intense UV exposure that bakes the flexibility out of rubber and plastic joint fillers.
Signs It’s Time for Driveway Expansion Joint Replacement
Rotted wood is the most obvious red flag – if you can poke a screwdriver through your joint filler like cheese, it’s time for replacement. Crumbling caulk pulling away from concrete edges and weeds sprouting through joints are other clear signals.
Water pooling near expansion joints suggests the seal has failed completely, while trip hazards from uneven joint materials indicate your joint system needs attention.
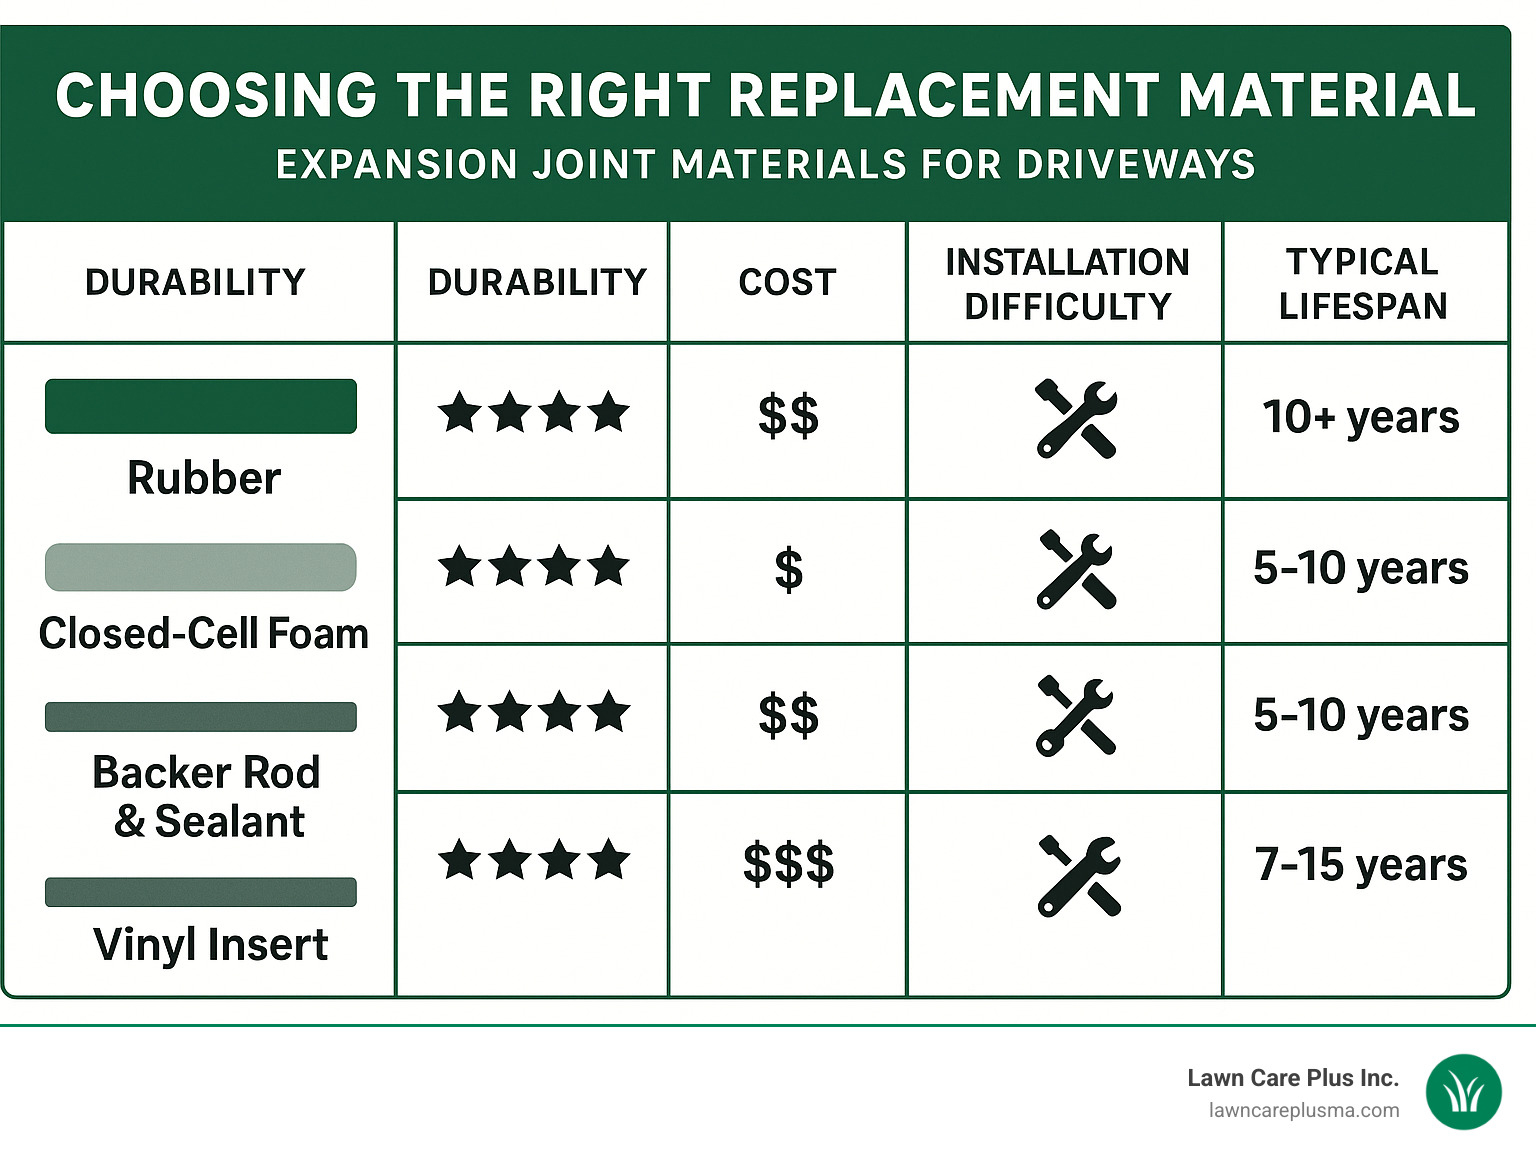
Choosing the Right Replacement Material
When it comes to driveway expansion joint replacement, picking the right material can mean the difference between a repair that lasts 15 years and one that fails in just a few seasons.
Rubber strips are the gold standard for durability. These flexible champions can handle New England weather extremes without breaking a sweat. Most quality rubber strips come with warranties of 10 years or more and offer excellent flexibility and UV resistance.
Closed-cell foam offers a budget-friendly alternative that’s particularly good for lighter-duty applications. It’s incredibly easy to install, though it typically has a shorter lifespan than rubber.
For a professional-grade finish, many contractors use backer rod with self-leveling sealant. This two-part system creates an incredibly smooth, water-tight seal. The backer rod controls sealant depth, while polyurethane sealant provides weatherproofing.
Vinyl inserts represent the newest option, combining quick installation with solid durability. They’re designed to press-fit without adhesives and offer reusability – they can be removed and reinstalled if needed.
Sizing the New Joint Correctly
Getting measurements right is critical. Most residential driveways use the standard 7/8 inch by 1-7/8 inch size, but measure at multiple points since settling can create variations.
For press-fit materials, you want a snug fit that requires gentle pressure to install. Depth clearance is equally important – your new joint filler should sit about 1/4 inch below the concrete surface.
When using backer rod and sealant, follow the “half-width rule” – the sealant depth should equal half the joint width. For more detailed information about concrete repairs, check out our guide on driveway crack repair.
Pros & Cons of Each Material
Rubber strips are like the reliable pickup truck of joint materials – they cost more upfront but work long after cheaper alternatives fail. Installation is quick with no curing time needed.
Foam with sealant creates the most professional-looking result with excellent water sealing when properly applied. However, it requires patience for proper curing and typically needs resealing every 5-8 years.
Closed-cell foam wins on simplicity and initial cost but typically needs replacement every 3-5 years. Vinyl inserts offer a nice middle ground with good durability and unique reusability.
DIY Driveway Expansion Joint Replacement Step-by-Step

Ready to tackle driveway expansion joint replacement yourself? This rewarding weekend project can save you hundreds of dollars. Plan for a full weekend to do it right, especially if you’re replacing multiple joints.
Weather timing is everything. Pick dry days with temperatures between 40°F and 100°F. Avoid working in blazing afternoon sun if using sealants.
Tools & Supplies Checklist
Your angle grinder or oscillating saw handles stubborn old materials. A pry bar and putty knife manage most extraction work, while a shop vacuum is essential for thorough cleaning.
Don’t forget the rubber mallet for press-fit strips and safety gear: nitrile gloves, safety glasses, and dust mask aren’t optional.
For sealant applications, grab a caulk gun, foam backer rod, and your chosen sealant.
Removing Old Joint Filler
Rotted wood usually surrenders easily to a pry bar. Old sealant and caulk can be trickier – an angle grinder with diamond blade speeds things up, but work carefully.
Wet cutting reduces dust dramatically. Lay down plastic sheeting to protect nearby surfaces.
Cleaning & Preparing the Gap
Start with a wire brush to scrub away debris from joint walls. Follow up with compressed air or shop vacuum to remove every speck of dust.
Spot any mildew? Hit it with diluted bleach solution and let it dry completely.
Installing Rubber or Foam Press-In Strips
Measure twice, cut once – cut strips with heavy scissors or utility knife. Start at one end and work systematically down the joint with gentle taps from your rubber mallet.
The strip should sit about 1/4 inch below the concrete surface. No waiting around for cure time – you can use the driveway immediately.
Backer Rod & Self-Leveling Sealant Method
Choose a backer rod that’s 1/8 inch larger than your joint width for a snug fit. Install to proper depth, typically 1/4 to 1/2 inch below surface.
When applying sealant, maintain steady pressure and move at consistent pace. Self-leveling sealants settle into smooth surfaces automatically.
Wait the full 48 hours before driving on it, though light foot traffic is usually fine after 24 hours.
Ensuring a Watertight, Weed-Resistant Seal
Pay special attention to edges where joint filler meets concrete. Create a small edge bead with sealant to ensure water can’t sneak in.
Regular maintenance keeps your work looking good for years. Annual inspection and quick repair of small gaps prevents bigger problems.
Common Mistakes to Avoid
Overfilling joints creates trip hazards. Wrong-sized inserts cause problems from day one. Skipping the cleaning step prevents proper bonding. Ignoring temperature requirements ruins sealant jobs, and rushing cure time compromises everything you’ve accomplished.
Costs, Maintenance & Professional Help
Let’s talk money – driveway expansion joint replacement costs range from $4 to $300 per joint, depending on material choice and installation method. Quality products often come with warranties of up to 10 years.
Note: These are average costs based on internet data and not actual costs for Lawn Care Plus.
Average DIY vs. Professional Cost Breakdown
DIY material costs typically range from $50 to $150 for an average residential driveway. Tool rental might add $40 to $90 if you don’t own the right equipment.
Professional installation varies significantly by location and complexity. Based on internet averages, professional services might range from $300 to $900 for a typical residential driveway project.
When comparing costs, consider warranty coverage and expected lifespan. Professional installation with premium materials might cost more initially but provide better long-term value.
Maintaining New Expansion Joints
Gentle pressure washing annually removes accumulated dirt and debris. Plan to re-seal sealant-based joints every 3-5 years depending on weather exposure.
Regular debris removal prevents organic matter accumulation. Winter preparation is especially important – check that joints are properly sealed before freeze-thaw cycles begin.
For comprehensive concrete maintenance information, check out our guide on repair concrete driveway maintenance.
DIY or Hire a Pro?
Your skill level with tools is the primary factor. If you’re comfortable with power tools and construction projects, this is often manageable.
Time investment requires a full weekend for proper installation. Professional installation often includes warranty coverage that protects your investment, especially valuable for expensive driveways.
Safety Tips & Precautions

Eye protection is essential when using power tools. A respirator or dust mask protects your lungs during grinding operations. Knee pads help you work more comfortably and accurately.
Always check for underground utilities before cutting. Call 811 (Dig Safe) a few days before starting. Plan your work for dry weather with appropriate temperatures.
Frequently Asked Questions about Driveway Expansion Joint Replacement
How long does a new driveway expansion joint replacement last?
Quality rubber expansion joint fillers typically last 10 or more years with proper installation and care. Sealant-based joints generally need replacement every 5-8 years.
Here in Massachusetts, our climate has a major impact on joint lifespan. Those brutal freeze-thaw cycles are particularly hard on expansion joints.
Regular maintenance can significantly extend these timelines. Annual inspection and quick repair of small issues can add years to your joint’s life.
Can I install driveway expansion joint replacement in cold weather?
Most sealant products need temperatures of at least 40°F for proper application and curing. Working below this threshold usually leads to poor adhesion and premature failure.
Cold weather installations also require much longer cure times – sometimes several days instead of 24-48 hours.
Press-in rubber or vinyl strips offer more flexibility for cold-weather repairs since they don’t require chemical curing.
Will a new joint stop weeds and ants completely?
While a properly installed expansion joint dramatically reduces weed and ant problems, complete elimination isn’t guaranteed. The key is achieving a proper fit and continuous seal.
Periodic cleaning makes a huge difference in maintaining barrier effectiveness. Pay special attention to the edge seal where your joint filler meets the concrete.
Conclusion
Driveway expansion joint replacement is more than just a maintenance task – it’s a smart investment that protects your property and improves its value. When you take care of these seemingly small details, you’re actually preventing much bigger problems down the road.
Think about it this way: spending a weekend on proper joint replacement now can save you thousands in concrete repairs later. Those random cracks that develop when expansion joints fail? They don’t just stay small. They spread, collect water, and eventually require major driveway sections to be torn out and replaced.
The longevity benefits are remarkable. A well-maintained driveway with properly functioning expansion joints can last decades longer than one where the joints are neglected. It’s like the difference between a car that gets regular oil changes and one that doesn’t – the maintenance makes all the difference in the long run.
Your home’s curb appeal gets an immediate boost from clean, professional-looking expansion joints. It might seem like a small detail, but visitors and potential buyers notice these things. Fresh, properly filled joints create those crisp, clean lines that signal a well-maintained property.
At Lawn Care Plus Inc., we see the connection between all aspects of property maintenance. While we specialize in comprehensive landscaping and hardscaping services throughout the Boston Metro-West area, we know that every element of your property works together to create the overall impression.
Planning makes all the difference in your project’s success. Take time to choose quality materials, gather the right tools, and wait for good weather conditions. Whether you tackle this as a DIY project or call in professionals, rushing the job almost always leads to disappointing results.
The satisfaction of completing a driveway expansion joint replacement project properly is hard to beat. You’ll drive up to your house knowing that you’ve protected your investment and improved your property’s appearance. Plus, you won’t have to worry about those joints for many years to come.
For homeowners considering broader concrete improvements, our guide on driveway replacement options explores all the ways to keep your driveway in top condition for years to come.
