Why Blacktop Driveway Line Striping Transforms Your Property’s Safety and Curb Appeal
Blacktop driveway line striping is the process of painting clearly defined markings — parking spaces, directional arrows, pedestrian zones, and boundary lines — onto an asphalt surface to improve safety, organization, and appearance.
Quick answer: Here’s what you need to know about blacktop driveway line striping:
- What it is: Applying traffic-grade paint to asphalt using a striping machine, stencils, and layout guides
- Best paint: Water-based acrylic traffic paint (fast-drying, eco-friendly, strong adhesion to asphalt)
- How often: Restripe every 1–2 years, or when markings have faded to roughly 75% of their original visibility
- Dry time: Paint typically dries within 30 minutes, but wait at least 1 hour before allowing vehicles on the surface
- Standard dimensions: Parking spaces are typically 18 ft long × 9 ft wide, with 24 ft driving lanes
- DIY or pro?: DIY is possible for small projects; professionals are recommended for precision, ADA compliance, and large areas
Faded or missing lines on a driveway are more than just an eyesore. Without clear markings, drivers park haphazardly, pedestrians lose defined walkways, and your property can look neglected — all of which can affect both safety and value. Whether you’re managing a residential driveway in the Boston suburbs or a commercial lot in Metro-West, getting your lines right matters.
I’m Tim DiAngelis, owner of Lawn Care Plus, Inc., a full-service property maintenance company based in Roslindale, Massachusetts, with over a decade of hands-on experience helping homeowners and commercial clients maintain and improve their outdoor surfaces — including blacktop driveway line striping. In this guide, I’ll walk you through everything you need to know to get clean, lasting results.
The Importance of Professional blacktop driveway line striping
Good striping does three jobs at once: it improves safety, keeps vehicles organized, and makes the property look cared for.
On residential properties, striping can define parking stalls, guest parking, turn areas, pickup spots, and walk zones. On commercial sites, it becomes even more important because it helps reduce confusion, supports traffic flow, and makes it easier for visitors to understand where to go without playing a guessing game.
Fresh, sharp markings also boost curb appeal. A blacktop surface with crisp lines looks intentional and maintained. A faded one looks like it gave up sometime last winter.
Professional-looking pavement markings can also help reduce liability. When vehicles and pedestrians have clearer guidance, there is less chance of blocked access, awkward backing, and unsafe foot traffic patterns.
Planning your blacktop driveway line striping layout
Before paint comes out, the layout has to make sense.
For standard parking, spaces are typically about 18 feet long by 9 feet wide, with a driving lane of around 24 feet between opposing rows. Those dimensions are a common starting point, but not every driveway or private lot in Massachusetts has enough room for a textbook layout. Slopes, curves, retaining walls, garage aprons, and tight property lines all affect the final plan.
When we plan blacktop driveway line striping, we think about:
- How many vehicles need to fit comfortably
- Whether drivers can enter and exit without multiple-point turns
- Pedestrian routes from driveway to door
- Snow storage and plow paths in winter
- Drainage patterns so markings are not placed over low spots
- Whether accessible spaces are required by code for the property use
ADA compliance matters for many commercial and multi-user properties. Accessible spaces are not just “make one bigger and paint it blue.” Stall width, access aisles, slope, signage, and route accessibility all matter. If your property serves the public, local building and accessibility rules should be reviewed before striping. For a general overview of accessibility requirements, the Americans with Disabilities Act is a useful starting reference, though site-specific compliance should always be confirmed with the applicable codes and regulations.
If the blacktop itself is beyond simple maintenance, it may make more sense to address the pavement first. In those cases, pages like Asphalt Driveway Replacement, Driveway Replacement Contractors, and How Much Does It Cost To Replace A Driveway can help you decide whether to repair, repave, or replace before you stripe.
Maintaining your blacktop driveway line striping for longevity
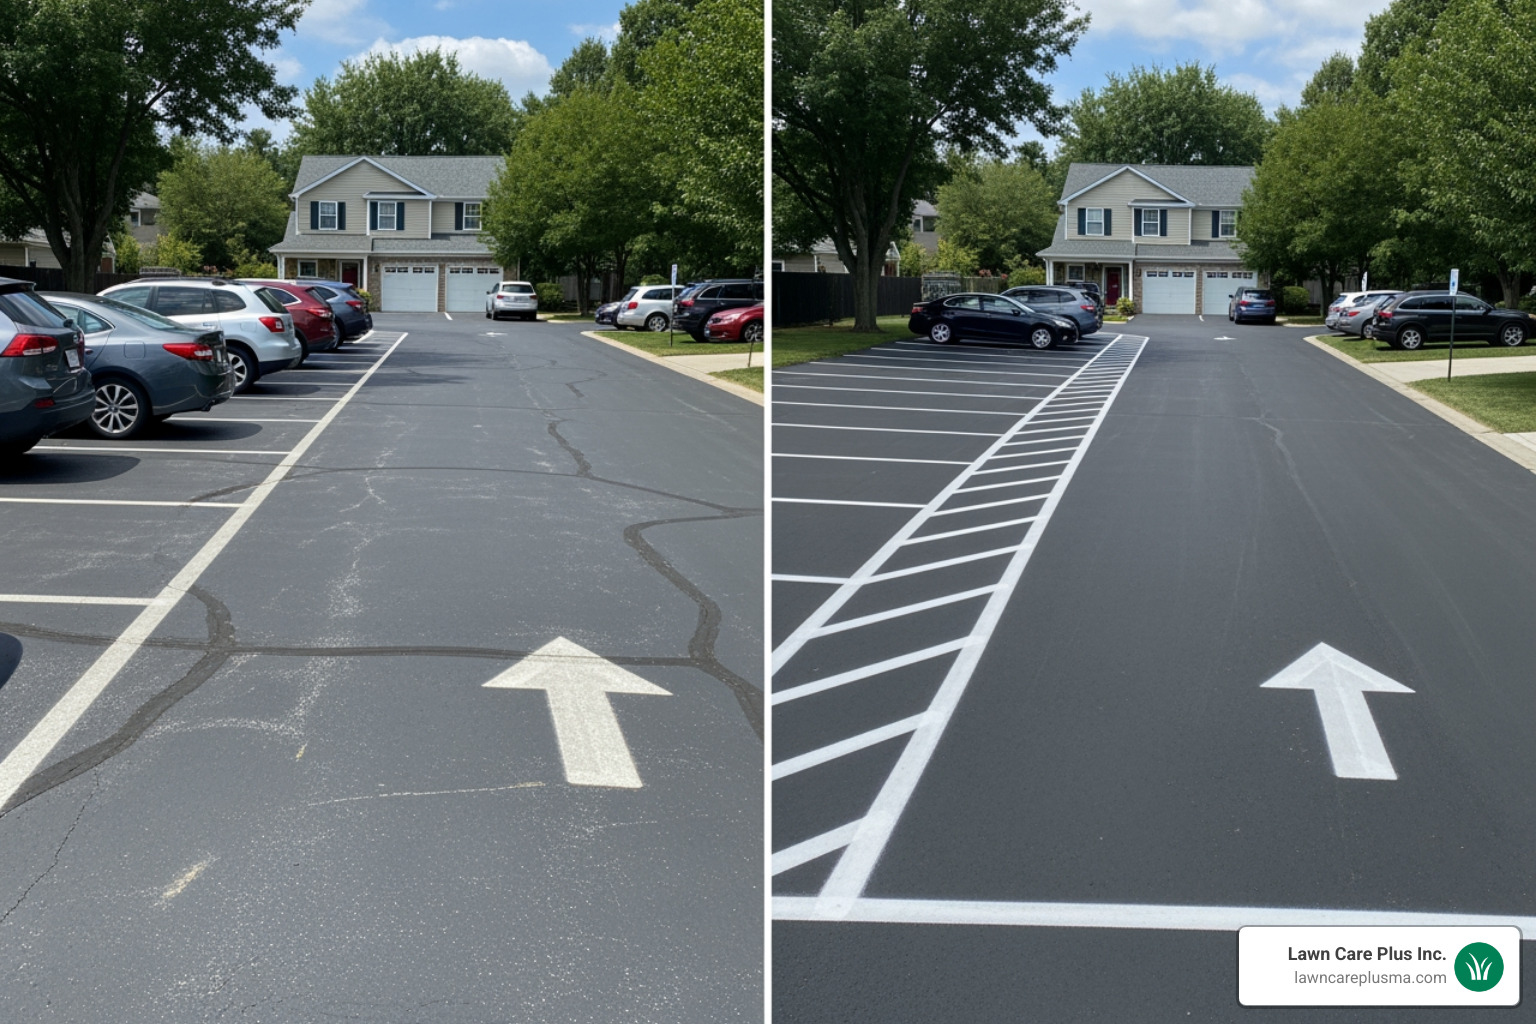
Most properties should expect to restripe every 1 to 2 years, especially in New England conditions. A useful industry rule is to restripe at least every two years, or sooner when markings have faded to about 75% of their original appearance.
In Massachusetts, freeze-thaw cycles, snow removal, de-icing products, UV exposure, and rain all shorten line life. To make striping last longer:
- Keep the surface clean
- Repair cracks early
- Avoid painting over loose sealer or damaged asphalt
- Restripe after sealcoating at the right time
- Keep plow blades adjusted to avoid excessive scraping
- Use traffic-grade paint, not leftover house paint from the basement shelf
If your pavement is cracking or unraveling, handle that first. Helpful reads include Driveway Crack Repair, Asphalt Driveway Repair, and Blacktop Driveway Repair.
Essential Tools and Preparation for Striping Success
Successful striping starts long before the first line is painted. Surface prep is everything.
If you paint over dirt, moisture, oil, or cracked pavement, even the best paint will struggle. Fresh paint on damaged pavement is basically money with poor judgment.
Preparation should include:
- Inspect the surface for cracks, potholes, raveling, and drainage issues.
- Remove dirt, dust, leaves, and loose debris with blowers or sweeping.
- Power wash if needed, especially where grime or residue has built up.
- Let the surface dry completely.
- Repair cracks and patches before layout.
- Confirm the pavement is sound enough to hold clean markings.
Paint should generally be applied only when the pavement and air temperature meet the product requirements. For many waterborne traffic paints, that usually means conditions above about 45 degrees F.
Choosing the right paint for blacktop surfaces
For asphalt, traffic-grade paint is the correct choice. Regular acrylic or latex house paint does not adhere properly and tends to peel or wear quickly.
The two most common options are water-based and solvent-based traffic paint.
| Paint type | Best use | Pros | Cons |
|---|---|---|---|
| Water-based acrylic traffic paint | Most blacktop driveways and lots in MA | Fast drying, easier cleanup, lower odor, more environmentally friendly, good asphalt adhesion | Can be less durable than solvent-based in very high-wear conditions |
| Solvent-based traffic paint | High-traffic outdoor areas where allowed | Strong durability, tough finish | Higher odor, more difficult cleanup, VOC concerns, may face tighter environmental restrictions |
For most driveway and small-lot applications, fast-dry water-based acrylic traffic paint is the best balance of value and performance.
A few technical notes matter here:
- Traffic paint should be applied at the proper thickness. Industry guidance often calls for a minimum wet film thickness of about 13 mils when applied with an airless striping machine.
- Two thin coats are usually better than one heavy coat. Thick coats can shrink unevenly and cure poorly.
- Reflective glass beads can be broadcast into wet paint if improved nighttime visibility is needed.
- White is standard for regular stalls, yellow is commonly used for caution or no-parking areas, and blue is used for accessible markings where required.
Thermoplastic striping exists too, and it is excellent for high-traffic road-style applications because it is durable and can include reflective beads with no drying time. But for most driveway projects in our service area, it is usually more than you need.
Required equipment for DIY projects
A small DIY striping project is possible if the layout is simple and the surface is in good shape. The basic equipment list includes:
- Airless line striping machine or driveway striping unit
- Measuring tape
- Chalk line or laser guide
- String line
- Stencils for arrows, numbers, handicap symbols, or wording
- Masking materials if needed for edges
- Leaf blower or broom
- Pressure washer
- Crack filler or patching material
- Cones and caution tape
- Gloves
- Safety glasses
- Respirator or mask if product instructions require it
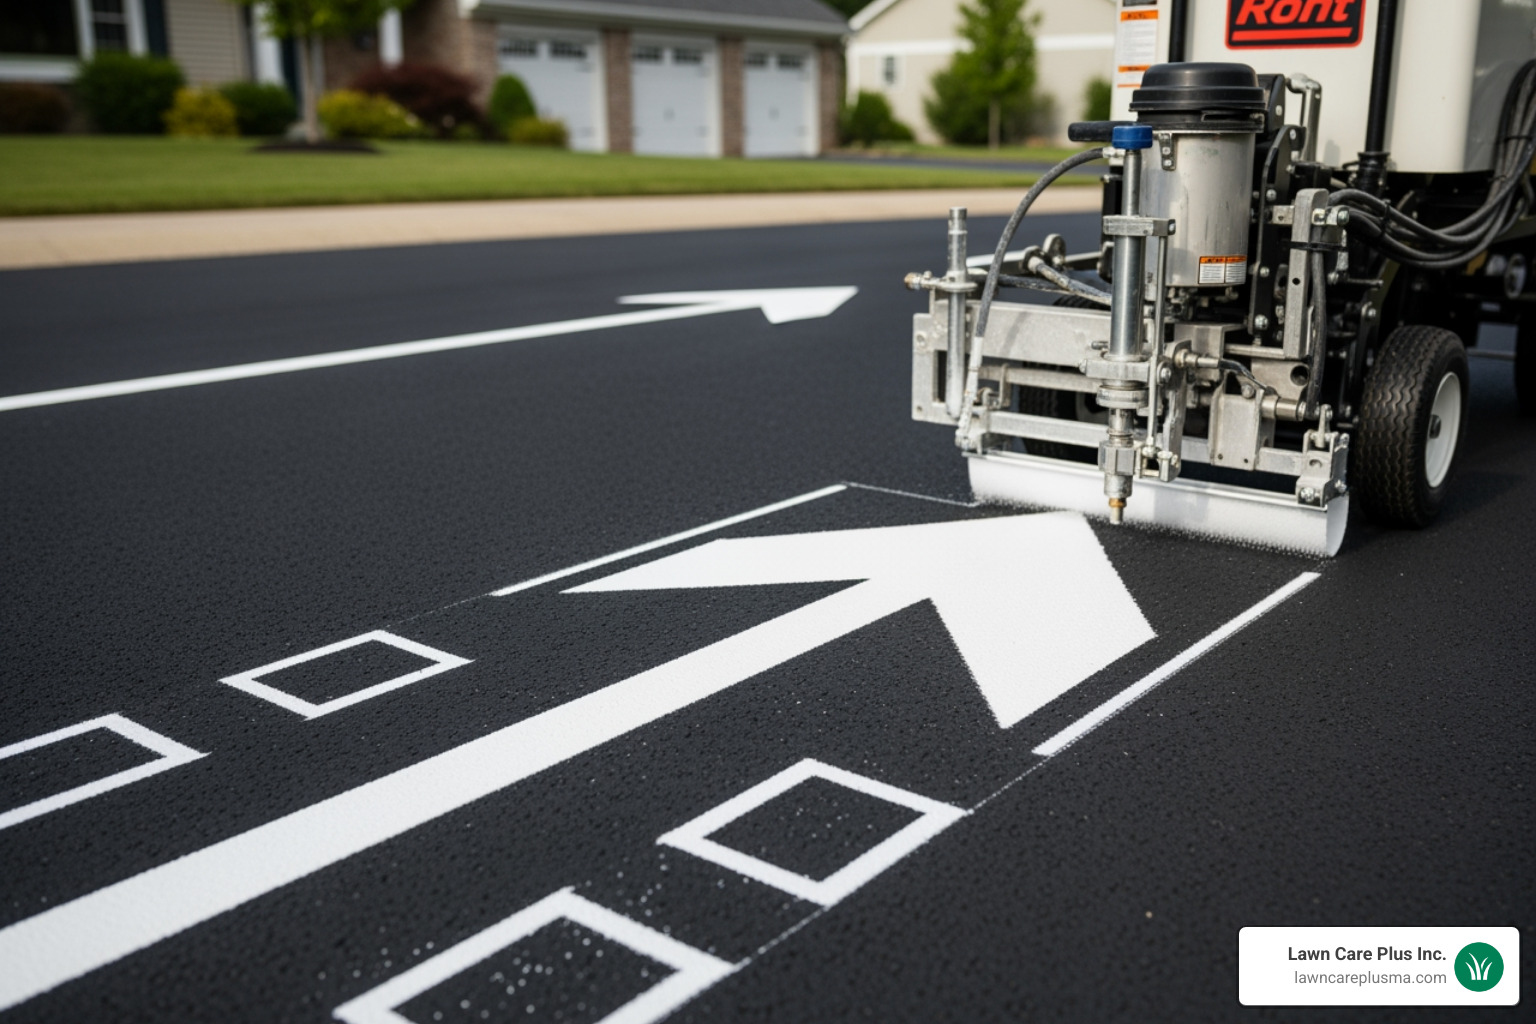
Airless stripers are the go-to for clean, consistent lines because they pull paint directly from the bucket and give better control than hand rolling. Aerosol systems can work for very small jobs, but they are not ideal for larger layouts or a more professional finish.
Step-by-Step Guide to Painting Your Driveway Lines
Here is a straightforward process we recommend for most asphalt striping projects.
-
Inspect the pavement
Look for cracks, potholes, soft spots, oil drips, and failed patches. If the asphalt is breaking apart, repair that before striping. -
Clean the surface thoroughly
Blow off dust and debris. If the driveway is dirty or stained, power wash it. Let it dry completely before moving on. -
Repair damage
Fill cracks, patch potholes, and correct surface defects. If you need more than spot fixes, review Replace Driveway or Driveway Repaving Costs A Smooth Guide To Your Homes Curb Appeal. -
Time striping around sealcoating
If the pavement is due for sealing, do that first. Sealcoating refreshes the black surface and helps hide old faded markings. Then restripe after the sealer has cured according to product directions. -
Measure the layout
Mark stall depth, stall width, lane width, arrows, stop bars, or edge lines. Double-check every measurement before painting. -
Snap chalk or laser guides
Create straight reference lines so the striping machine has a clear path. This step makes a huge difference in final appearance. -
Test the equipment
Before spraying on the driveway, test the machine on cardboard or scrap material. Confirm line width, pressure, and fan pattern. -
Apply the paint
Use smooth, steady passes. Keep the machine moving at a consistent speed for even coverage. -
Add a second thin coat if needed
If the color looks light or the surface is highly textured, a second coat can improve coverage and durability. -
Protect the area during drying
Use cones, tape, and signage to keep vehicles and foot traffic off the markings until they are ready.
Executing the perfect paint application
A few details separate clean work from messy work:
- Paint only on a dry surface
- Avoid windy conditions when possible
- Keep the spray tip clean
- Maintain a consistent walking speed
- Lock the front wheel on the striping machine if the model allows it for straighter lines
- Start and stop the spray cleanly to avoid blobs at the ends
Most striping paint dries in about 30 minutes under good conditions, but the safer rule is to allow at least 1 hour before opening the area to traffic. Cooler weather, humidity, shade, or heavier coats can lengthen that time.
Integrating striping with other maintenance
Line striping works best as part of a full pavement maintenance plan.
A smart order of operations usually looks like this:
- Repair cracks, potholes, and failed edges
- Patch low spots or damaged areas
- Sealcoat if needed
- Allow proper cure time
- Stripe the surface last
That order matters because striping is usually the finishing step. If you stripe first and seal later, you cover the work you just paid for.
If your driveway is heavily worn, it may be worth reviewing Asphalt Driveway Cost, Asphalt Driveway Replacement Cost Calculator, or Driveway Paving Cost Complete Guide to compare long-term options.
Cost Analysis and Professional Considerations
The cost of striping depends on layout complexity, paint type, site condition, accessibility requirements, and whether the surface needs prep or repair first.
For context only, average internet pricing data for striping services often falls around $0.50 to $2.50 per linear foot, with many projects landing somewhere around $300 to $2,500 or more depending on scope. These are broad industry averages from online sources, not actual pricing from Lawn Care Plus.
The reason the range is so wide is simple:
- A few short stall lines on a clean driveway are quick
- Full layouts with arrows, curbs, stencils, ADA markings, and prep work take much longer
- Repairs, sealcoating, and traffic control can add significant labor and material needs
DIY vs. Professional service pros and cons
DIY can make sense when:
- The project is small
- The layout is simple
- You already own or can borrow equipment
- No ADA or public-access compliance issues are involved
DIY drawbacks:
- Equipment rental costs can add up quickly
- Layout mistakes are hard to hide
- Poor prep shortens paint life
- Uneven lines can make the whole property look off
- There is usually no workmanship warranty
Hiring professionals makes sense when:
- The site is commercial or multi-unit
- You need accessible spaces or code compliance
- The layout is complex
- The surface needs repair coordination
- You want speed, precision, and better finish quality
Professional advantages:
- Cleaner layout and line quality
- Faster completion
- Better material selection
- Proper sequencing with repairs and sealcoating
- Reduced risk of costly do-overs
If the striping project is tied to a broader driveway overhaul, our resources on Driveway Replacement Options, How Long Does It Take To Replace A Driveway, and Do I Need A Permit To Replace An Existing Driveway can help you plan the full job.
Understanding average pricing for striping services
Again, speaking only in terms of average internet data and not Lawn Care Plus pricing, small straightforward jobs may sit near the low end of the range, while larger or more regulated projects can go far beyond the average. The high end rises fast when you add:
- Surface cleaning and power washing
- Crack filling or patching
- Sealcoating coordination
- Custom stencils
- Multiple colors
- ADA-compliant layouts and signs
- Large drive aisles or extensive curb markings
That is why the cheapest quote is not always the cheapest outcome. If the lines fail early or the layout is wrong, the budget “win” disappears pretty quickly.
Frequently Asked Questions about Driveway Striping
How long does driveway striping paint take to dry?
Under normal conditions, most traffic paint dries in about 30 minutes. Still, we recommend waiting at least 1 hour before allowing vehicles back on the surface. If the weather is cool, humid, or overcast, give it more time.
Can I use regular house paint on my blacktop?
No. Use traffic-grade paint made for asphalt. Standard house paint does not bond well to blacktop and tends to peel, fade, or wear off too quickly. For most projects, water-based acrylic traffic paint is the best choice.
How often should I restripe my driveway?
A good rule is every 1 to 2 years, or sooner when the markings fade to around 75% of their original visibility. High traffic, snow plowing, strong sun, and poor surface condition can shorten that schedule.
Conclusion
Done right, blacktop driveway line striping is one of the simplest ways to improve safety, organization, and curb appeal without jumping straight to full replacement. The key is good planning, proper prep, the right traffic paint, and smart timing with repairs and sealcoating.
At Lawn Care Plus Inc., we help property owners across the Boston Metro-West area keep driveways and paved surfaces functional, clean-looking, and easier to use. If your pavement needs more than just fresh lines, we can also help you evaluate repair, repaving, and replacement options.
To learn more about our broader driveway and property improvement services, visit Asphalt Driveway Replacement, explore our services, or contact us to discuss your project.